Every web push campaign starts with a prompt configuration. This prompt is the initial message that appears to anonymous visitors and contacts on your website, asking for their permission to send them browser notifications. By setting up this prompt, your team can build a targeted subscriber base, ensuring your future marketing campaigns reach people directly on their desktops or mobile devices.
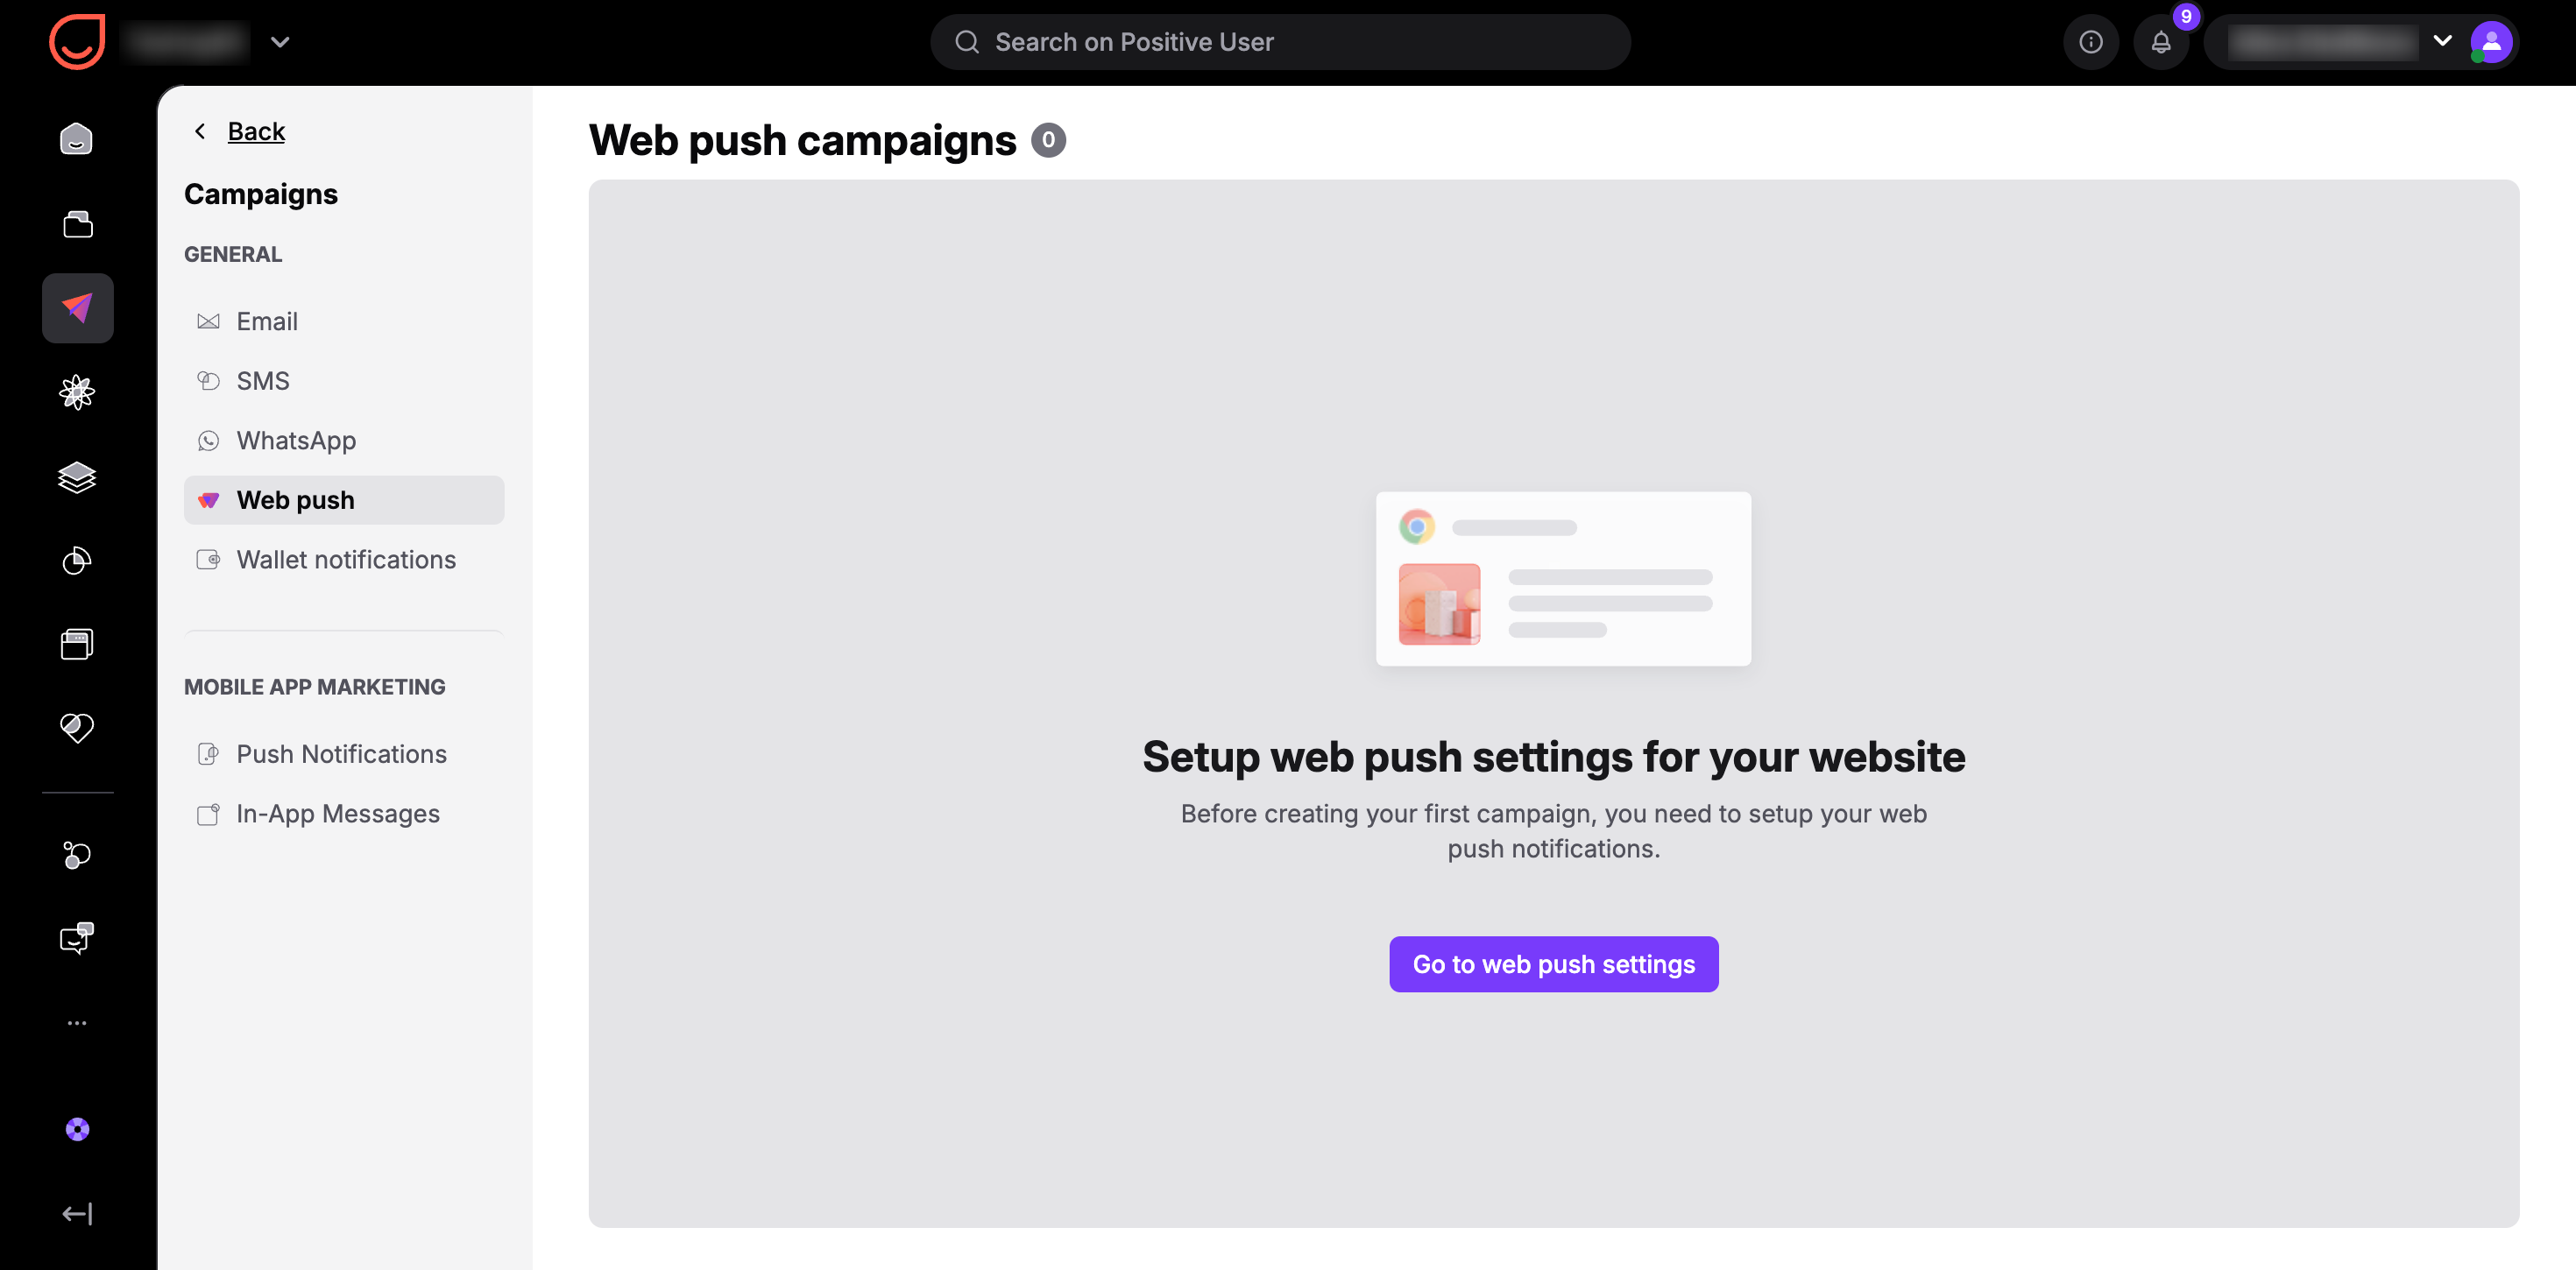
Navigate to "Campaigns" → "Web Push" in your workspace. From this dashboard, click on the "Web push Settings" button to open the three-step configuration wizard.
Decide how your web push notifications will be branded and delivered to your contacts:
Default Domain: Your notifications will automatically send from the yourappname.positiveuser.com domain. This option is ready to use immediately and requires no external technical setup. However, it gives you an additional step of the subscription confirmation. (Safari browser only allows web push notifications when the subscription runs directly on your own website's domain.)
Custom Domain: This option allows you to send notifications directly from your brand's unique domain (using either HTTP or HTTPS protocols). To use this option, download the integration file displayed on the setup screen and upload it directly to the root directory of your website.
With the “custom domain” option you can allow turn on a possibility of using multiple domains. It’s very useful if you keep several brands from my family under one account.

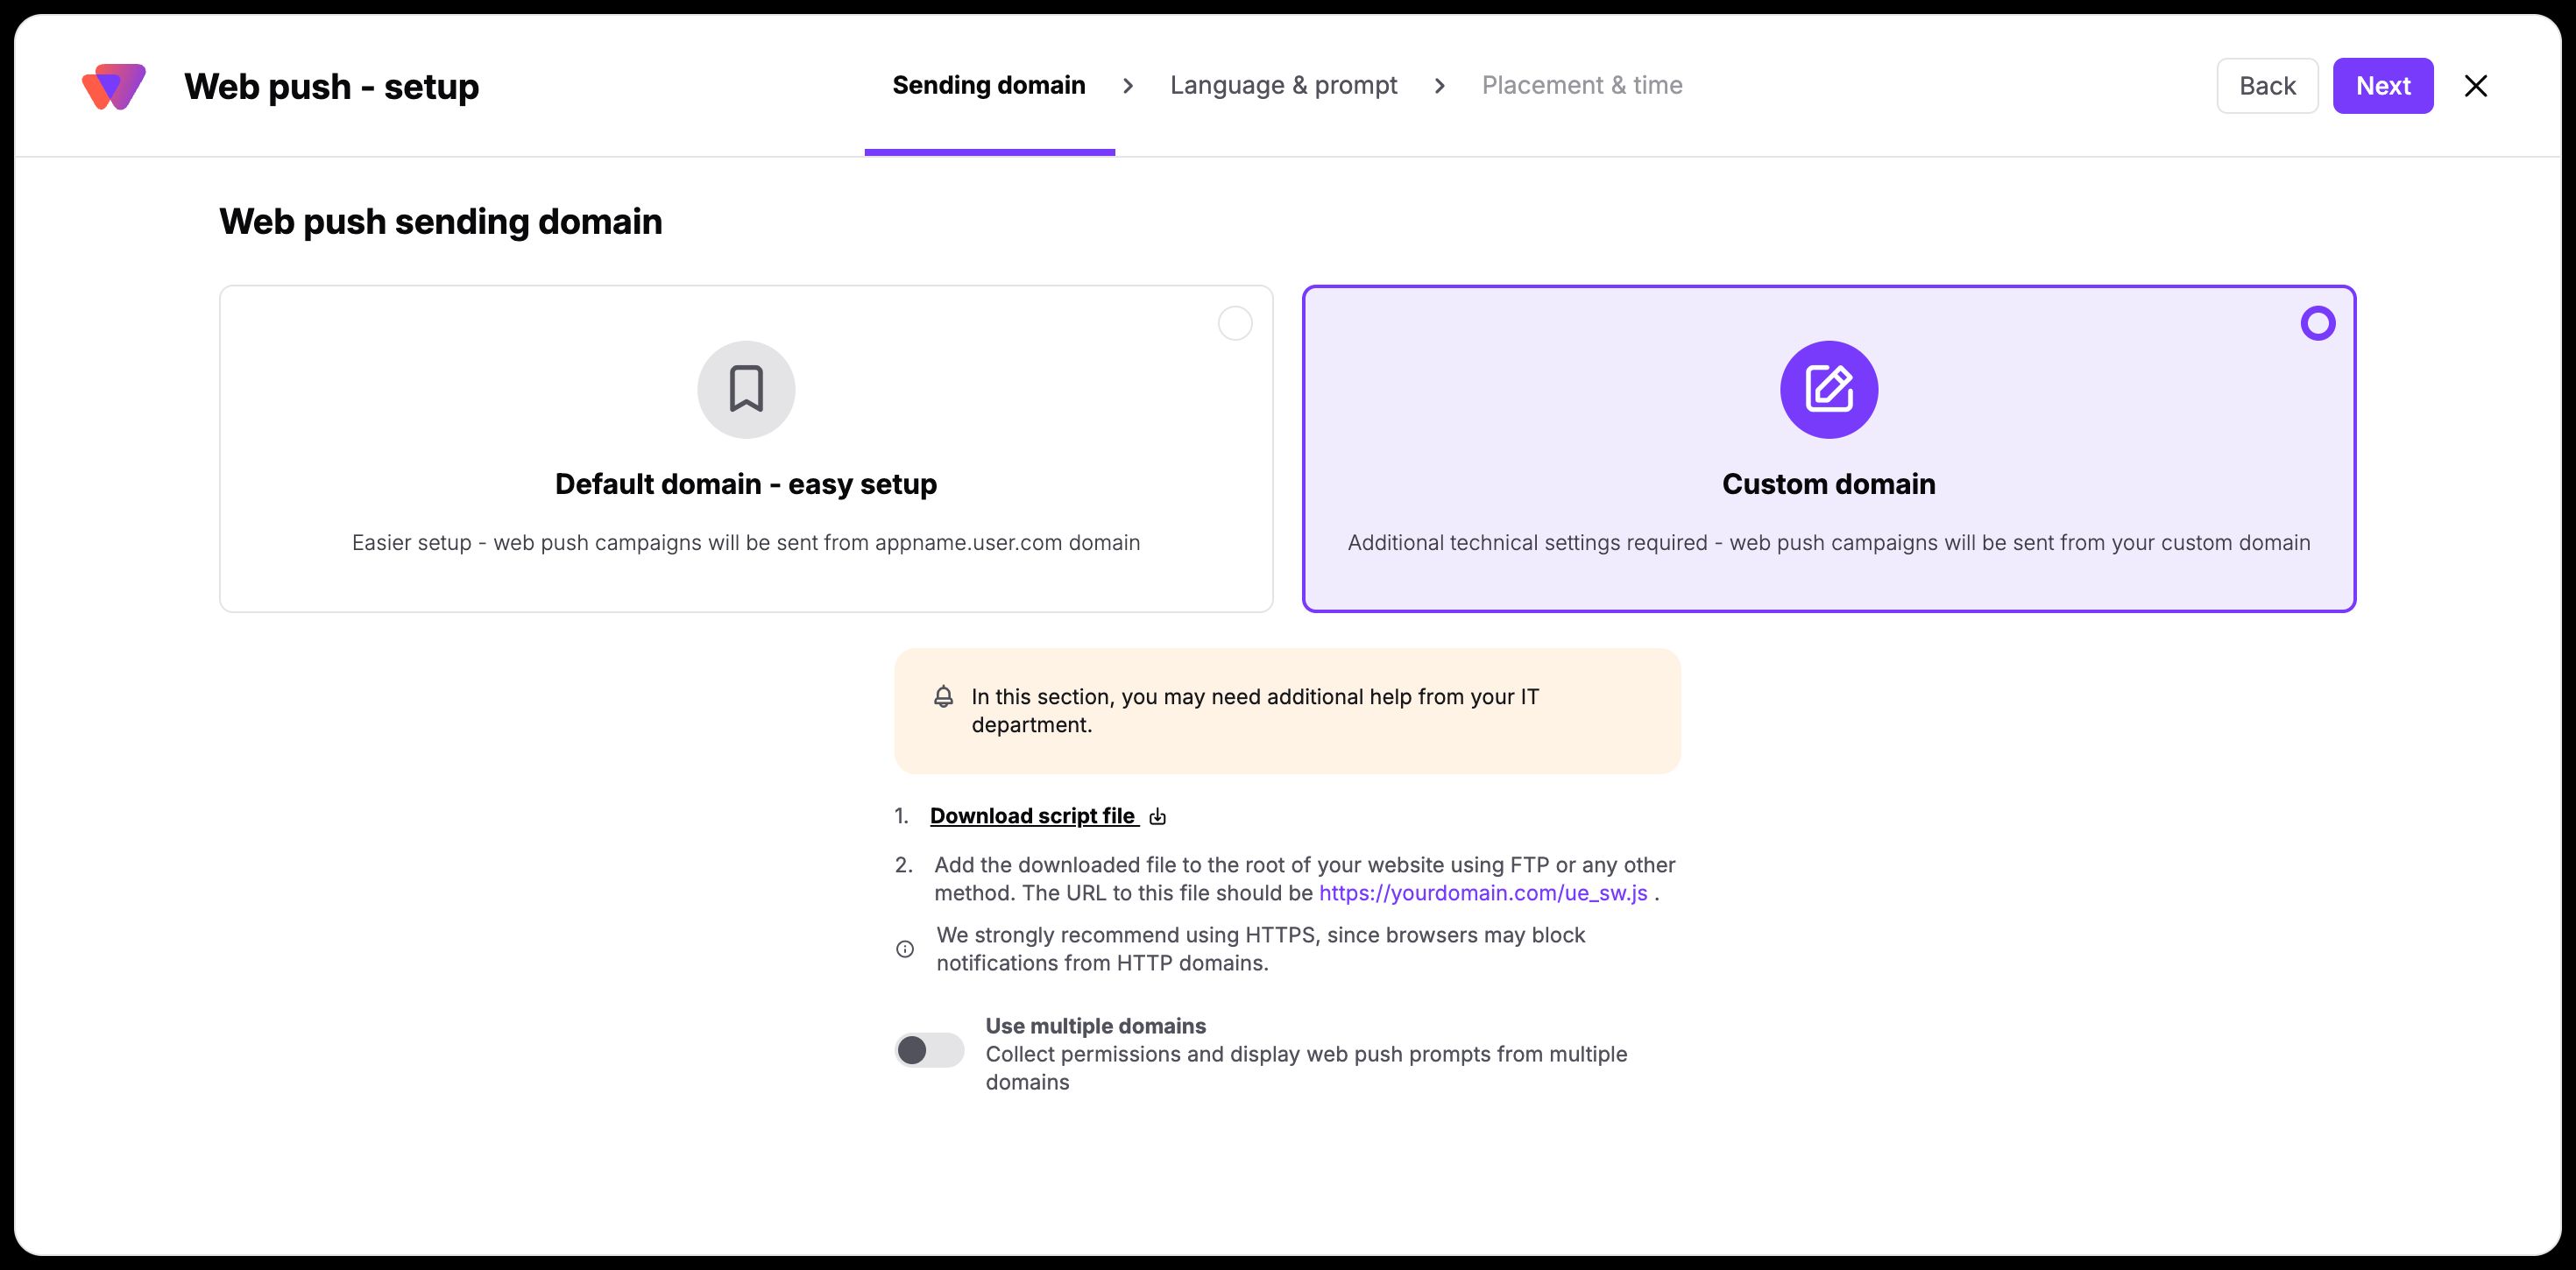
Application of the web push prompt on your custom domain may require assistance from your tech team. You need to download the file and upload it directly to the root of your website.
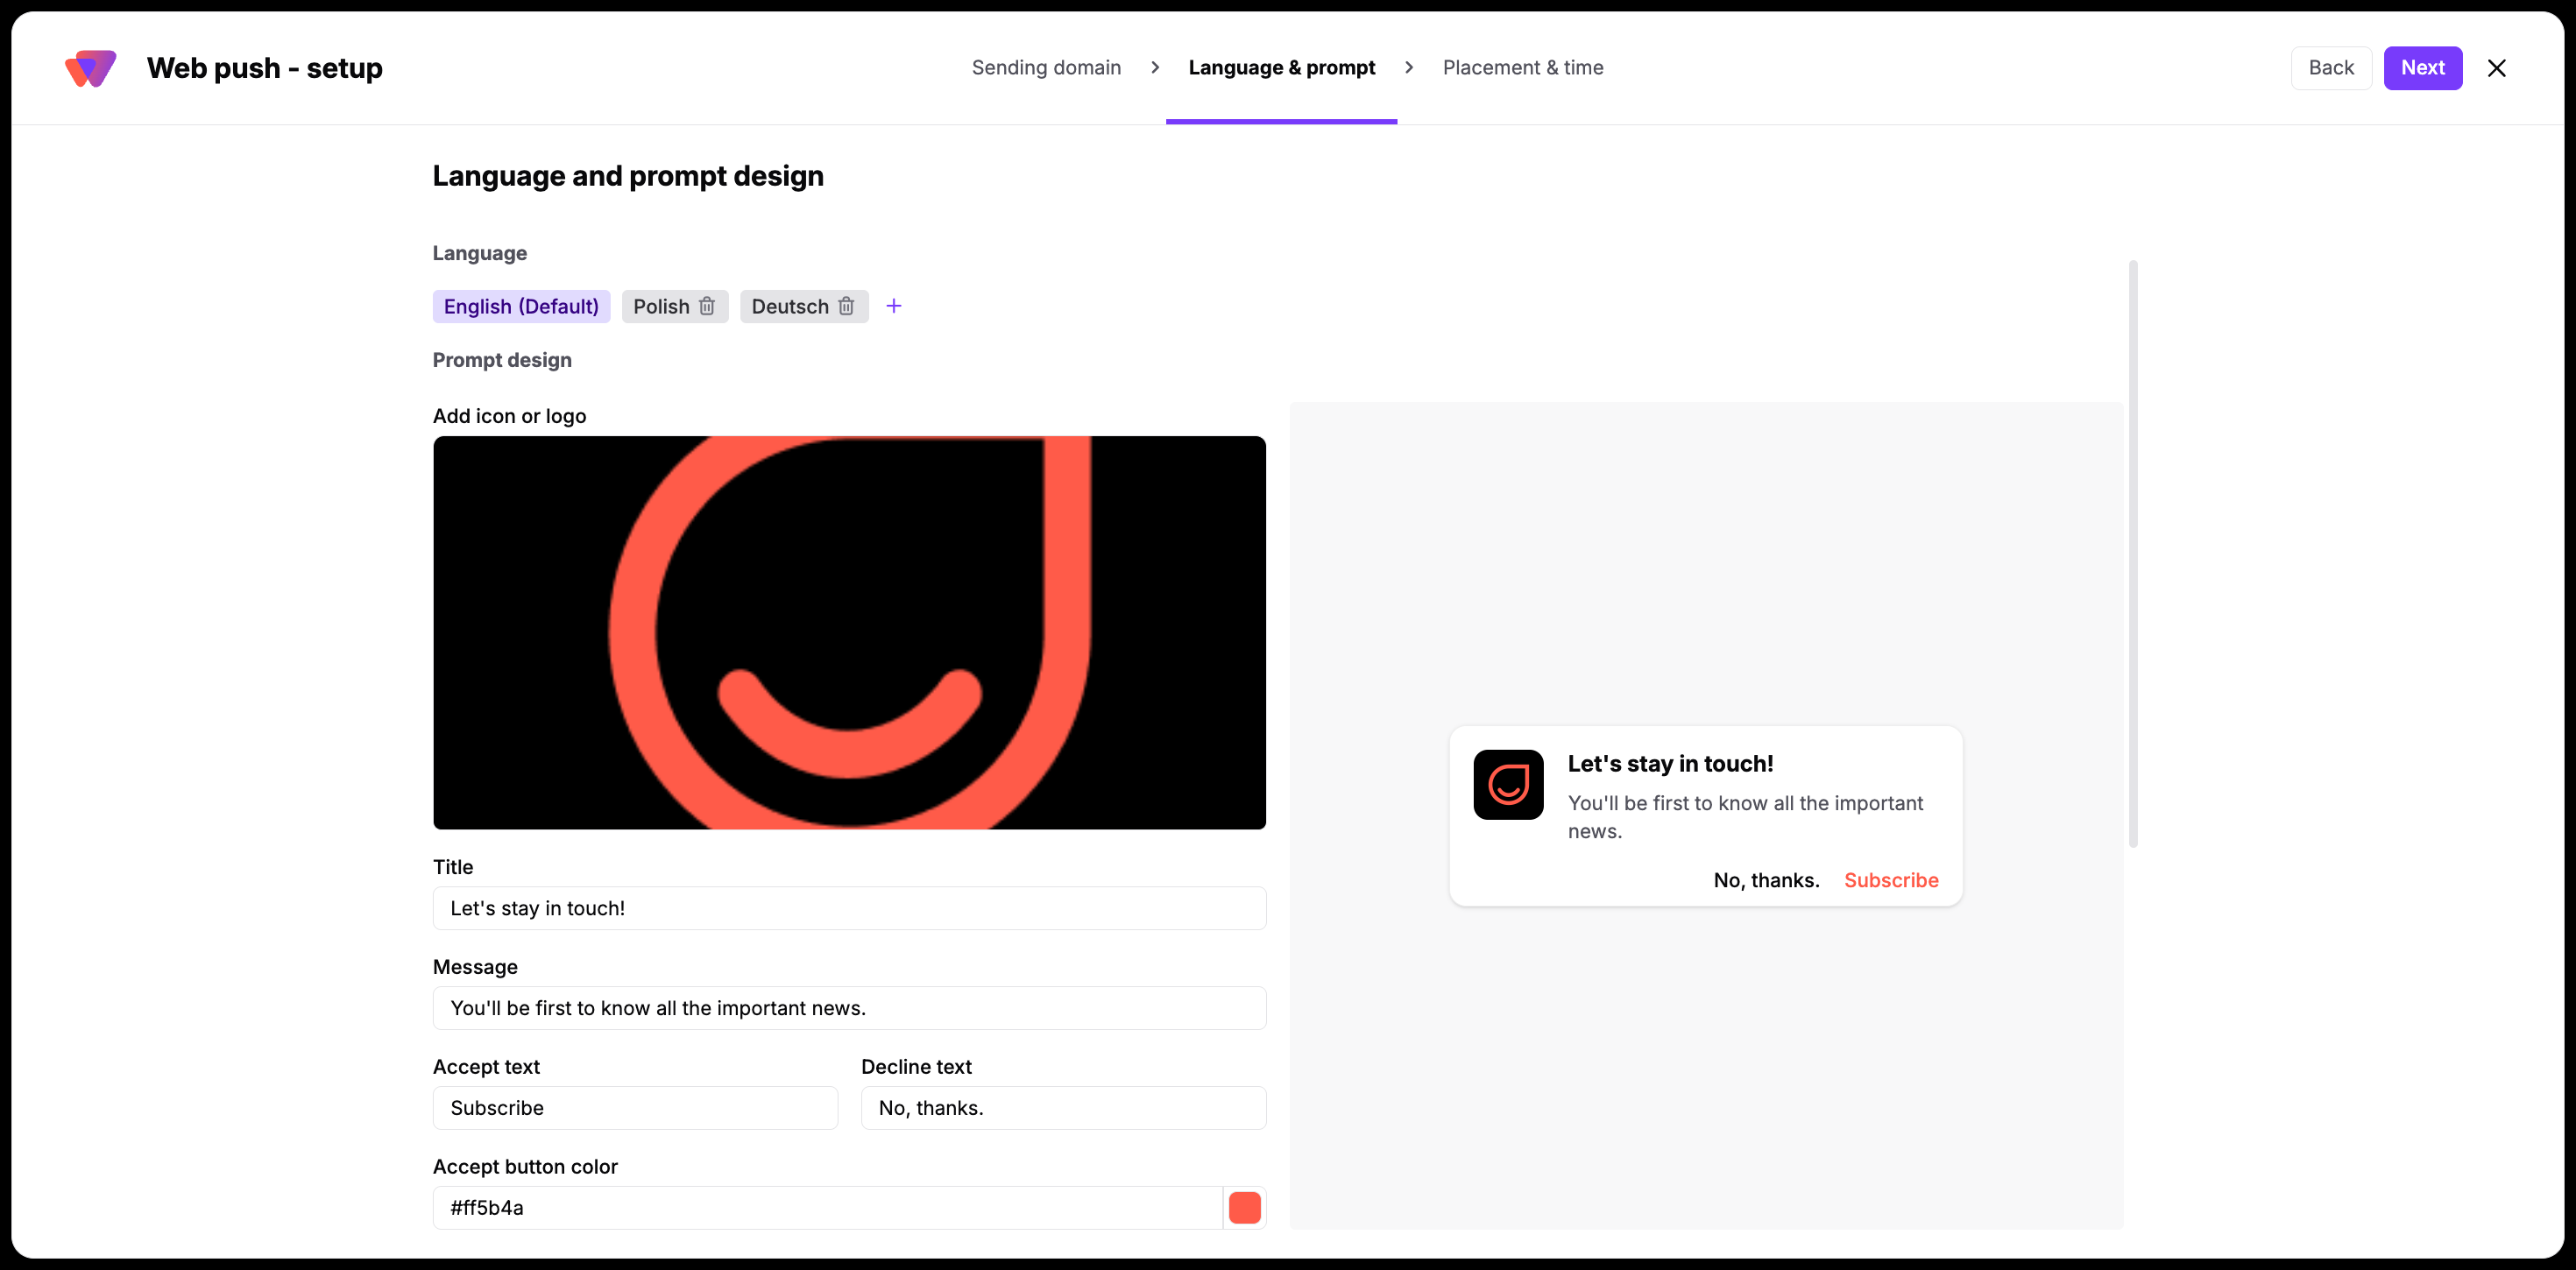
Design the appearance of your prompt and craft the copy that invites your contacts to subscribe. In this section, you can configure the following elements:
Icon or Logo: Upload your company logo so the website visitors instantly recognize your brand.
Title and Message Text: Write an engaging invitation that clearly explains what value your contacts receive by subscribing.
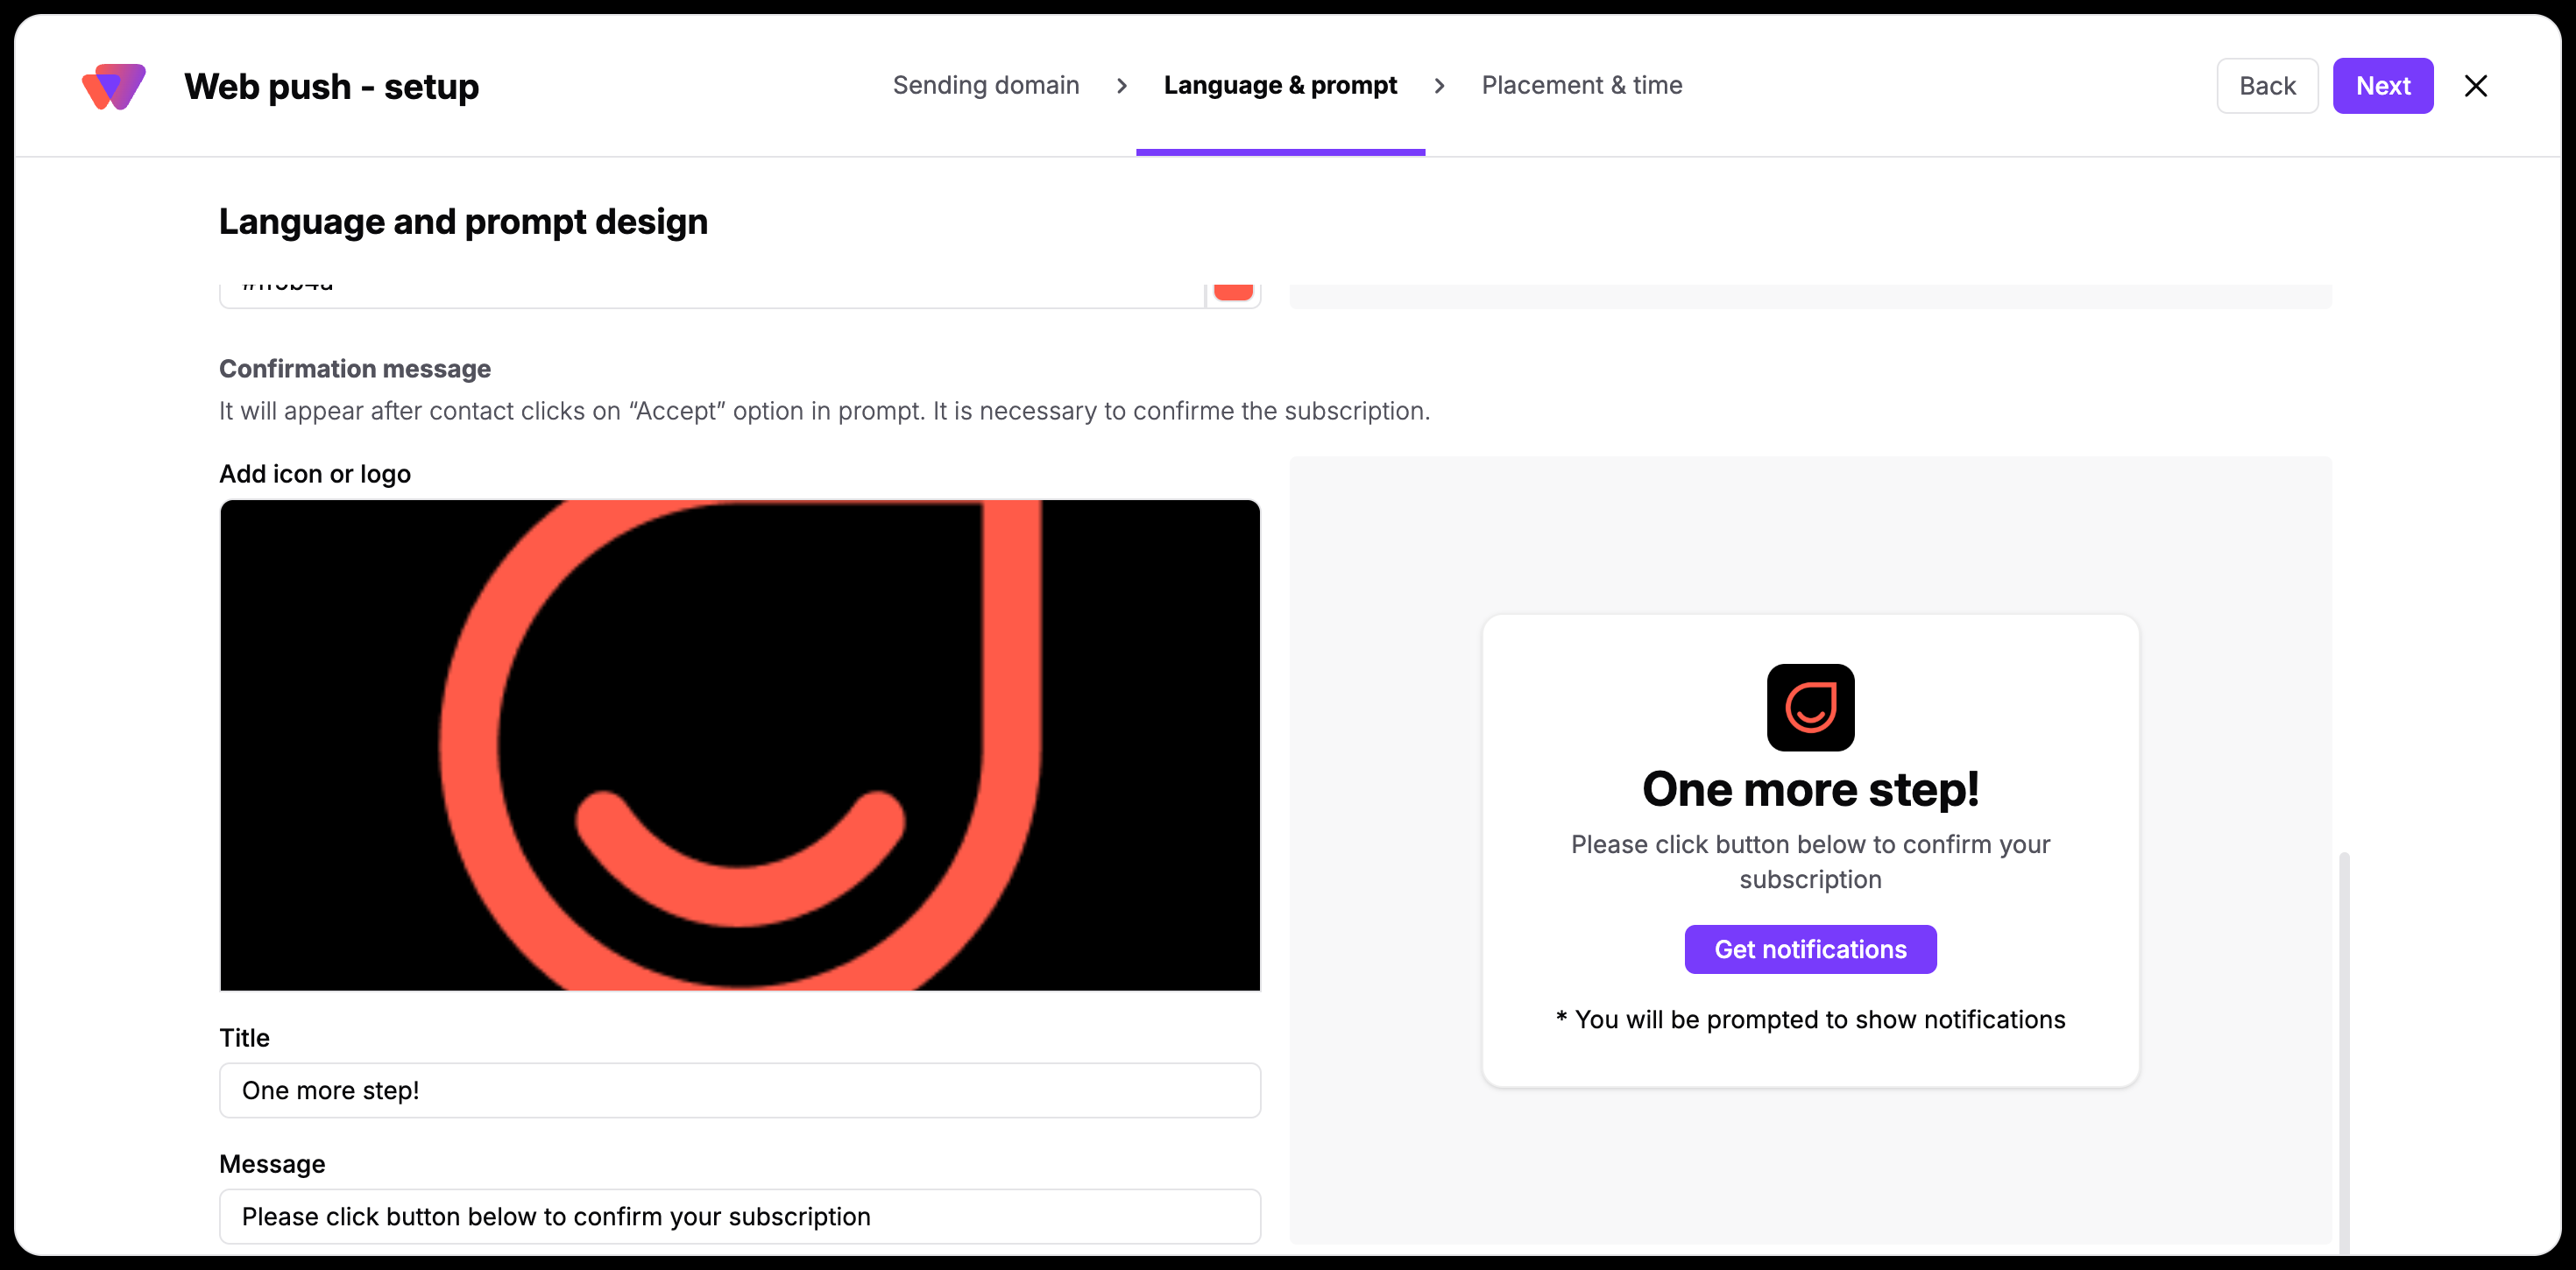
Confirmation Message: For the “default domain” setups only. Customize the text for the secondary verification step where contacts confirm their subscription.
Languages: Add multiple language variations to your prompt. Positive User automatically detects your contact's browser language settings and displays the matching translation. You can also specify a fallback default language.
If your workspace tracks multiple websites, turn on the "Use Multiple Domains" toggle on the previous step. This allows you to add each domain individually and manage unique prompt styles for each site. Remember to exclude prefixes like https:// or www. when entering your domains (e.g., enter mysite.com).
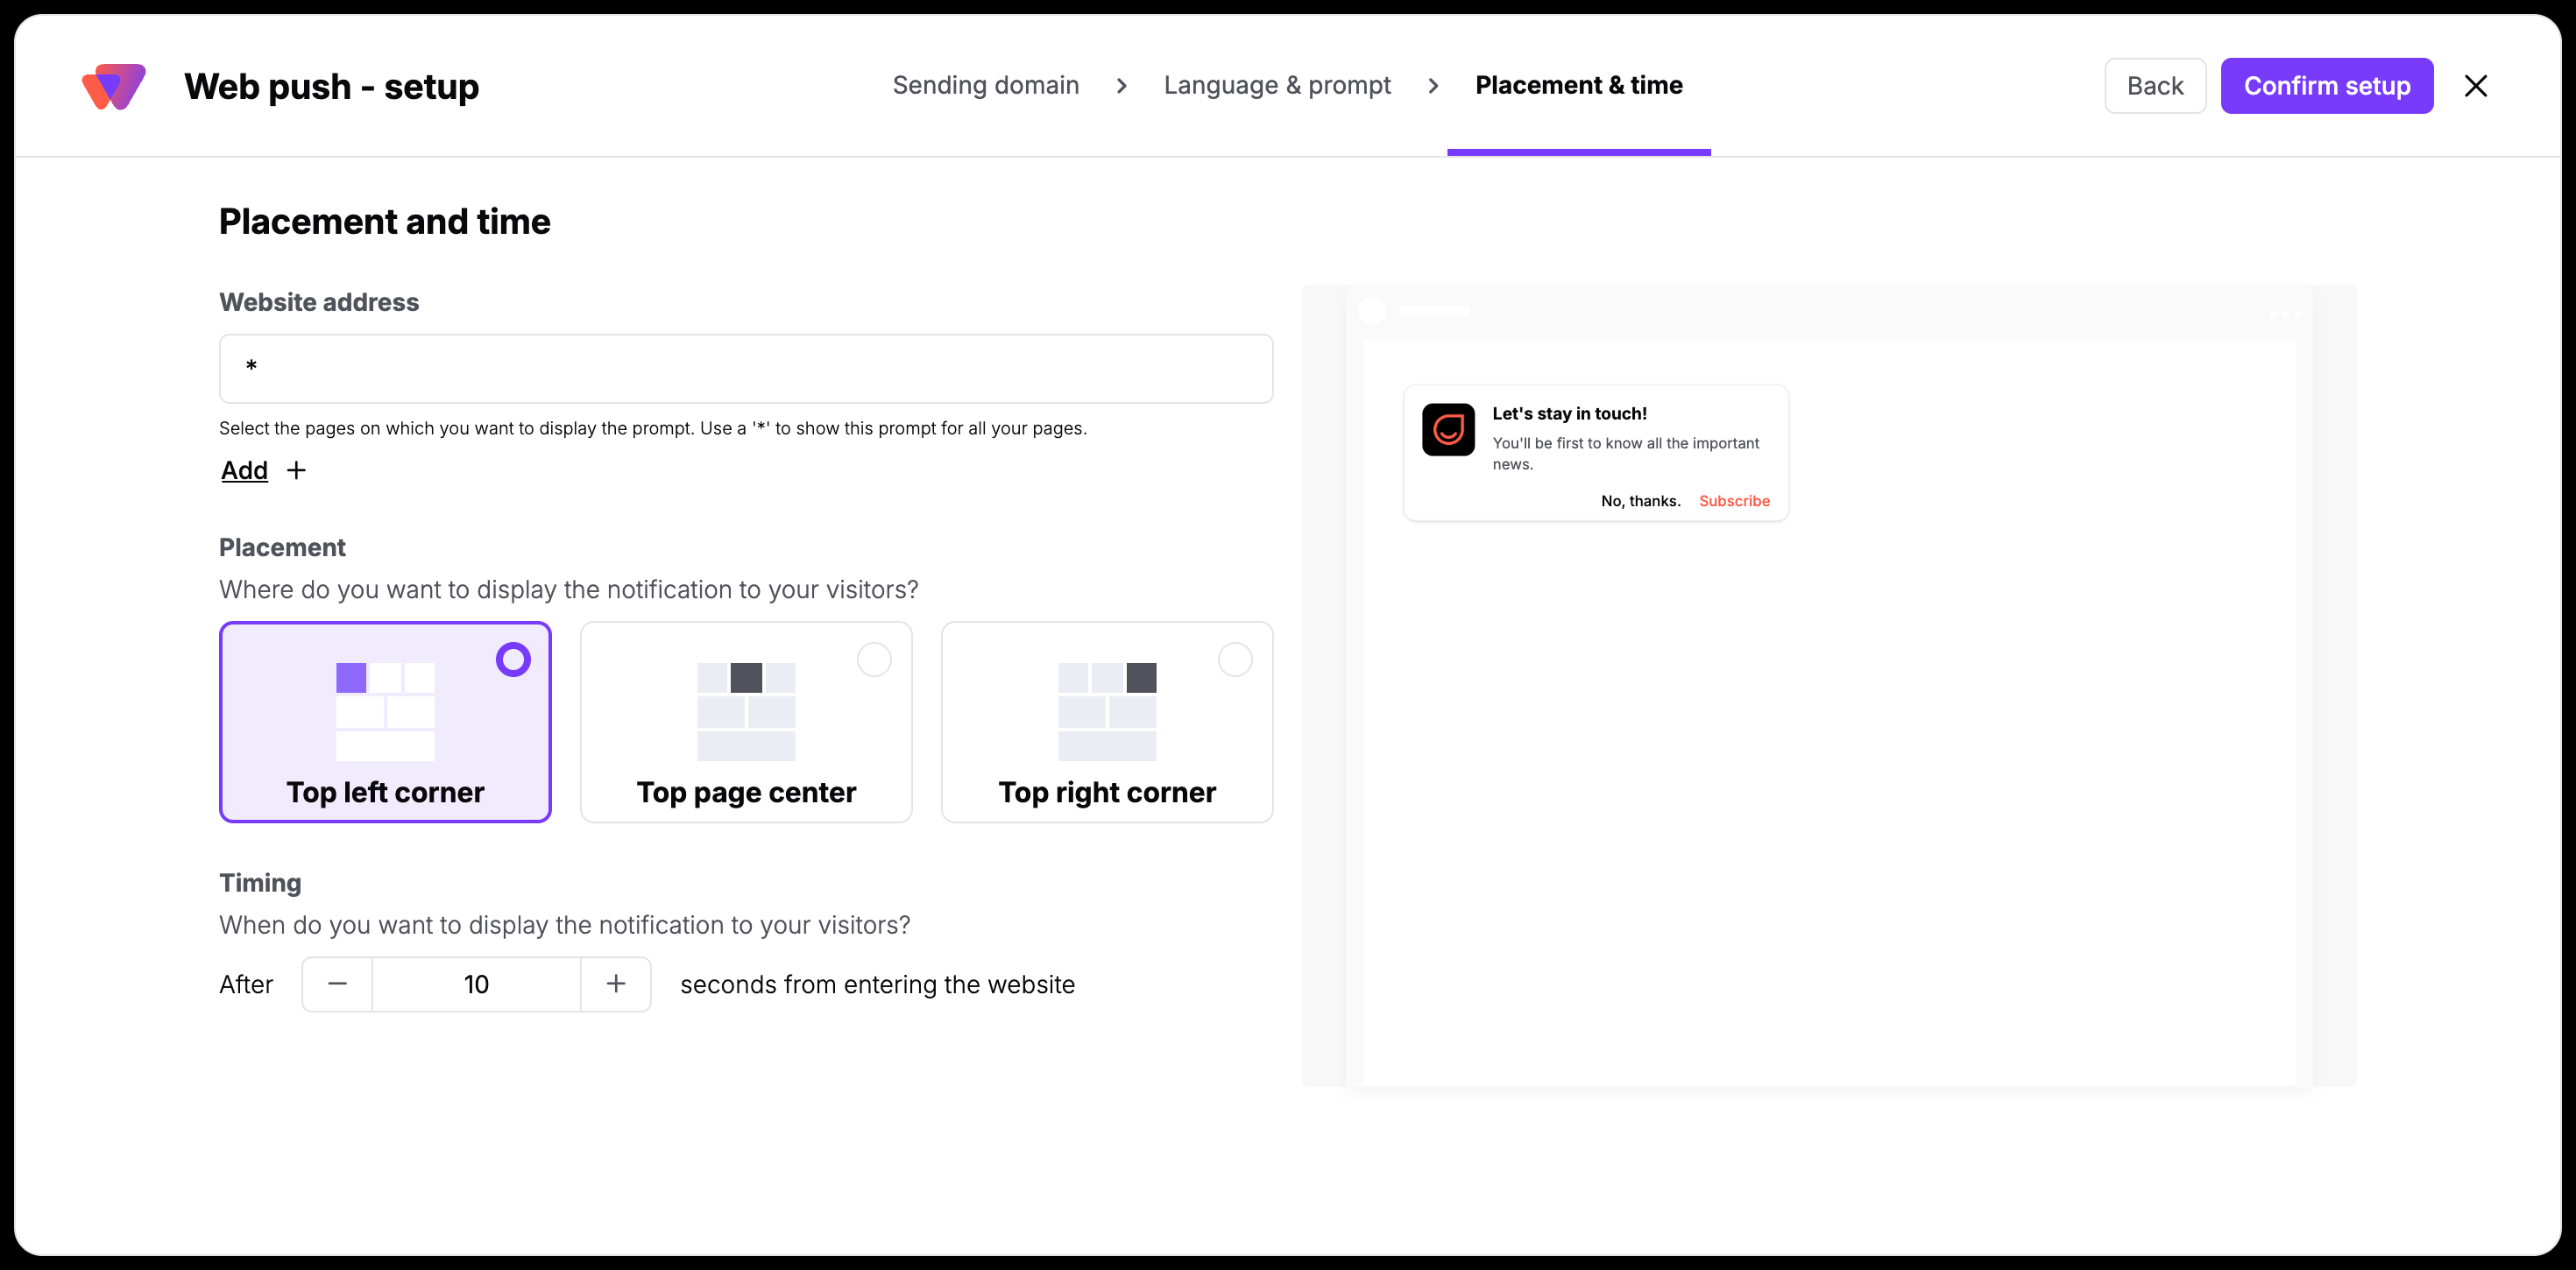
Control exactly when and where the prompt displays on your website to ensure a seamless contact experience:
Website Address: Choose whether the prompt should show on every page of your website or only on specific target URLs.
Placement: Position the pop-up where it fits best: the top-left corner, top-right corner, or dead center of the page.
Time: Set a timed delay in seconds. Giving contacts a brief window to engage with your site content before showing the prompt typically results in higher opt-in rates.
When you are satisfied with the setup, click "Confirm setup" to make the prompt live on your site.
Your configuration is complete. The prompt will now begin collecting subscriptions from your website visitors. As the contacts opt in, they turn into subscribers, allowing your team to send personalized push notifications based on their specific traits and tasks.
Click the "Create your first campaign" button on this screen to start building your first message immediately.
Show the prompt dynamically outside of global rules by using automated workflows to re-trigger invitations when intent is highest.
In the “Automations” you can find a "Show Web Push Prompt" module. This module allows you to show the web push prompt to a contact multiple times based on real-time behavior after the standard settings didn’t lead to conversion. [LINK]
Instead of a one-time global pop-up, you can define precise trigger conditions. For example, you can set the prompt to re-appear when a contact visits a specific high-value page or clicks something on your website. This helps you target your audience under the best possible conditions for securing a subscription. You can also build conditional sequences where a contact receives an exclusive resource, discount code, or download link immediately after they agree to subscribe to your web push notifications.

High-Intent Re-Prompting: Your team can use automation workflows to show the prompt to visitors who frequently visit your pricing page but haven't subscribed yet, ensuring you capture leads at the moment of highest intent.
Location-Specific Promotions: Use multi-language prompt variations on specific product subpages to capture regional subscribers for targeted local campaigns.
How to Create a One-time Web Push Campaign [LINK]
How to Create an Automated Web Push Campaign
“Show Web Push Prompt” Action Module Guide
