Creating custom attributes in Positive User allows businesses to tailor their data model to specific needs, enriching different objects with unique insights that drive more effective marketing strategies.
This guide walks you through the step-by-step process of setting up custom attributes so you can use this feature to its full potential.
Define the attribute.
Attributes are the fields that characterize the objects like contacts, companies, or deals. If you want to find out more about the basics of attributes, their types, and use cases, please check this article.
To create an attribute you need go to the specific section of the application depending on your choice.
Go to “Workspace Settings” and then:
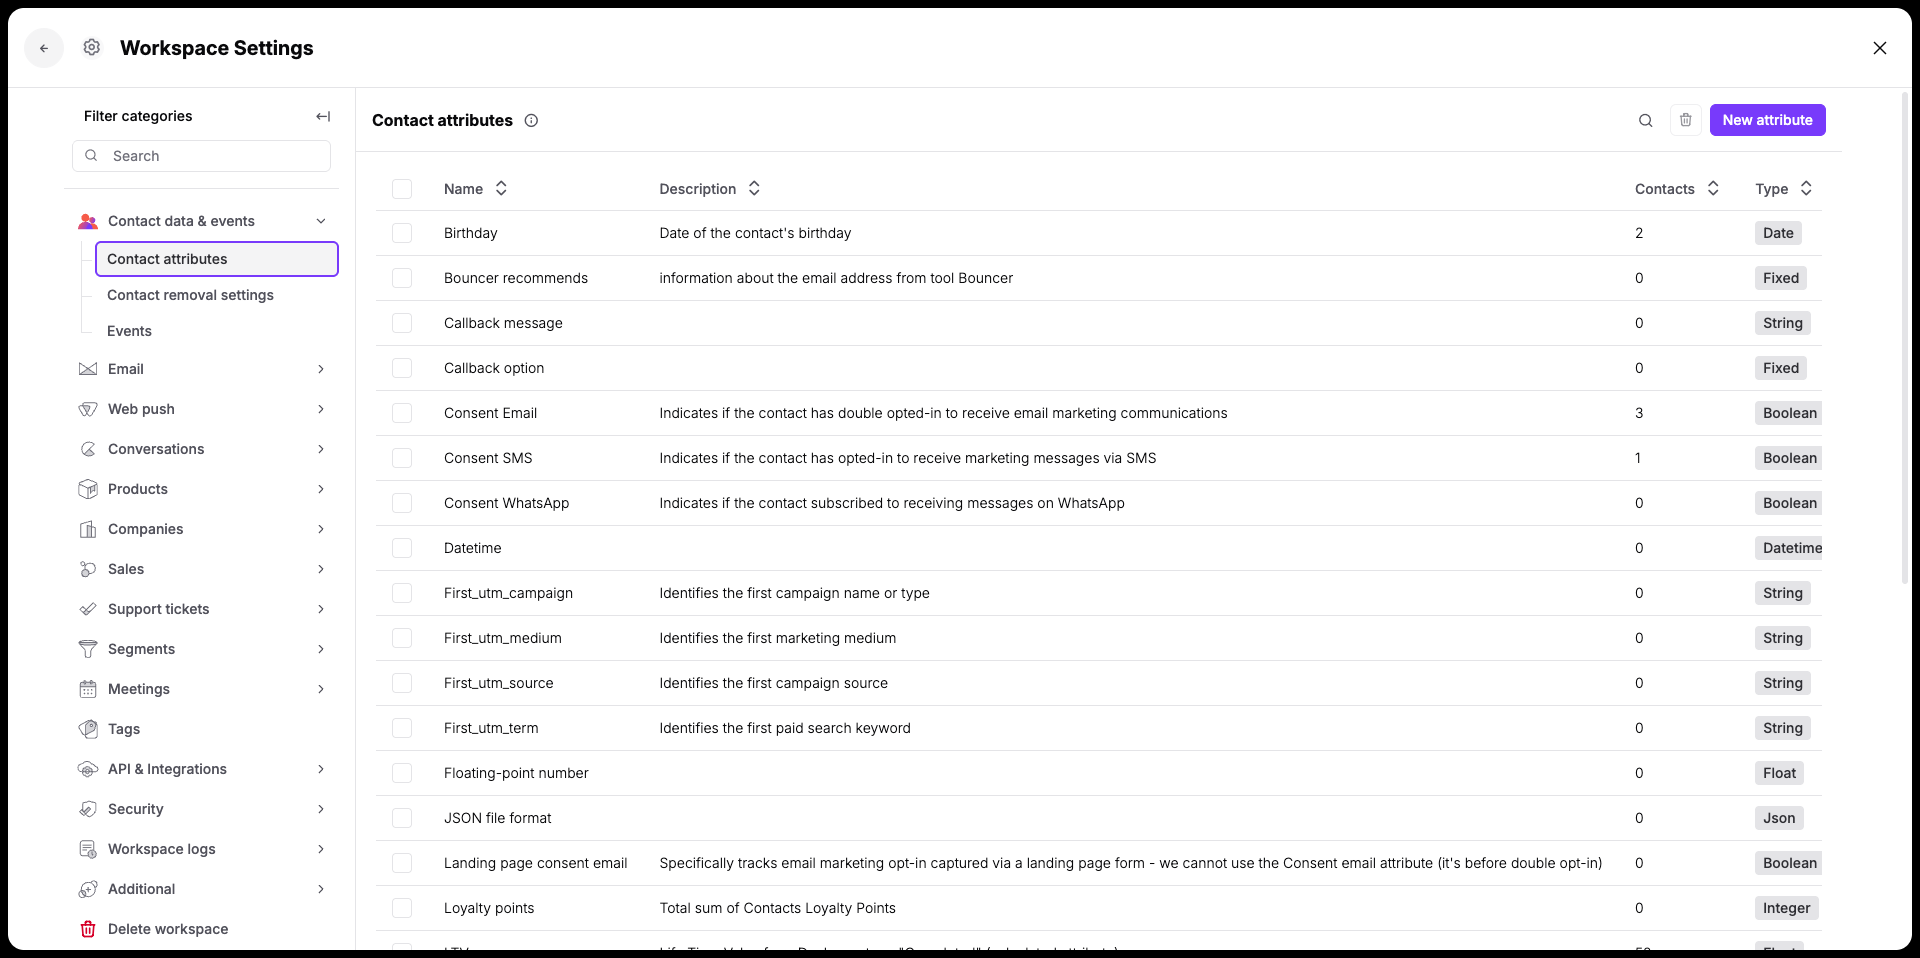
Contact attributes: Contact Data & Events → Contact Attributes
Company attributes: Companies → Company Attributes
Product attributes: Products → Product Attributes
Deal attributes: Sales → Deal Attributes
Task attributes: Sales → Task Attributes
Event attributes: Contact Data & Events > Events → Choose specific event → Edit attributes
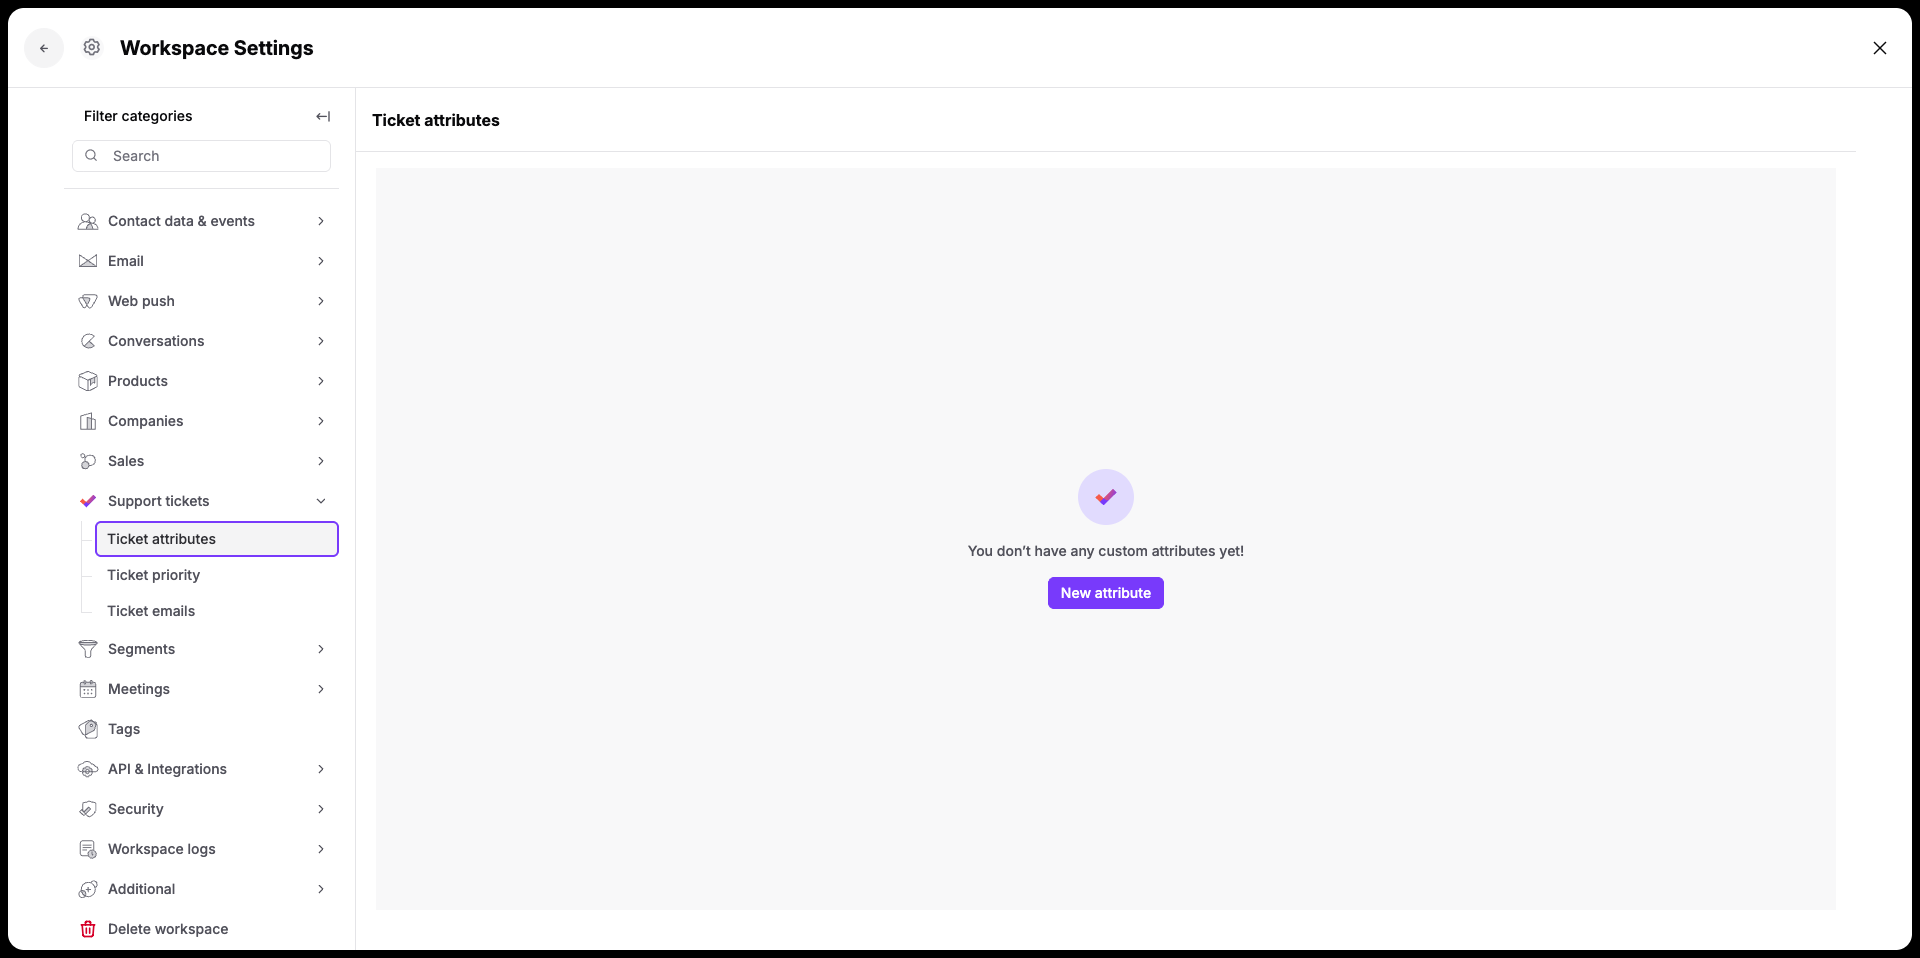
Support Ticket attributes: Support Tickets → Ticket Attributes
Once you enter one of the sections above you will need to perform the same steps for each object.
Click on a "New attribute" button and fill the name field. (We highly recommend to name all the attributes using the same style to keep the consistency and simplify the integration process.)
Write the description, where you can highlight where and how the information comes from and what exactly this specific field is about. It might be important for other team members and general the long-term usage perspective.
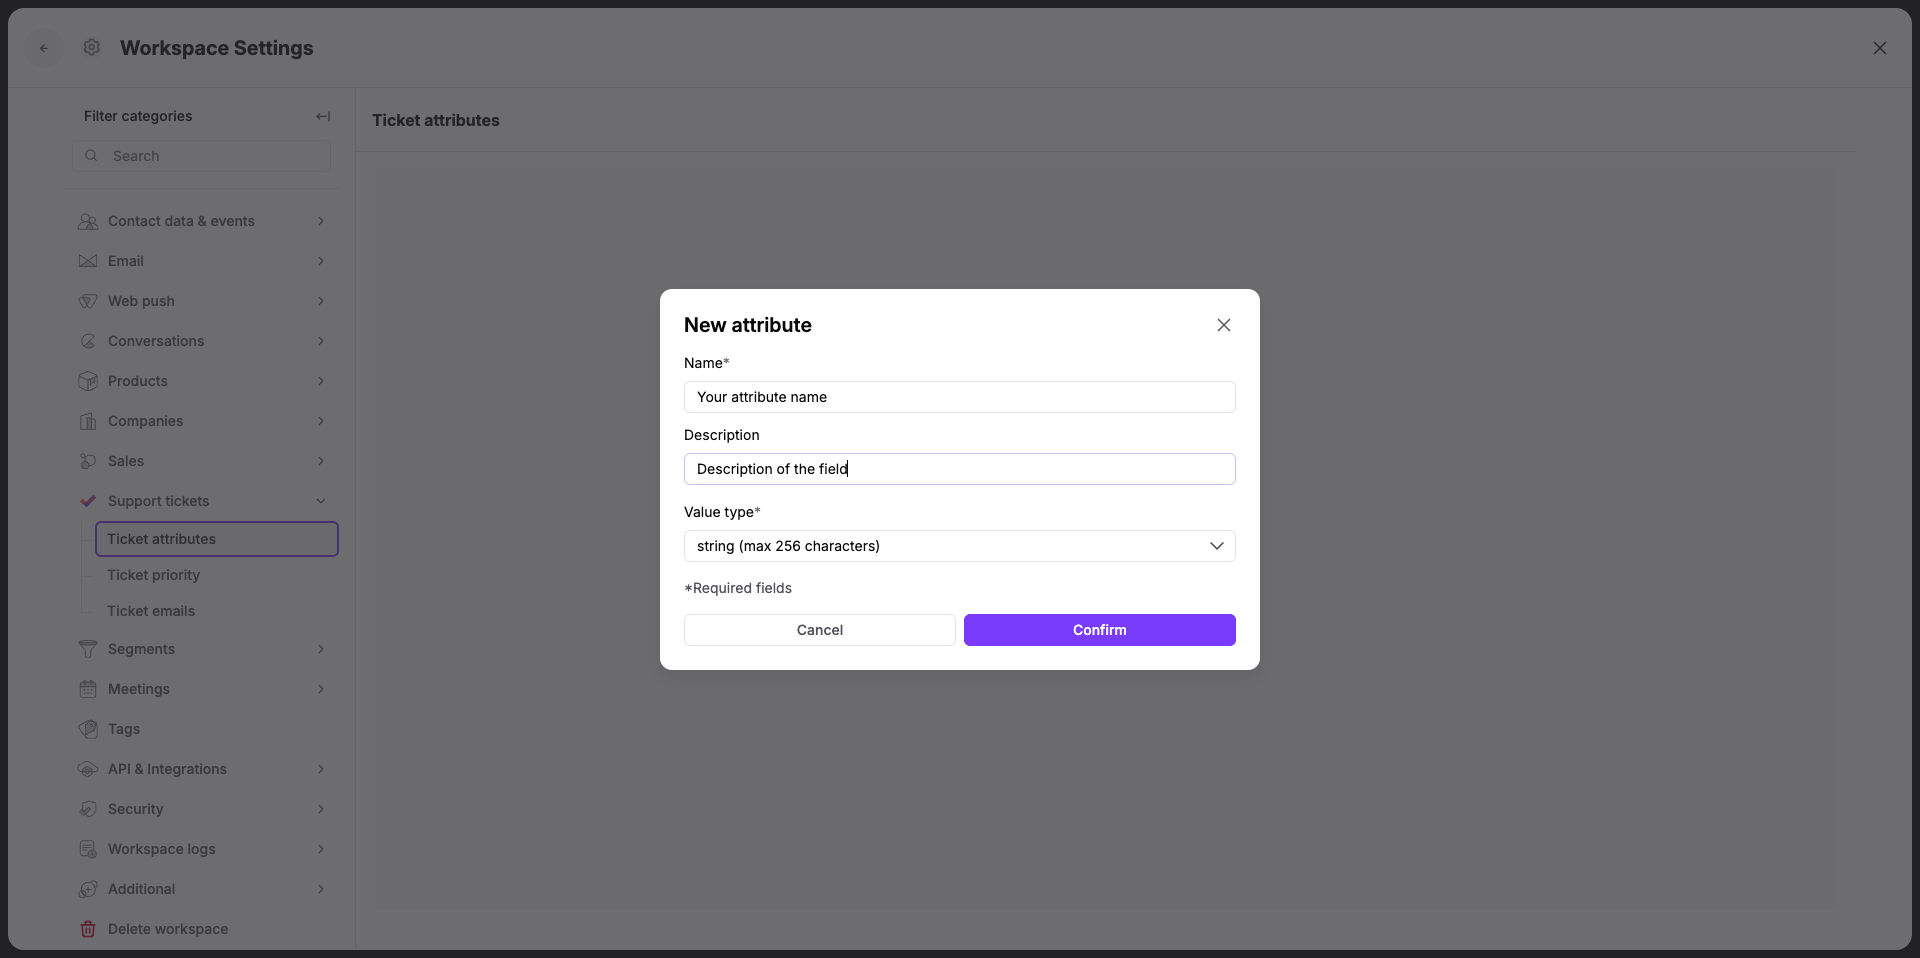
Choose the type of the attribute. Select from:
String | Any string of characters limited by 255 elements. It is perfect for text-based information, including names, email addresses, or any other textual data | Attribute "Subscription plan", value "Standard" |
Boolean | It represents binary options (true/false) | Attribute "Marketing consent" value "True" |
Integer | Numerical data, includes only whole numbers | Attribute "Total number of orders" value "9" |
Floating-point number | Numerical data accommodating decimals, suitable for representing prices or statistical measures | Attribute "Lifetime value" value "1000,59" |
Date | Field to store the information about a specific date | Attribute "Birthday" value "1996-01-20" |
Datetime | Field to store time-specific details like sign-up or last activity information. It requires ISO 8601 format | Attribute "Last seen" value "2016-08-03 12:00:00+00:00" |
Fixed choice | Set of possible options that limit the values for a specific field. Such attributes can also include "Allow multiple choices" variation. | Attribute "Preferred language" value "English", "Polish", "Spanish" |
JSON file format | It works for longer values that cannot be placed in other data formats | Attribute "Additional order information" value (valid JSON object): "key": "value" |
Number | This field is used for event attributes in specific. It covers both integer and floating-point number options | Attribute "Points collected" value "15" |

Click “Confirm” and that’s it! Your attribute is created:
How to manage access to attributes [LINK]
JSON Attributes Guide [LINK]
