Events let you capture what your contacts do across your website, product, or communication channels. They help you understand behavior, personalize outreach, and trigger automation at the perfect moment.
An event is a custom piece of information about something a contact does. You create events for any action that matters to your workflows.
Each event is linked to the contact who triggered it and appears on that contact’s timeline. For example: contact clicked the “Buy Now” button or contact submitted a registration form.
Events can include event attributes - additional details sent together with the event. For example, a “Purchase summary” event may include attributes like “Price”, “Discount code”, or “Delivery option”.
Once the data is sent to Positive User, you can filter contacts by events to create personalized messaging or build more precise segments.
Events also include a timestamp that helps you filter by when the action occurred.
Type | Description | Example |

Read more about creating custom attributes.
You can create Events in several ways:
• Send them via Google Tag Manager (GTM).
• Send them using JavaScript.
• Send them via the REST API.
• Create them inside Automations using the “Create Event” module. [LINK]
• Collect them using Website Events Tracker. [LINK]
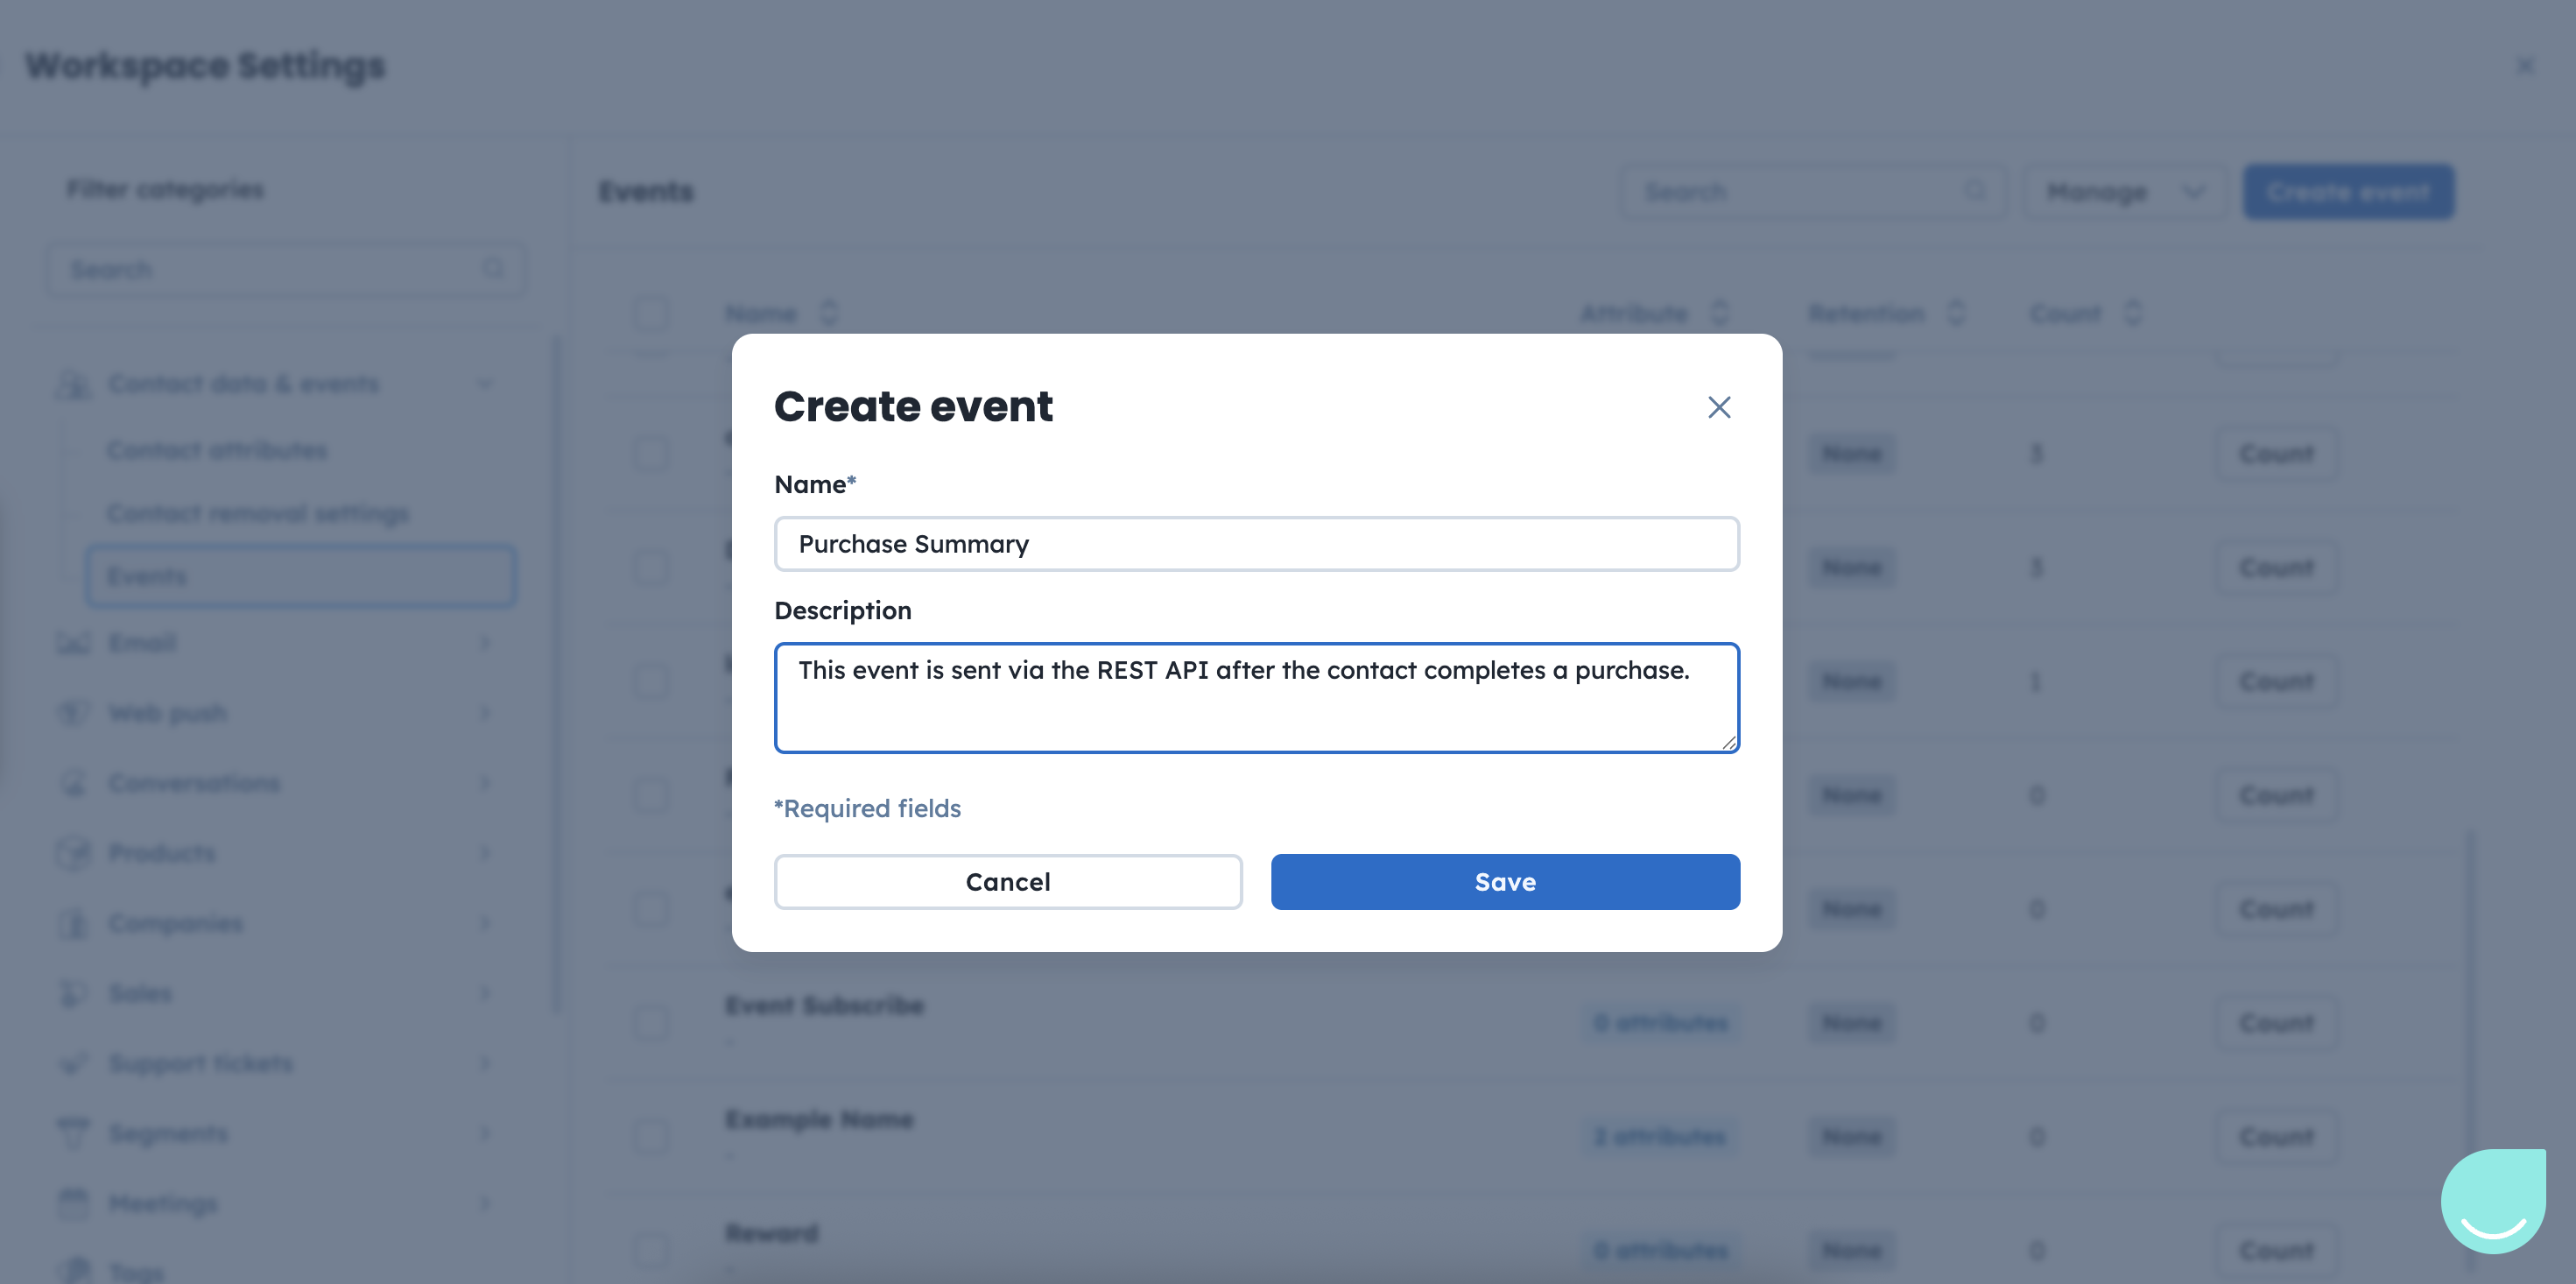
To define an event in the app, go to “Settings” → “Workspace Settings” → “Contact Data & Events” → “Events” and select “Create Event”.
Provide the event name and description. Remember, that consistent naming across all fields makes future usage easier.
Click “Save” button. The event will appear on the list.
Now you can add event attributes. To define them, click the three dots in front of the event name and select “Edit attributes”.
On the event attribute view, choose “Add event attribute” and define the attribute’s name and type.
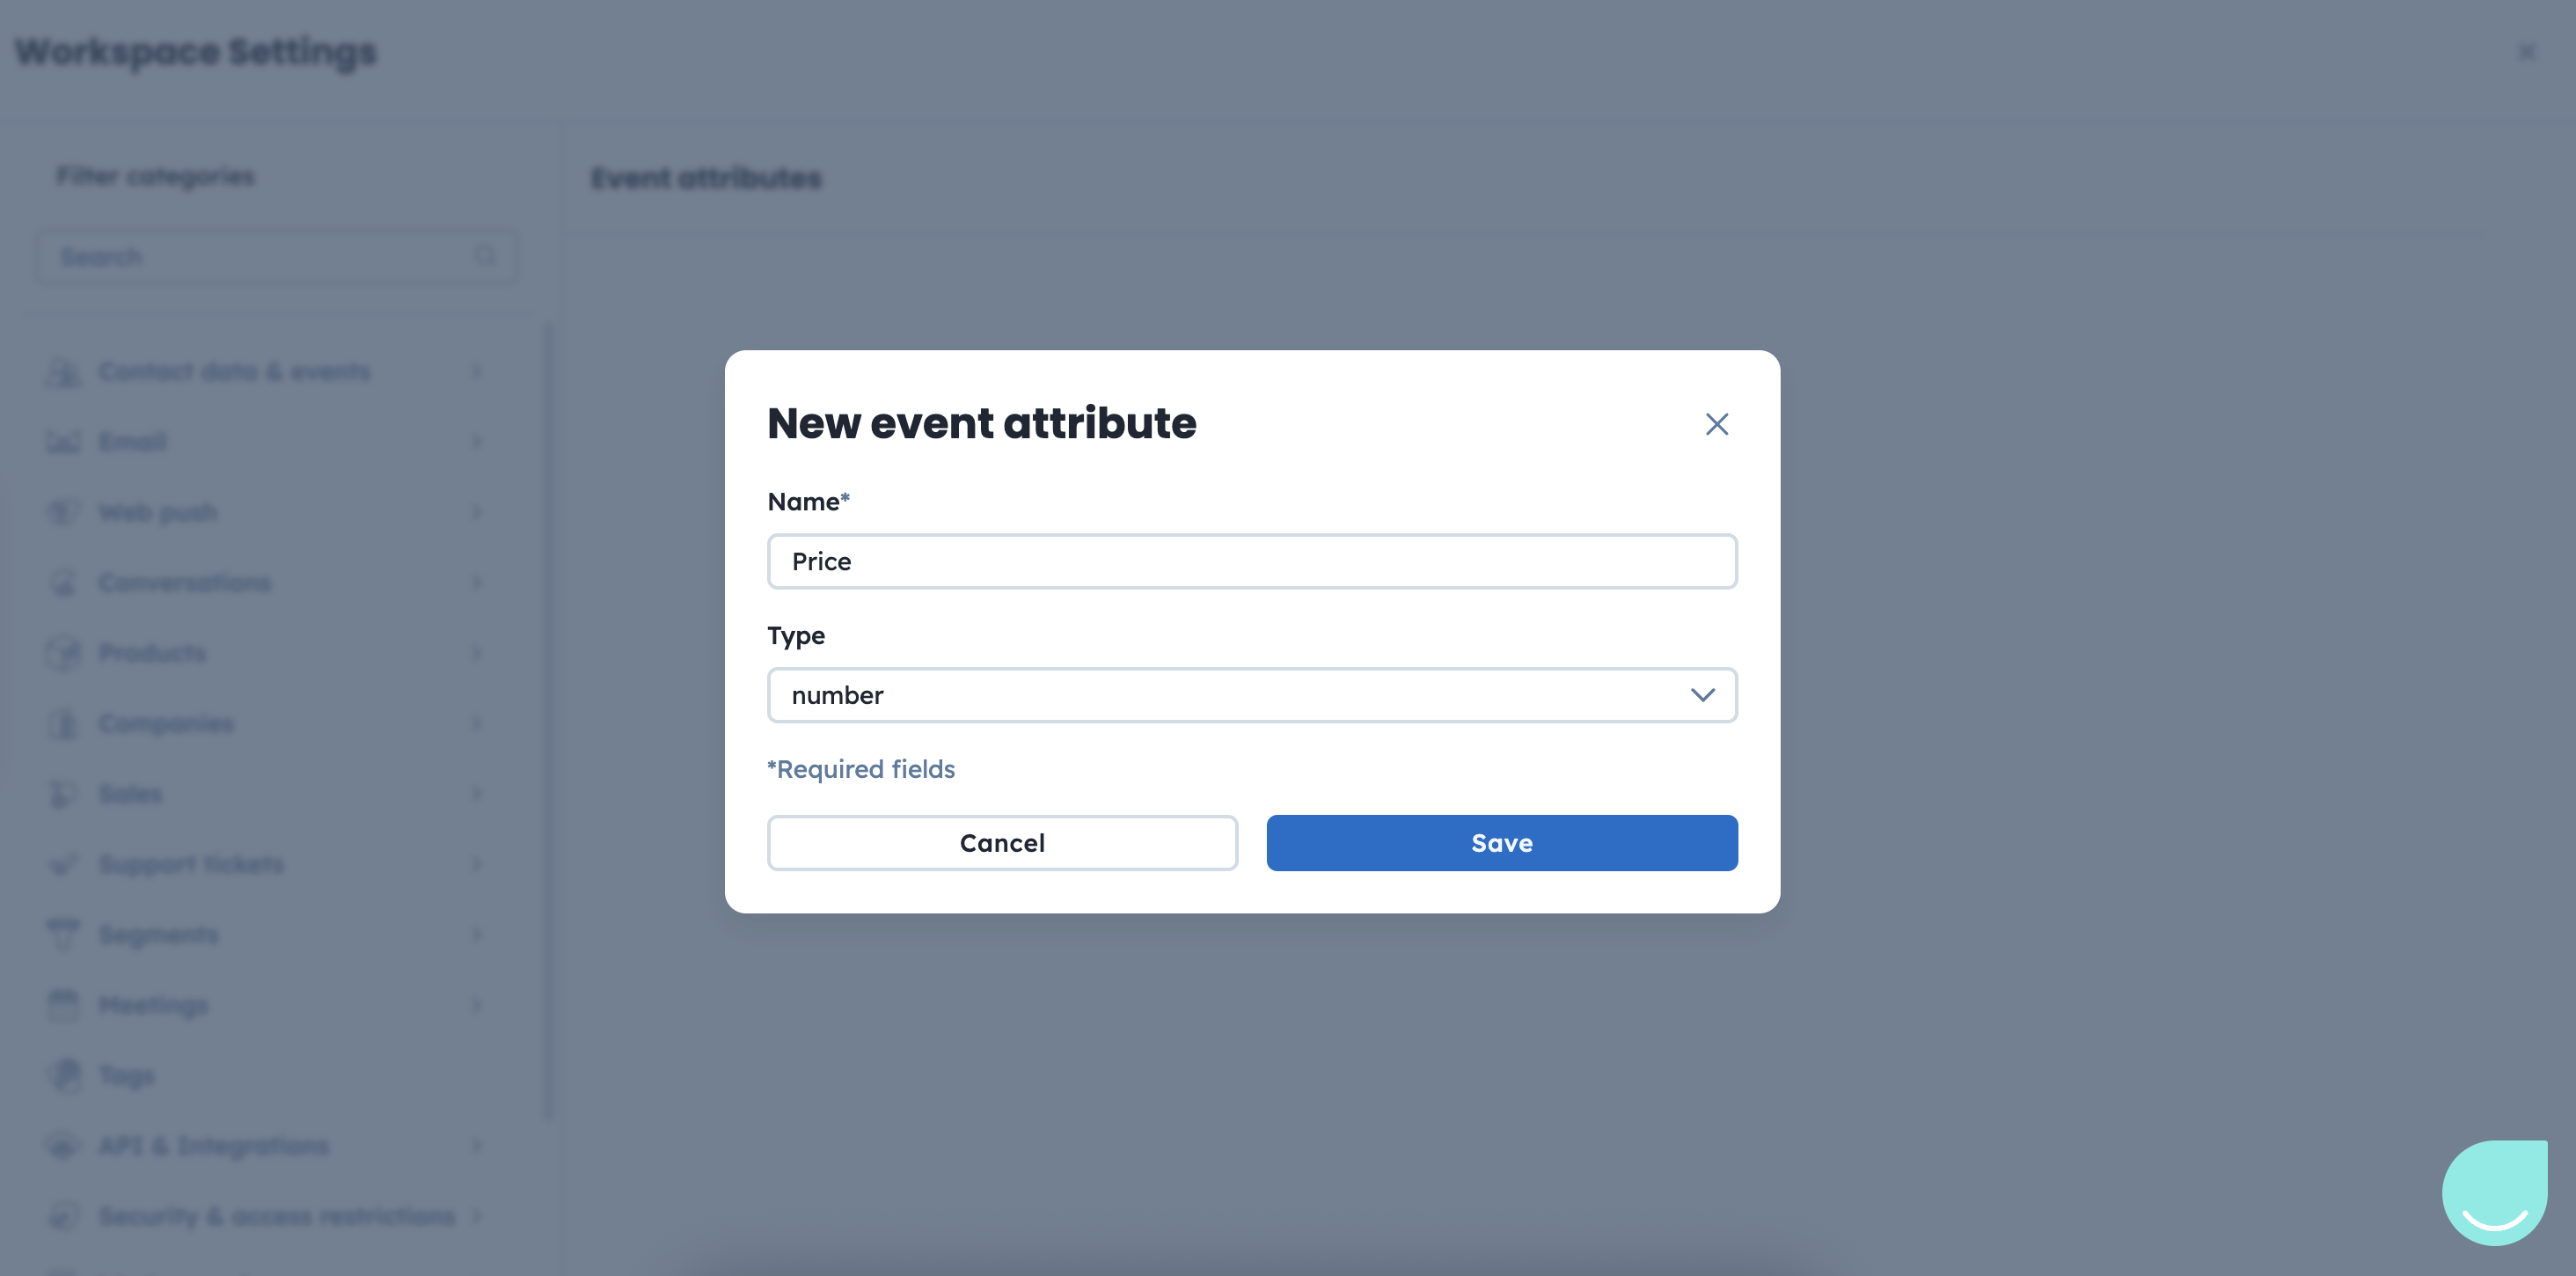
Below you can find all possible attribute types with the descriptions and examples.
Automations: Use the “Event Trigger” module to start an automation whenever a selected event occurs. Because events can represent almost any action, they offer flexible, granular automation triggers.
Campaign Personalization: You can send tailored emails or messages based on event data. For example, remind contacts about items they added to their cart but did not buy, including attributes like product image or price.
Filters & Segmentation: Find your most valuable contacts using event-based filtering. For example, locate contacts who purchased more than five products or spent above a chosen threshold. Use filters in the “Contacts” section
Dashboards & Reporting: Track event statistics over time. For example, create a dashboard showing how many products were purchased in the last 24 hours.
“Create Event” Module Guide [LINK]
How to Use Website Events Tracker [LINK]
