Starting in 2024, major email providers like Google require bulk senders to include a one-click unsubscribe option. Without it, your emails are more likely to end up in the spam folder or bounce completely.
Positive User automatically handles this technical requirement for you behind the scenes, so your emails reach the right people safely and your sender reputation stays strong.
One-click unsubscribe is a native feature in email clients, like Gmail, that places a visible, clickable "Unsubscribe" link right next to your sender address at the top of the email.
It allows your contacts to opt out instantly without having to scroll down and hunt for a link at the bottom of your message. You don't need to configure any complex settings - Positive User reads the unsubscribe links you already use in your emails and automatically applies the correct hidden headers to satisfy Google's requirements.
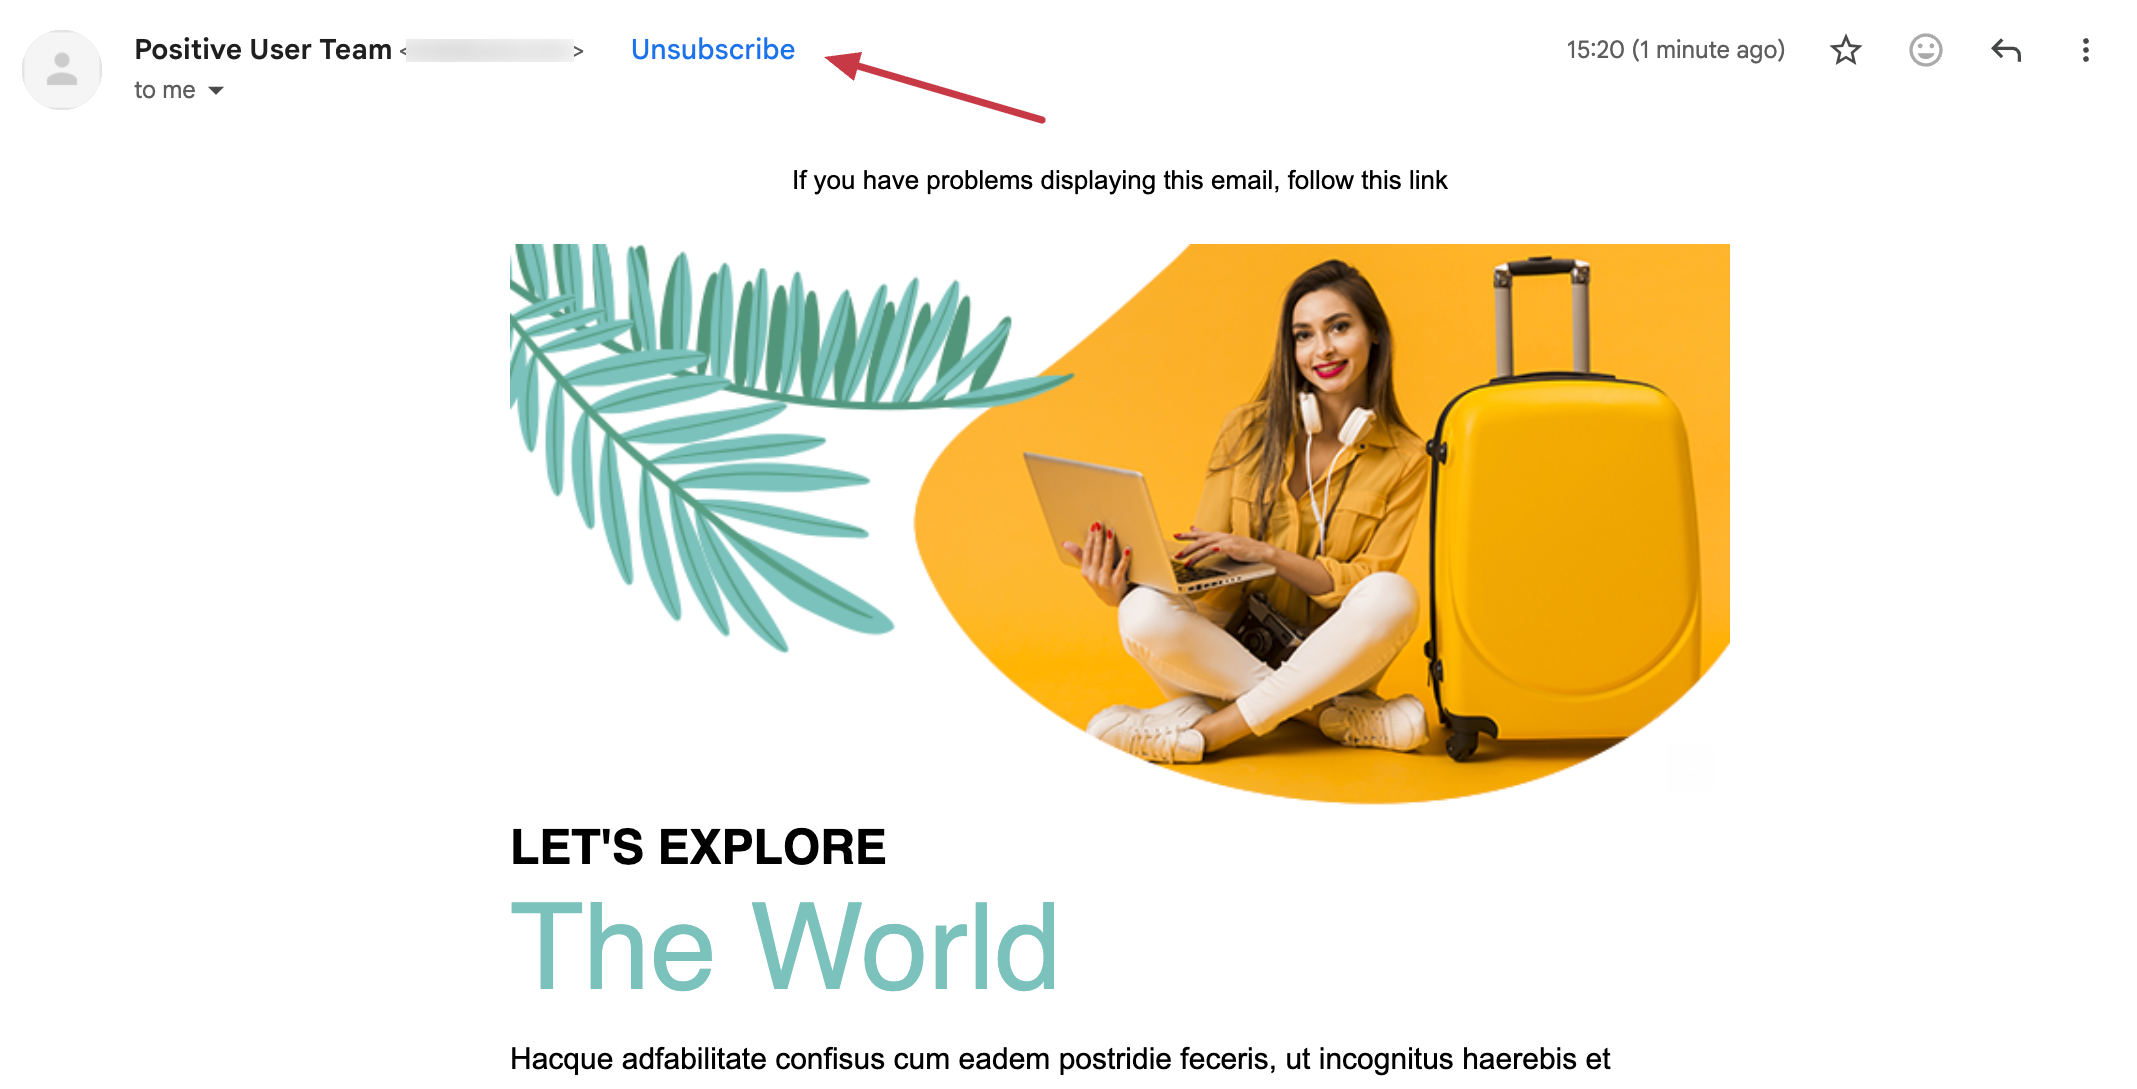
Depending on how you build your emails, Positive User automatically assigns one of the following unsubscribe types.
How to add it:
In the drag&drop email builder it’s added automatically to every new message.
You can add it as a special type of link with the “UE_unsubscribe” value. More details here.
In HTML builder you need to add an HTML tag with "UE_unsubscribe" ID.
Result:
Positive User automatically assigns a general one-click unsubscribe header. When a contact clicks the native unsubscribe button in their email app, their “Unsubscribed from email” attribute updates with “true” value.
How to add it:
In the drag&drop email builder you need to insert an unsubscribe link with the suitable list ID. More details here.
In the HTML editor you need to insert an HTML tag with ID "UE_unsubscribe_list_{list_id}"
Result:
Positive User assigns a list one-click unsubscribe header specifically for that list ID. When clicked, the contact is removed only from that specific list.
How to add it:
In the drag&drop email builder you need to choose the “Code” block with your custom code in it, if you want to use custom unsubscribe page.
In the HTML editor you need to use a custom tag.
Result:
Positive User applies a custom one-click unsubscribe header. Clicking the button sends a background POST request to your specified link. Your technical team is responsible for managing and processing this POST request on your server.
It’s important to admit, that this is not a direct unsubscribe link. It’s a link to the subscription preference center page.
How to add it:
In the drag&drop email builder you need to choose the “Code” block with the <a id="UE_manage_subscriptions">Manage your subscriptions</a> snippet. More details here.
In the HTML editor you need to use a <a id="UE_manage_subscriptions">Manage your subscriptions</a> snippet directly in the code.
Result:
Managing preferences is not a direct opt-out action. If your email contains no other unsubscribe links, Positive User automatically defaults to applying the general one-click unsubscribe header to keep your email compliant.
If you place multiple unsubscribe links in a single email template, Positive User automatically selects the option with the highest priority to create your one-click unsubscribe header. The priority order is:
Custom Unsubscribe (Highest priority)
List Unsubscribe
General Unsubscribe (that also covers Subscription Management)(Lowest priority)
If your template includes multiple “unsubscribe from specific list” links, Positive User automatically selects the first one present in your code.