In-app messages appear inside your mobile application while a contact is actively using it, giving you a direct way to catch their attention at high-intent moments. A one-time campaign lets you display a single message (either immediately or scheduled for a specific date) to announce time-sensitive perks like free shipping, flash sales, or new arrivals. Setting up your campaign in Positive User allows you to design your layout, target eligible app contacts, and save drafts for review before anything goes live.
Choose a one-time campaign when your message applies to all active contacts over a specific calendar window rather than an individual behavior. Common examples include holiday shipping deadlines, weekend discount codes, and platform-wide updates. If you want an in-app banner to display automatically whenever a contact performs an action (such as viewing a specific screen or abandoning a cart), build an automated in-app message instead.
Make sure you have these three essentials ready before building your campaign:
A connected mobile app: Your application must be integrated with your Positive User Workspace so the platform can deliver banners to your contacts' devices.
Contacts with active FCM keys: When someone installs your app, their device receives a unique Firebase Cloud Messaging (FCM) key. Only contacts with an active key saved on their profile can receive in-app banners.
A ready-to-use audience: While you can select contacts manually with filters during setup, building a dynamic segment or contact list beforehand makes targeting faster and prevents audience errors.
Follow these steps to set up, design, and schedule your one-time in-app message campaign.
Go to "Campaigns" → "Mobile App Marketing" → "In-App Messages". Click the purple "New campaign" button located in the top-right corner.
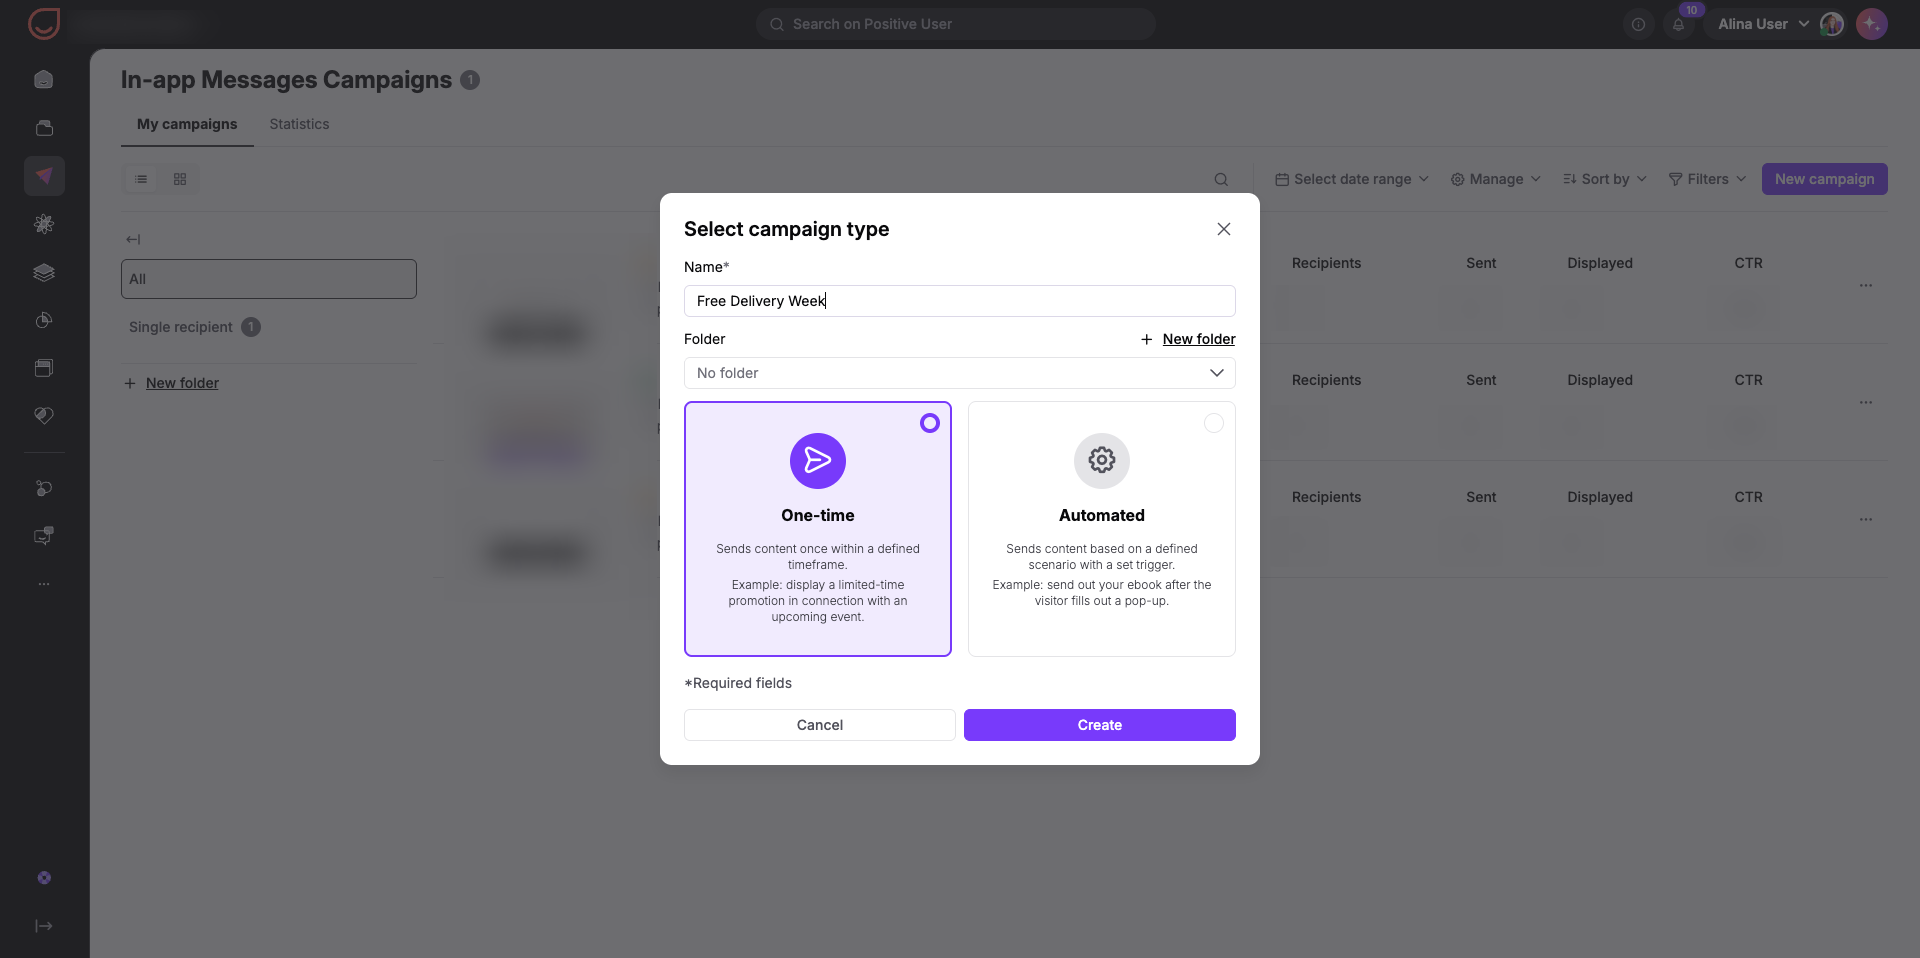
Configure basic parameters in the appeared window:
Enter an internal title in the "Name" field (for example, Free Delivery Week). Your contacts never see this name.
Optionally choose a "Folder" to keep your campaigns organized.
Select "One-time" under the campaign type options.
Click "Create".
Your campaign is saved as a draft, and the editor displays five setup stages across the top navigation bar.
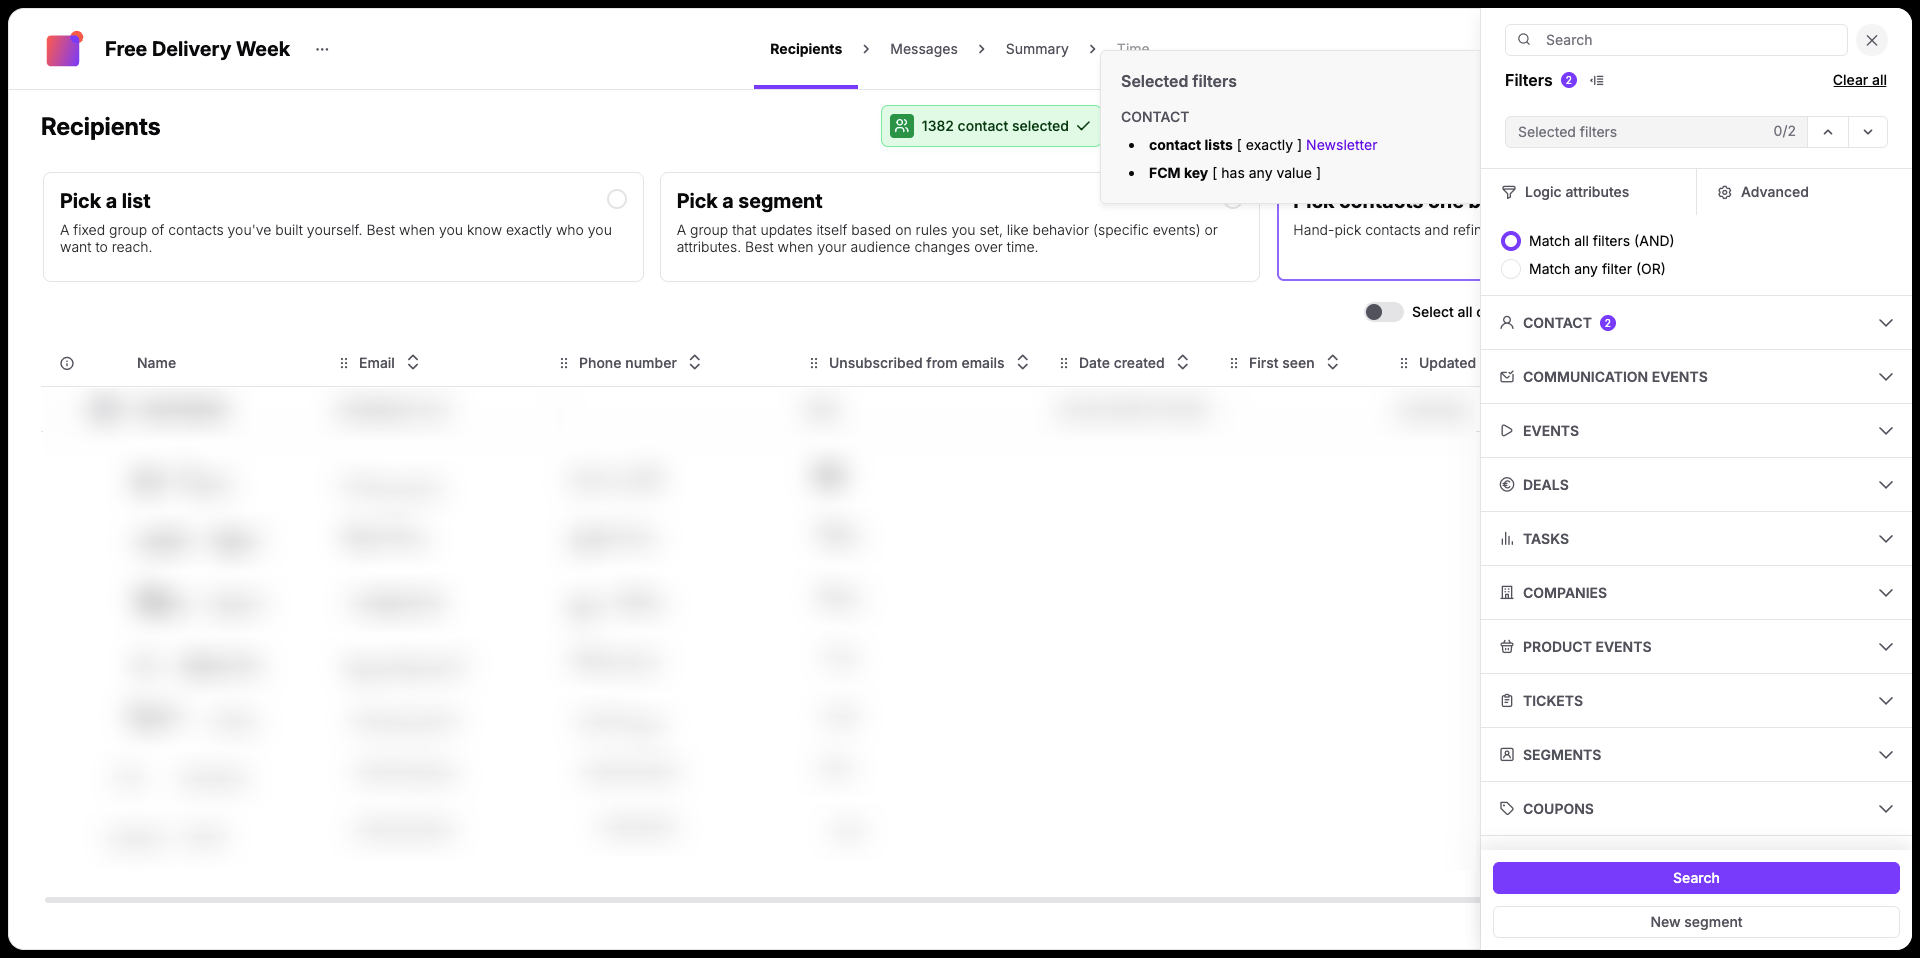
Select the audience eligible to view your banner inside the application.
Pick your targeting method. Remember, that you can choose only from the contacts who have the value in “FCM key” attribute.
Select a contact list.
Select a segment.
Select contacts (using filters).
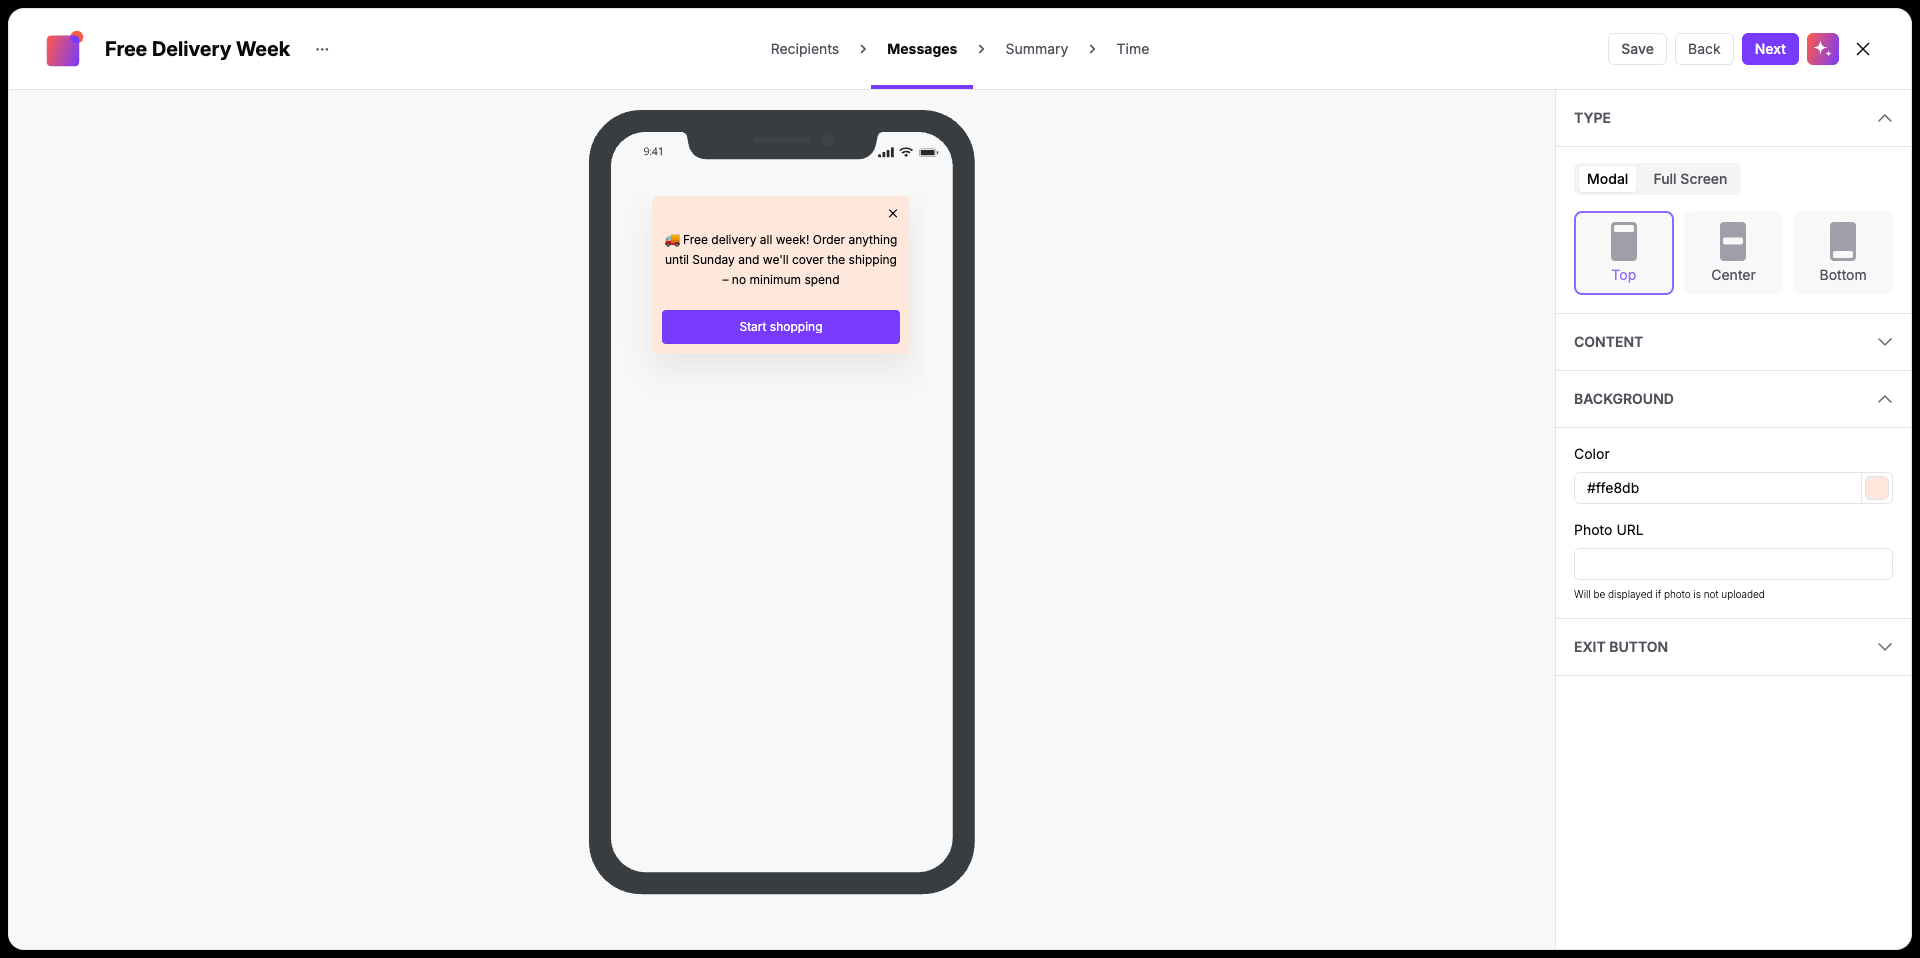
Design your banner layout, add content elements, and fine-tune styling directly in the visual editor.
Add content blocks: In the right-hand panel under "Content", click "Button", "Text", or "Image" to add new content blocks to your banner canvas.
Write and format text: Click the text area in the mobile preview to type your message. Type your headline and add your descriptive copy (for example, “🚚 Free delivery all week! Order anything until Sunday and we'll cover the shipping – no minimum spend”).
In the "Text" section of the side panel, fine-tune spacing using "Top margin", "Bottom margin", "Left margin", and "Right margin".
Configure the button: Double-click the button in the canvas to edit its label (for example, “Start shopping”). Expand the "Button" section in the right panel to customize its settings:
Enter your target destination in the "Button URL" field or an internal app screen deep link).
Set the "Background color"
Adjust "Top margin", "Bottom margin", "Left margin", and "Right margin" to position the button relative to other elements.
Choose layout and screen placement: Expand the "Type" section at the top of the panel. Select "Modal" for a floating pop-up card or "Full Screen" for an immersive display. Under position, choose whether the modal appears at the "Top", "Center", or "Bottom" of the screen.
Customize the background: Expand the "Background" section. Enter a hex code or pick a shade in the "Color" field (default is #FFFFFF). To display a graphic background, paste an image link into the "Photo URL" field.
Set up the exit button: Expand the "Exit button" section and switch on the "Enable Exit button" toggle to give contacts a clear way to dismiss the banner. Set the icon "Color" using a hex code or swatch, choose "Left" or "Right" under "Placement", and adjust "Top margin" and "Side margin" to align the close icon.
Click "Save" in the top bar to record your changes.
Click "Next”.
Keep your message brief. A single headline, one clear sentence, and a focused call-to-action button ensure contacts can digest your offer at a glance.
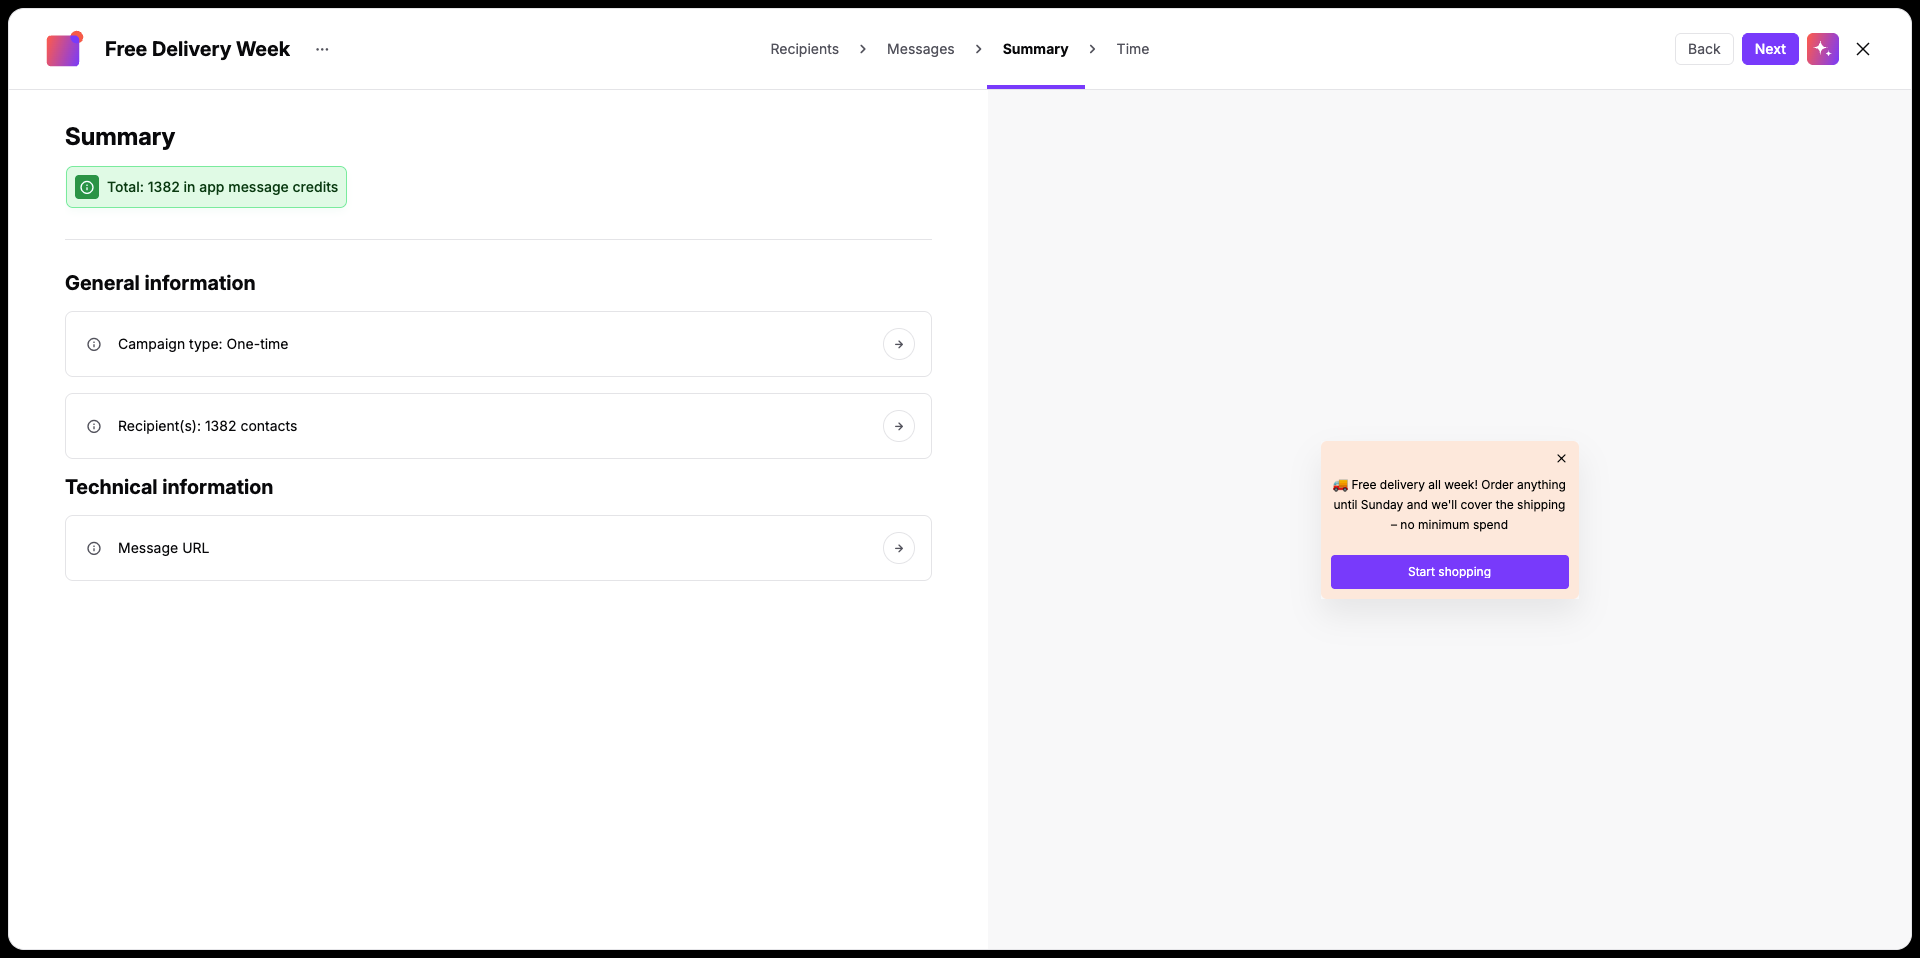
The "Summary" step provides an overview of your campaign settings before scheduling:
Campaign type.
Total recipient count (equals to the number of credits required for the campaign).
Message URL.
Visual preview of your message text, layout, and button design.
If you need to make changes, click any step name in the top navigation bar to return to that section. When your setup is complete, click "Next"
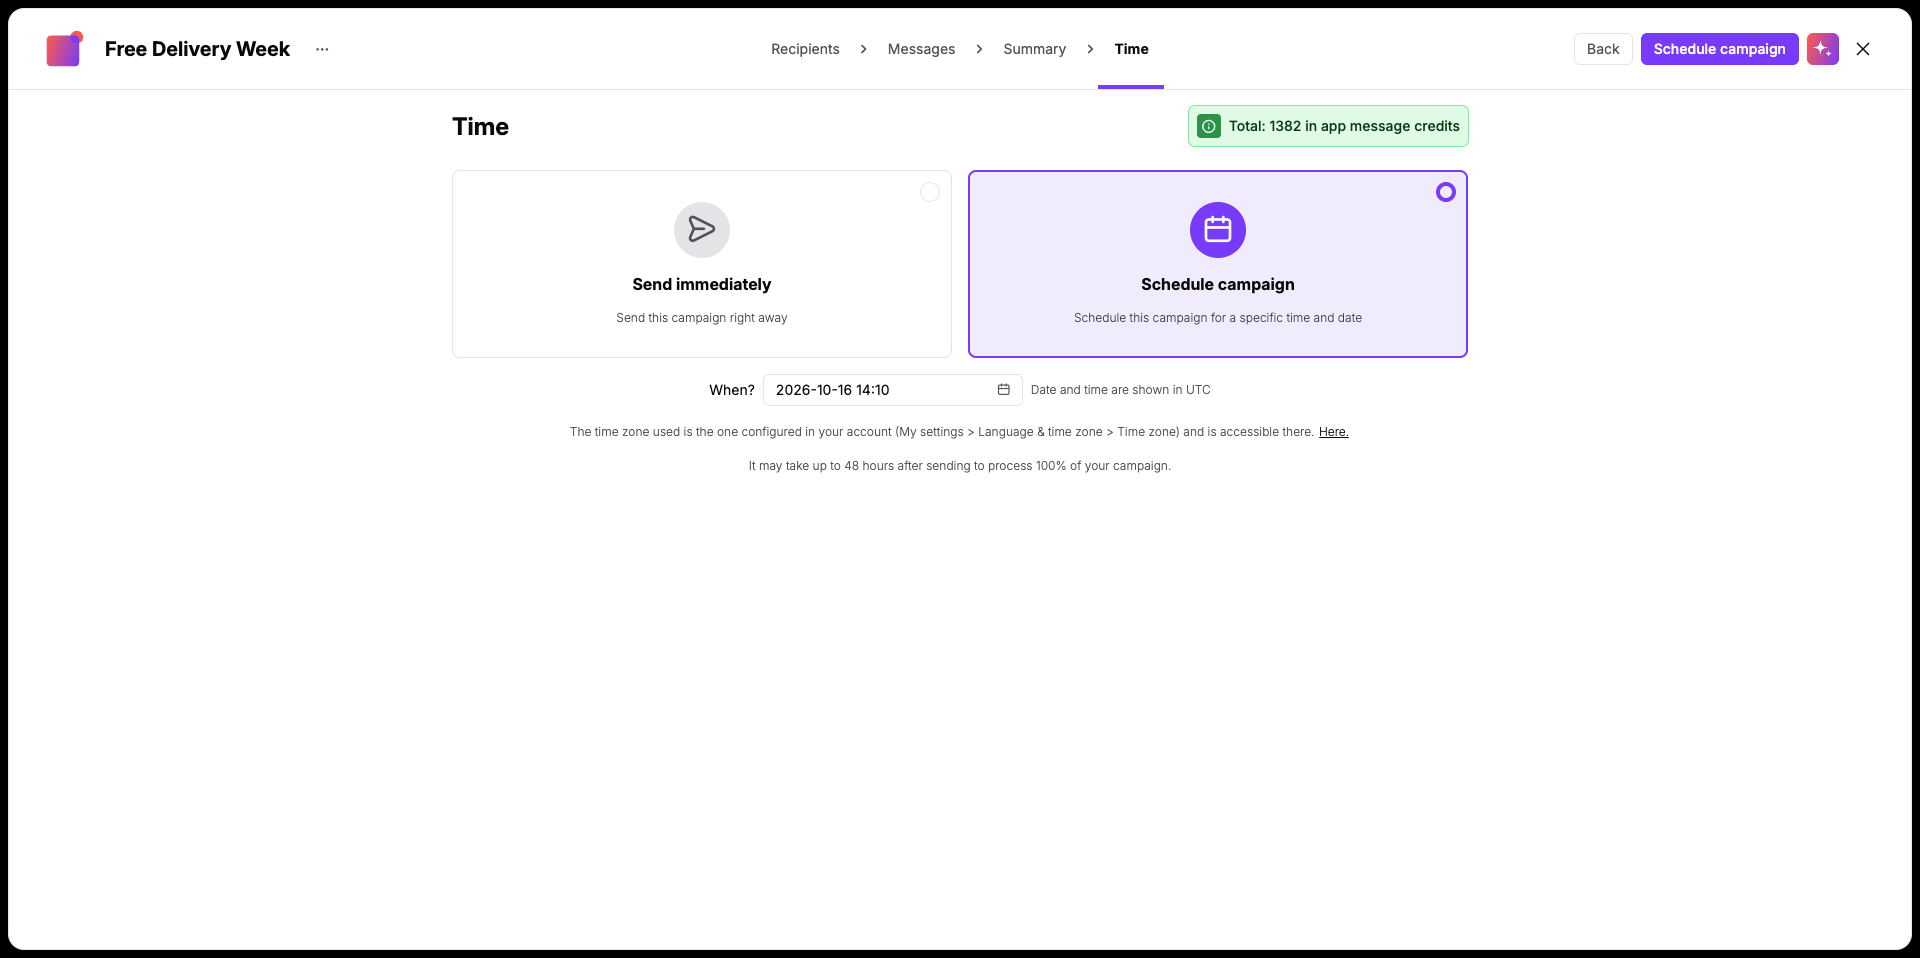
The "Time" step lets your team decide when the message becomes visible to contacts in your app.
Select your delivery schedule:
"Send immediately": Activates the message right away so contacts see it as soon as they open the app.
"Schedule campaign": Sets a specific launch date and time for the message to go live.

Limited-time promotions: Announce weekend discount codes, flash sales, or free shipping countdowns to contacts browsing your mobile store.
New feature and product launches: Spotlight a newly released seasonal collection or introduce a fresh mobile feature the moment contacts open the app.
Service notices and updates: Inform active shoppers about scheduled payment maintenance, temporary store closures, or holiday shipping cutoff dates.