Landing pages (LPs) help your team collect specific data from potential customers in exchange for an offer, like an ebook or a newsletter subscription. By using the editor in Positive User, you can build, test, and publish these pages without needing any coding skills.
To learn more about the basics of the landing pages, check the "Introduction to Landing Pages" article.
Go to "Website Experience" → "Landing Pages" and click the "New Landing page" button.
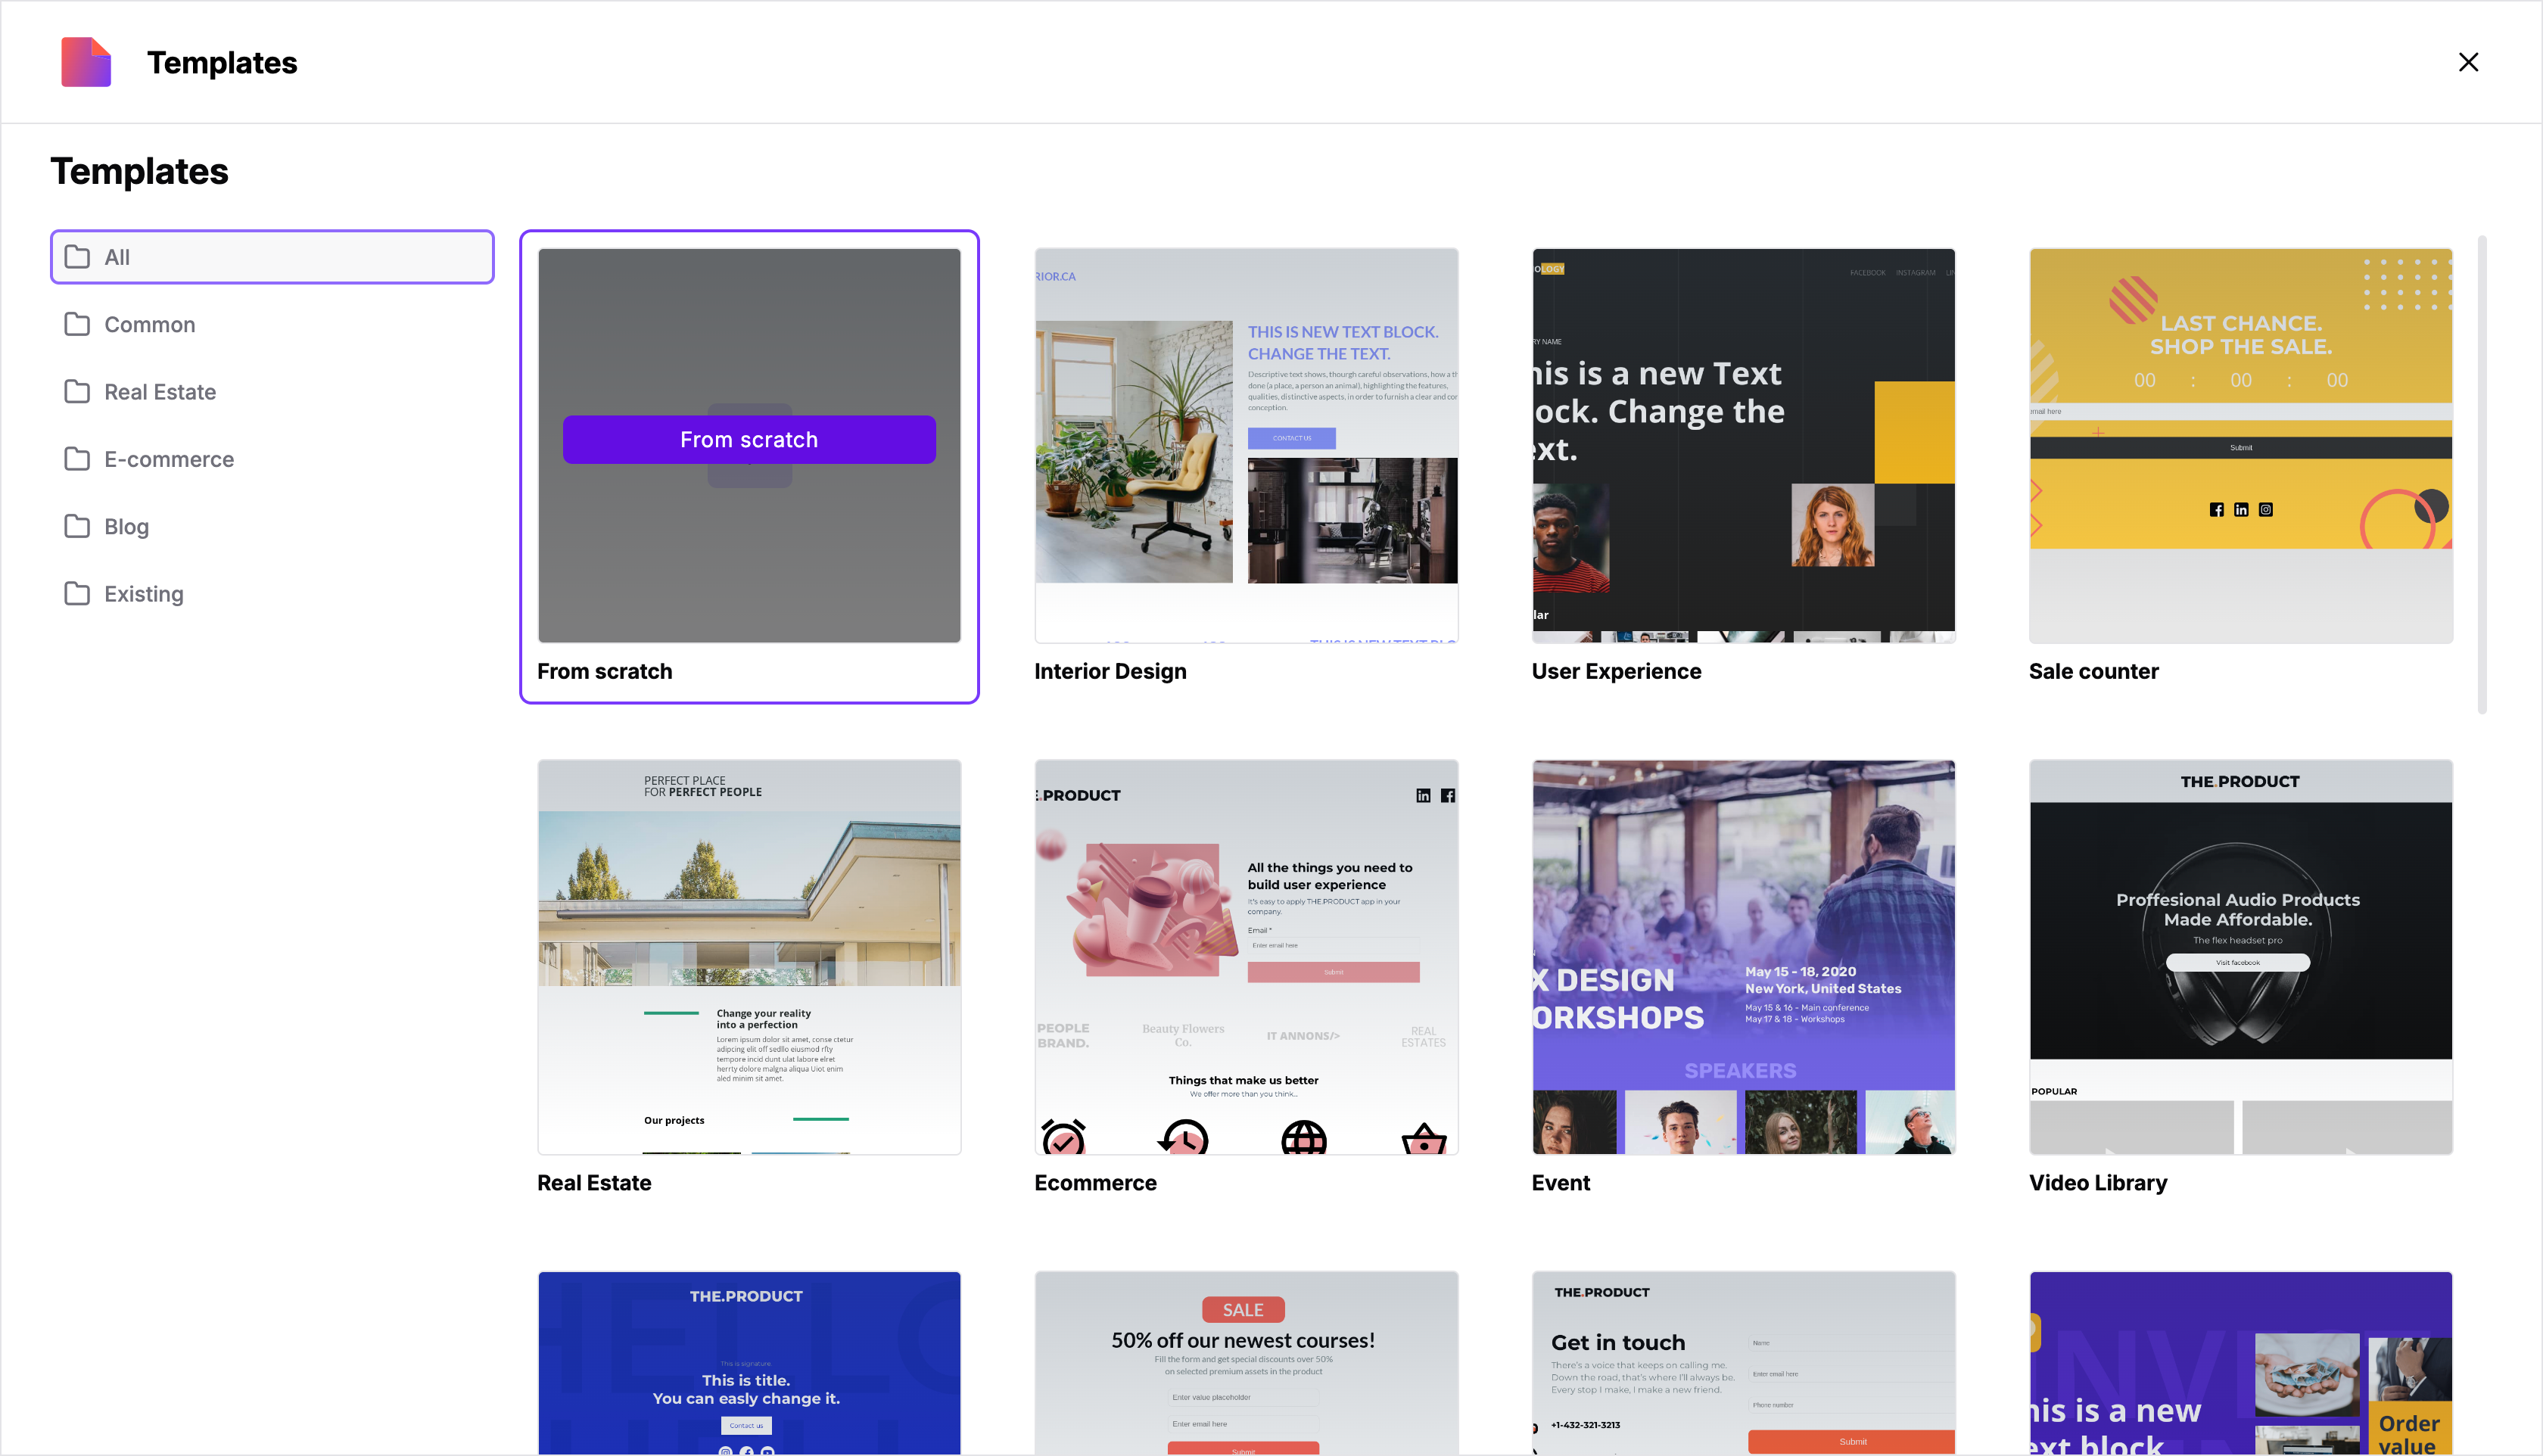
Choose a ready-to-use template from categories like "Common" or "Real Estate", or select "From scratch" to build a completely new LP.

Fill in the "Name", "Folder", and a short "Description" for your page to keep your workspace organized. Click "Create".
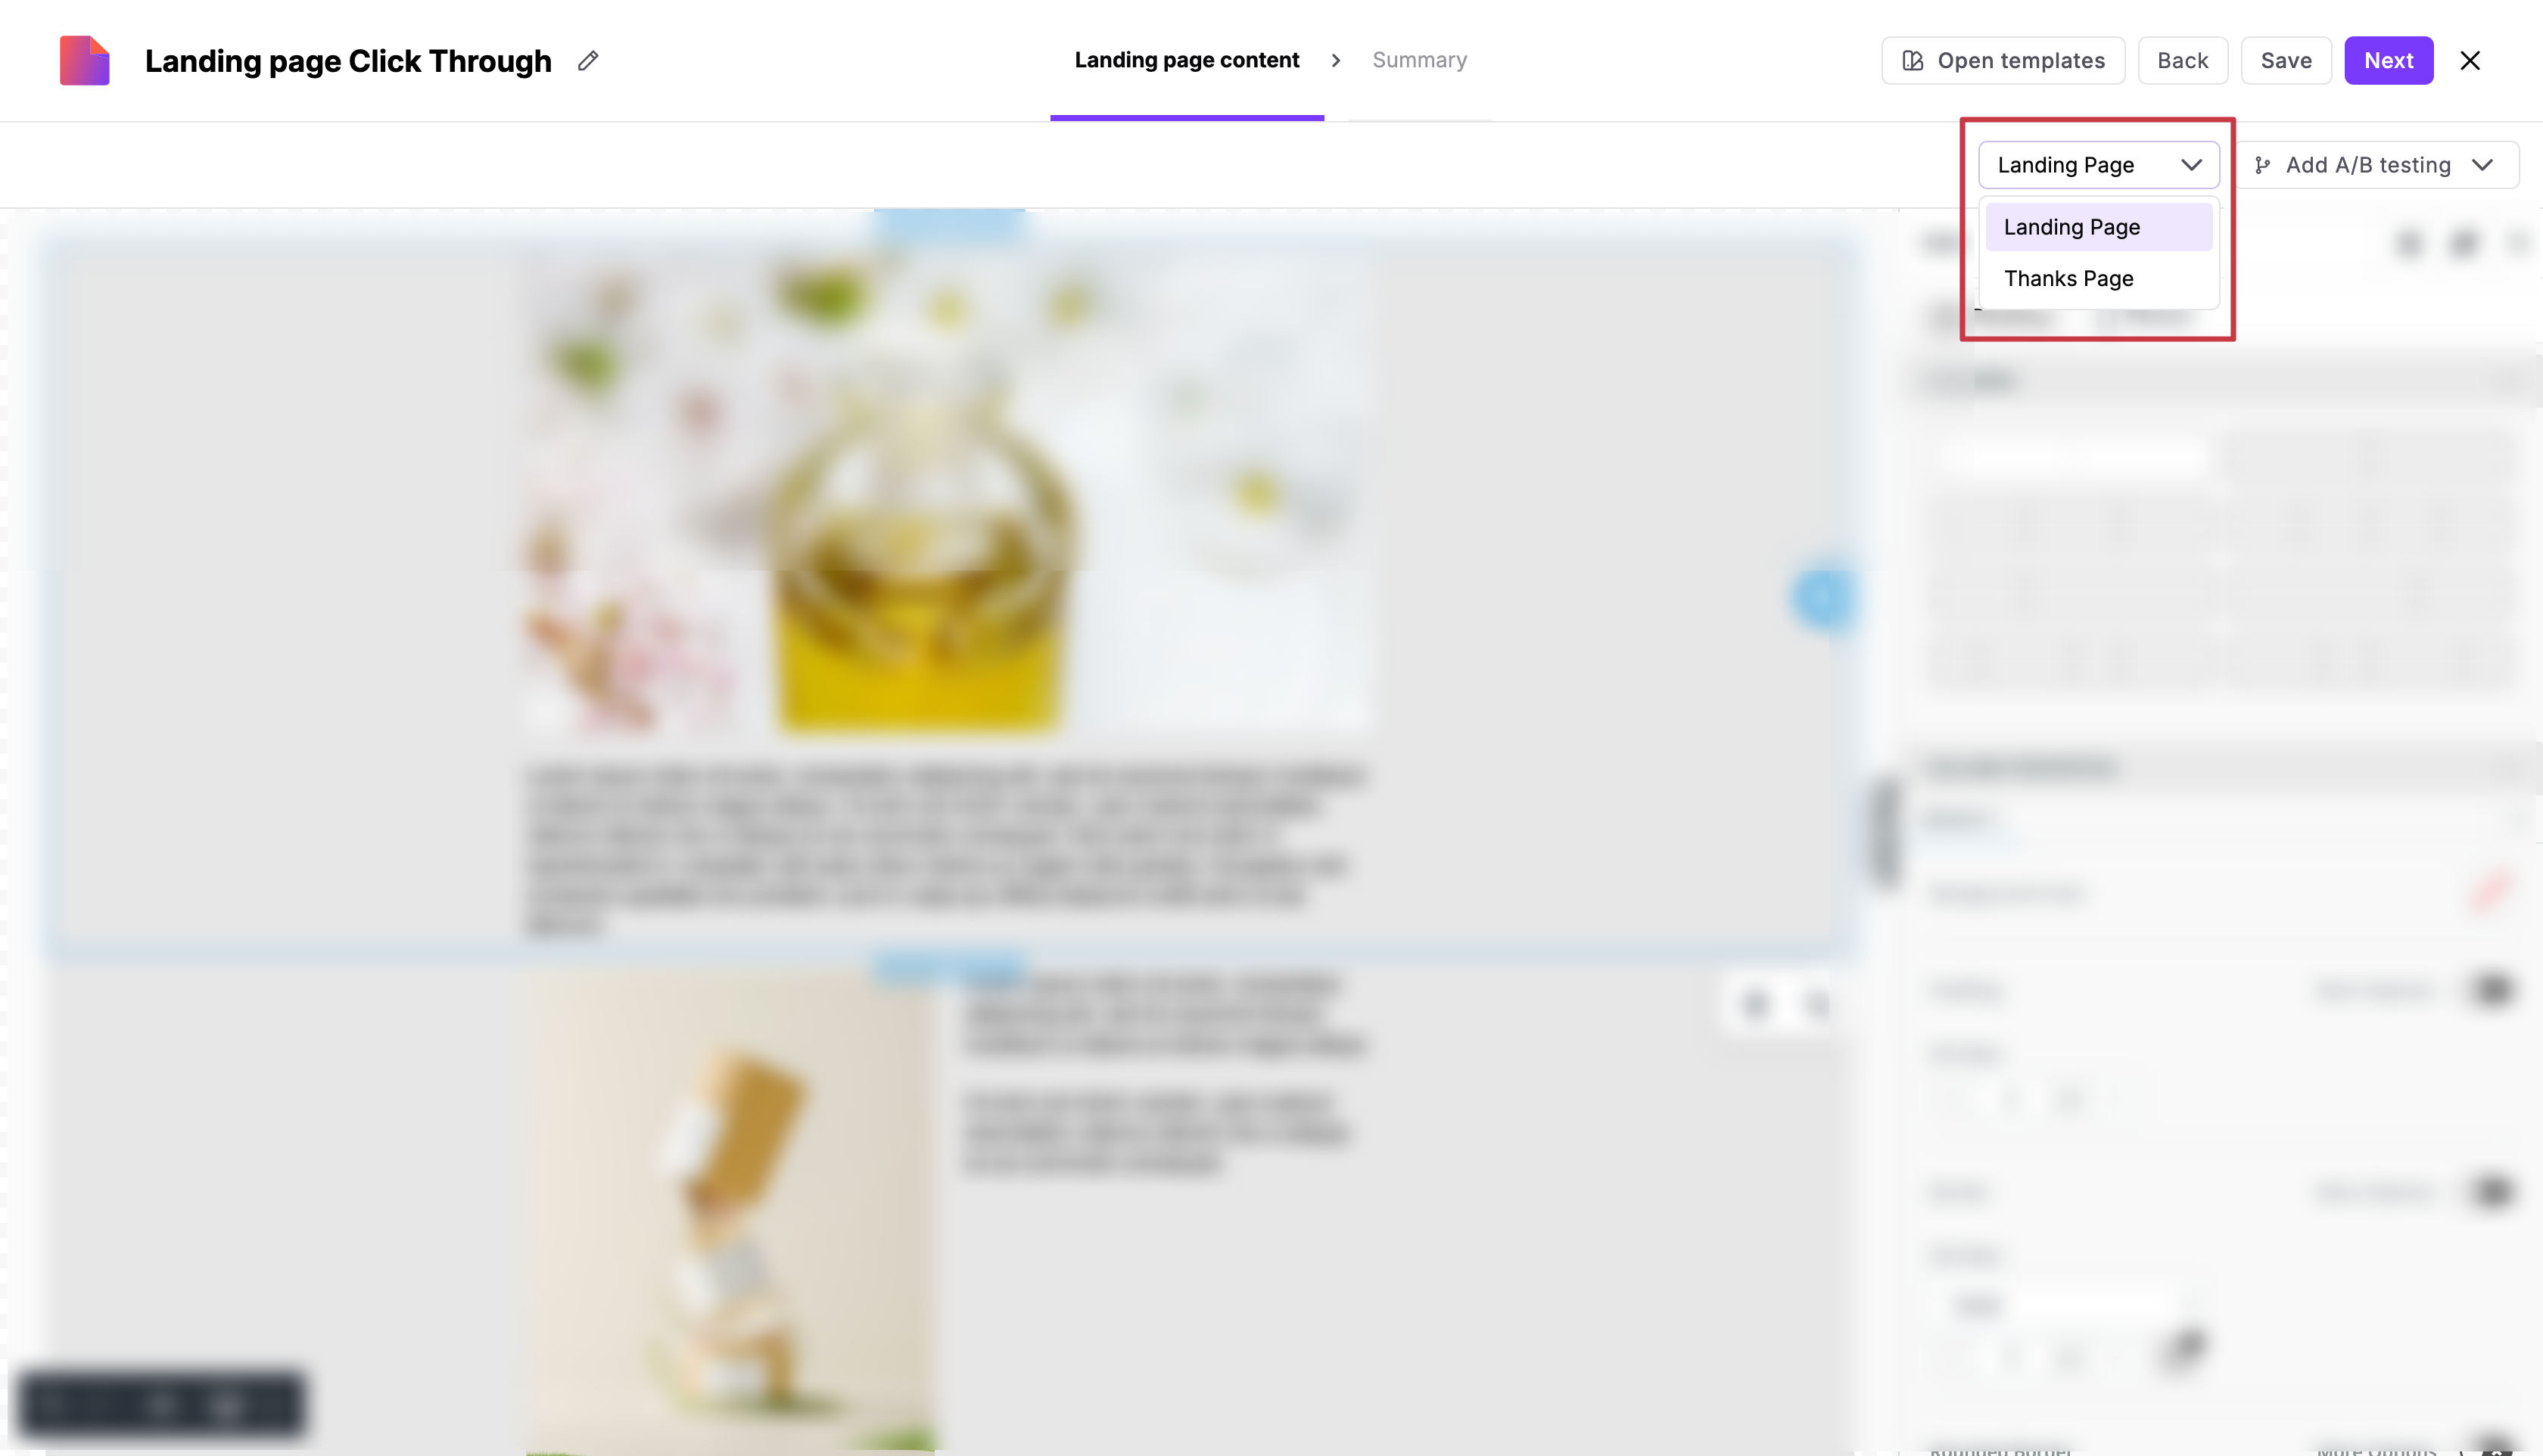
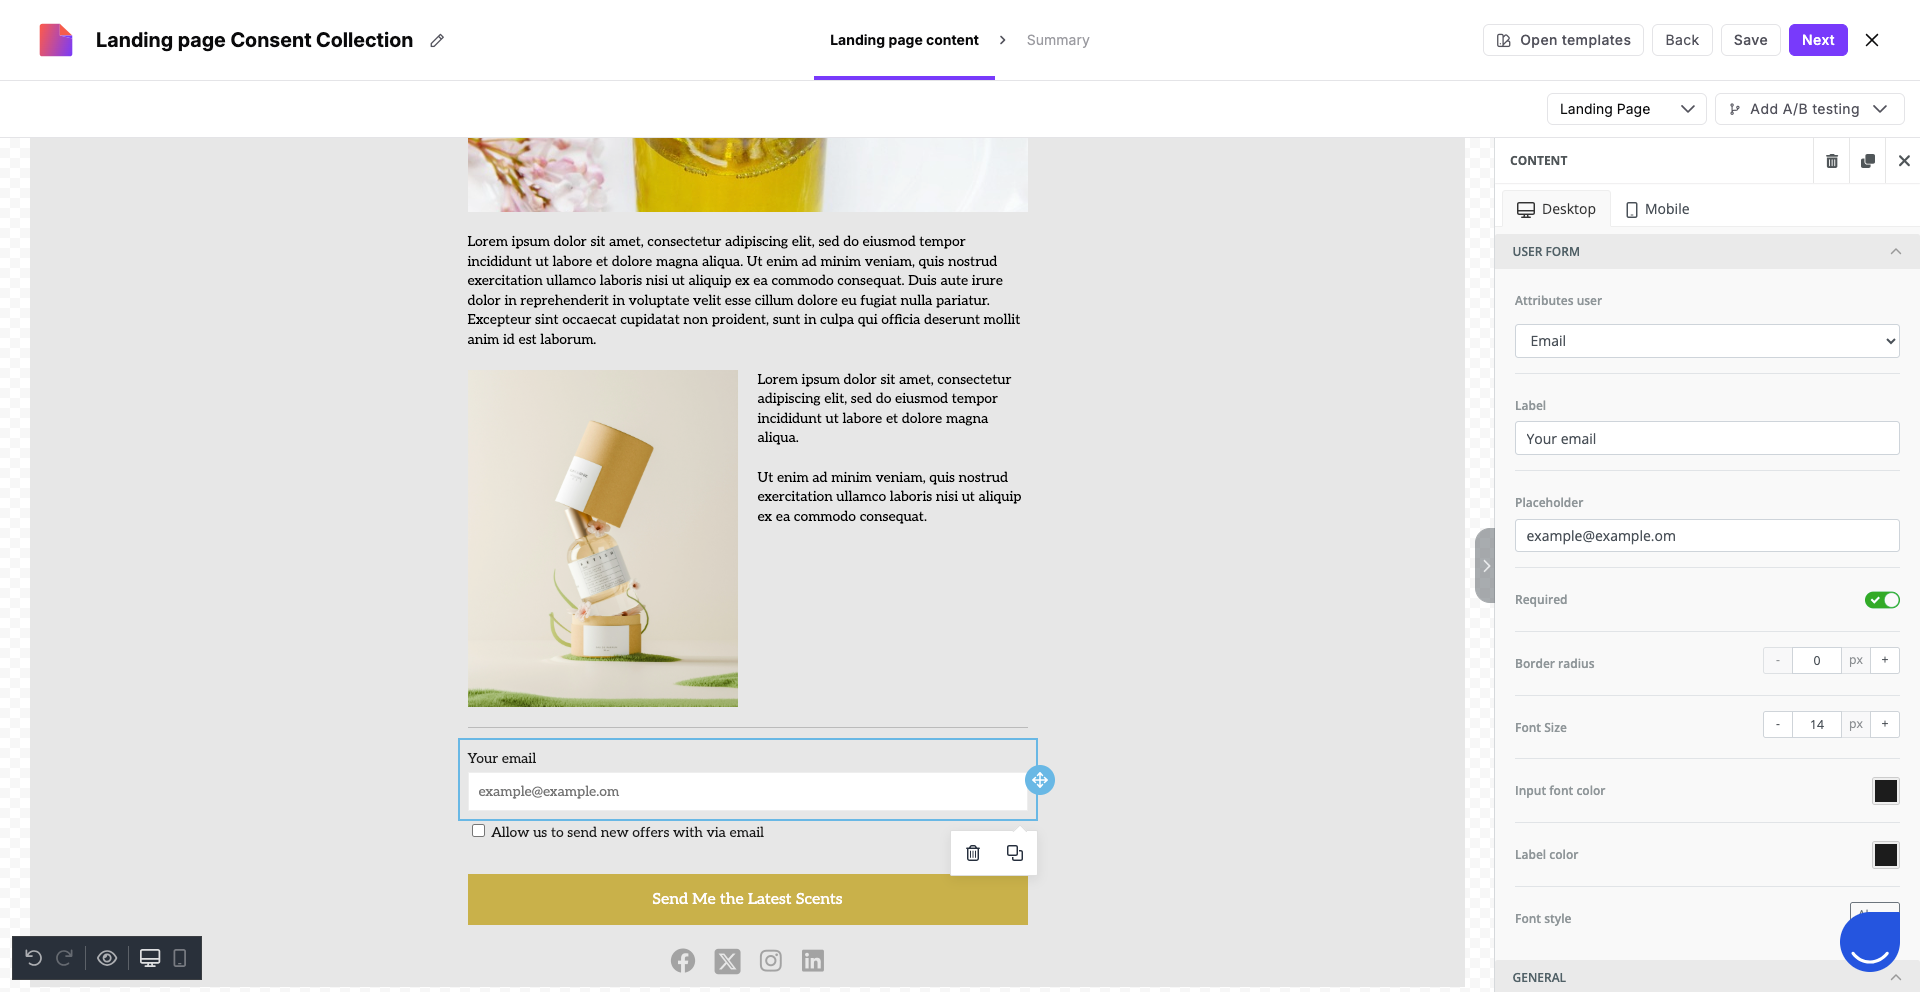
The editor is split into two sections: the preview on the left and the customization tools on the right. Be sure to design both the "Homepage" (where the offer is) and the "Thanks Page" (where the contact is redirected after signing up).
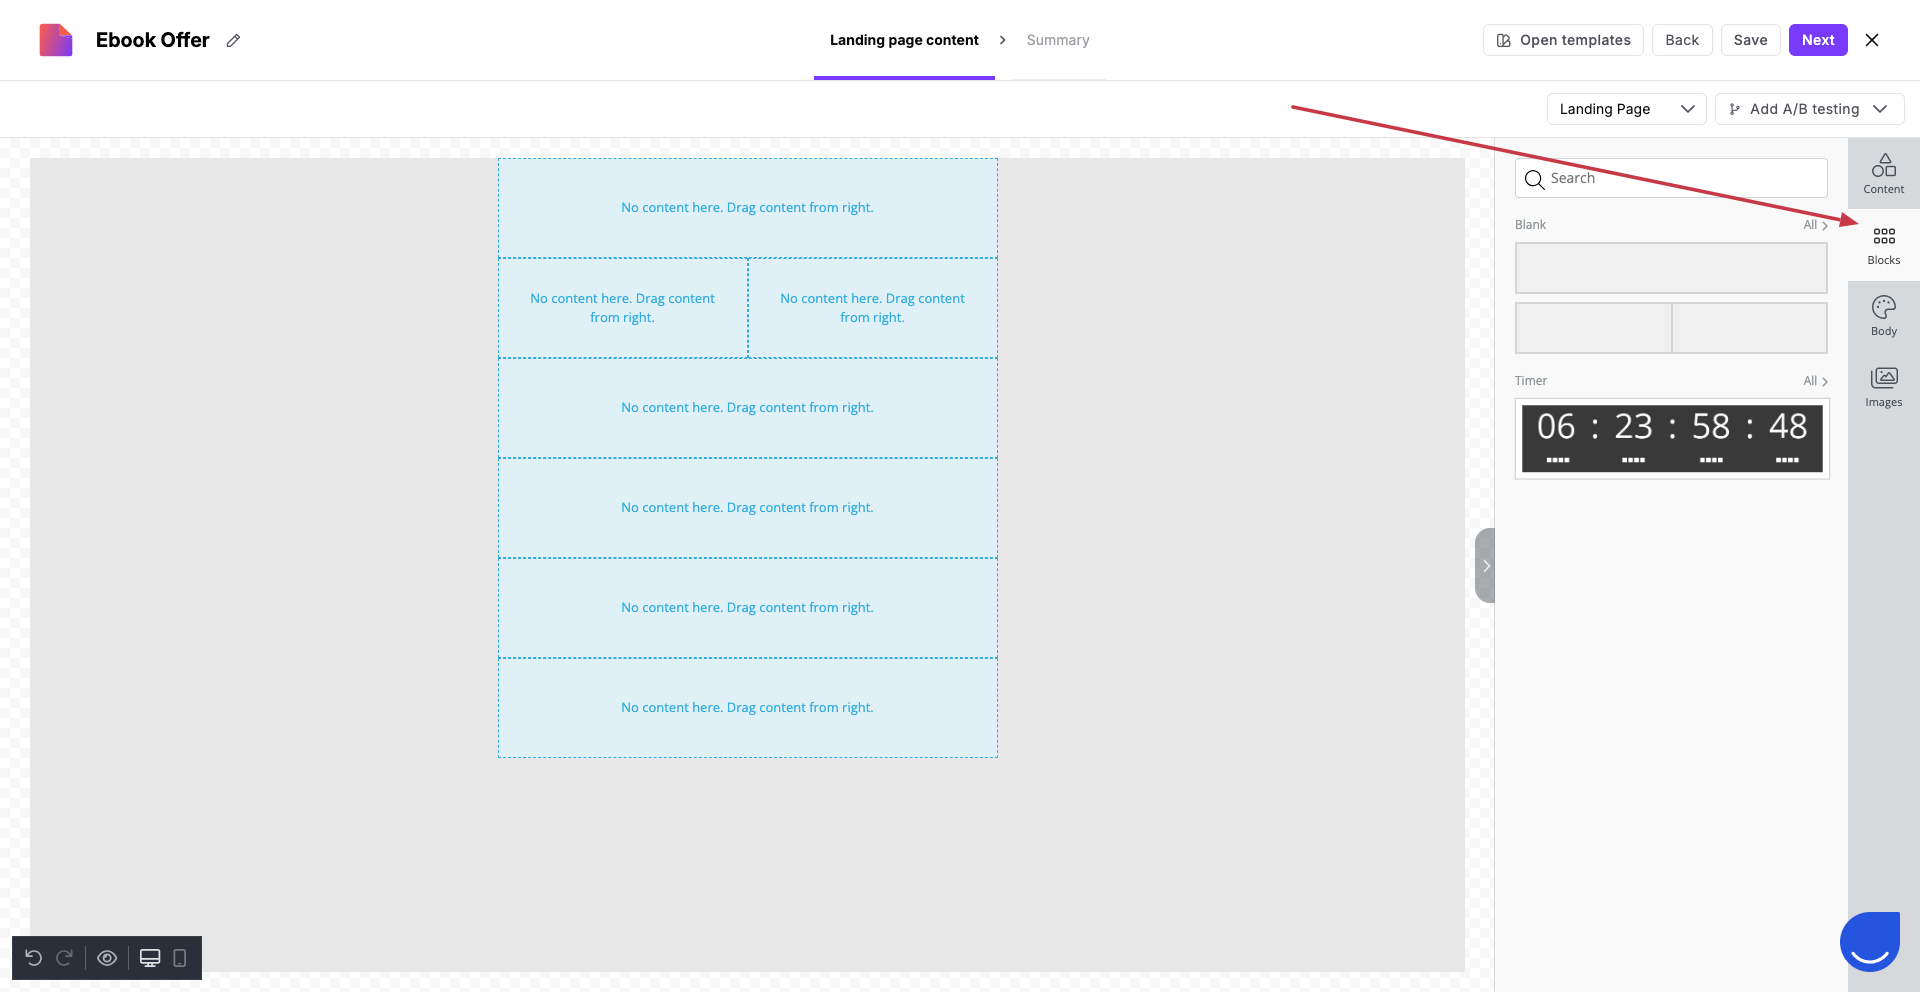
First, start with making a draft by using the “Blocks” from the menu on the right. It will help you to estimate the layout of the landing page.
Then you can start filling the blocks with the content from the “Content” section.
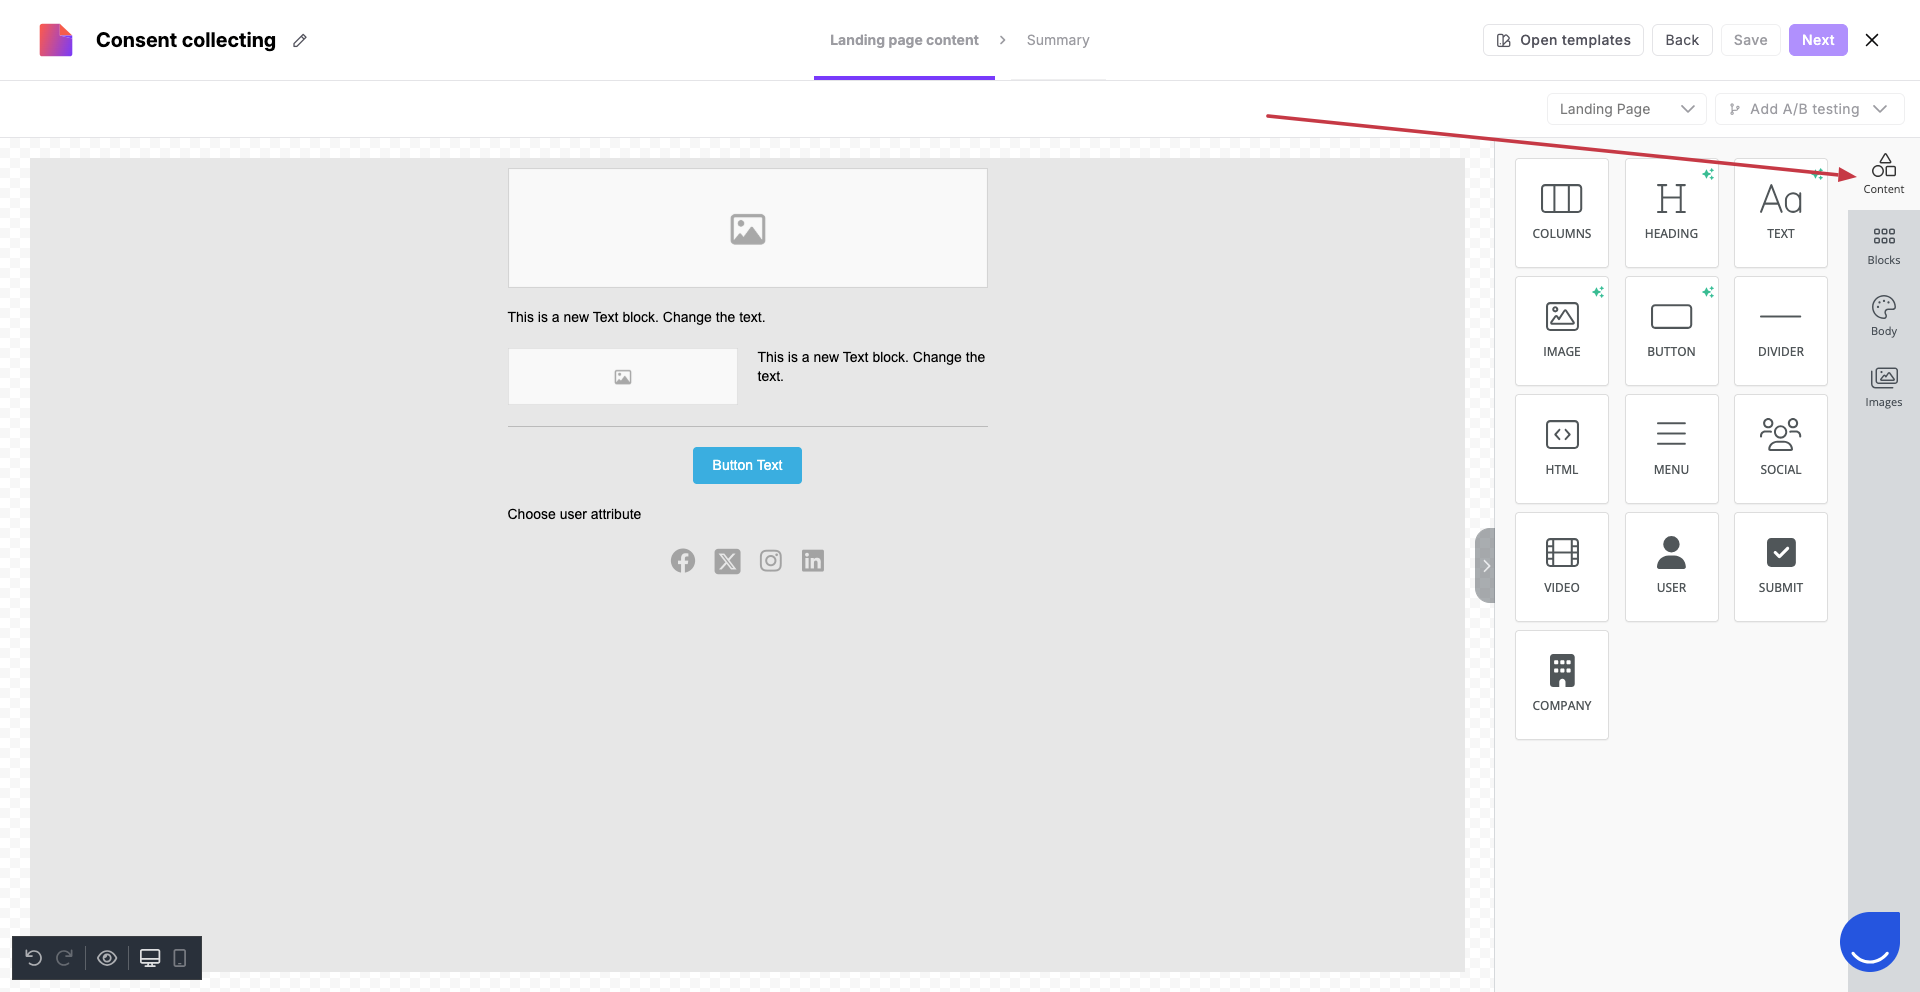
Once the template is ready you can customize the elements of the lading page with your content:
upload images (also you can create own images or use a library of stock photos)
write texts (remember, it’s not possible to insert dynamic content into text)
customize buttons and social media icons with company links
define the fields visitors will fill with their data (contact or company attributes)
Map your input fields. Drag an input module onto the workspace. Click on "Contact" or “Company” to choose which data you want to collect (such as "Email" or "First Name"). This ensures the information goes directly into the contact or company profile.
Set Required Fields
Switch on the "Required" toggle for any information you must have. If a contact tries to submit the form without filling these in, the page will highlight the empty fields in red.
Setup “Thanks Page” where your contacts are redirected after submitting the form. Switch between the “Landing Page” and its “Thanks Page” in top right corner.

Once you are ready with the content of the LP, click “Next” button and move to the “Summary” step.
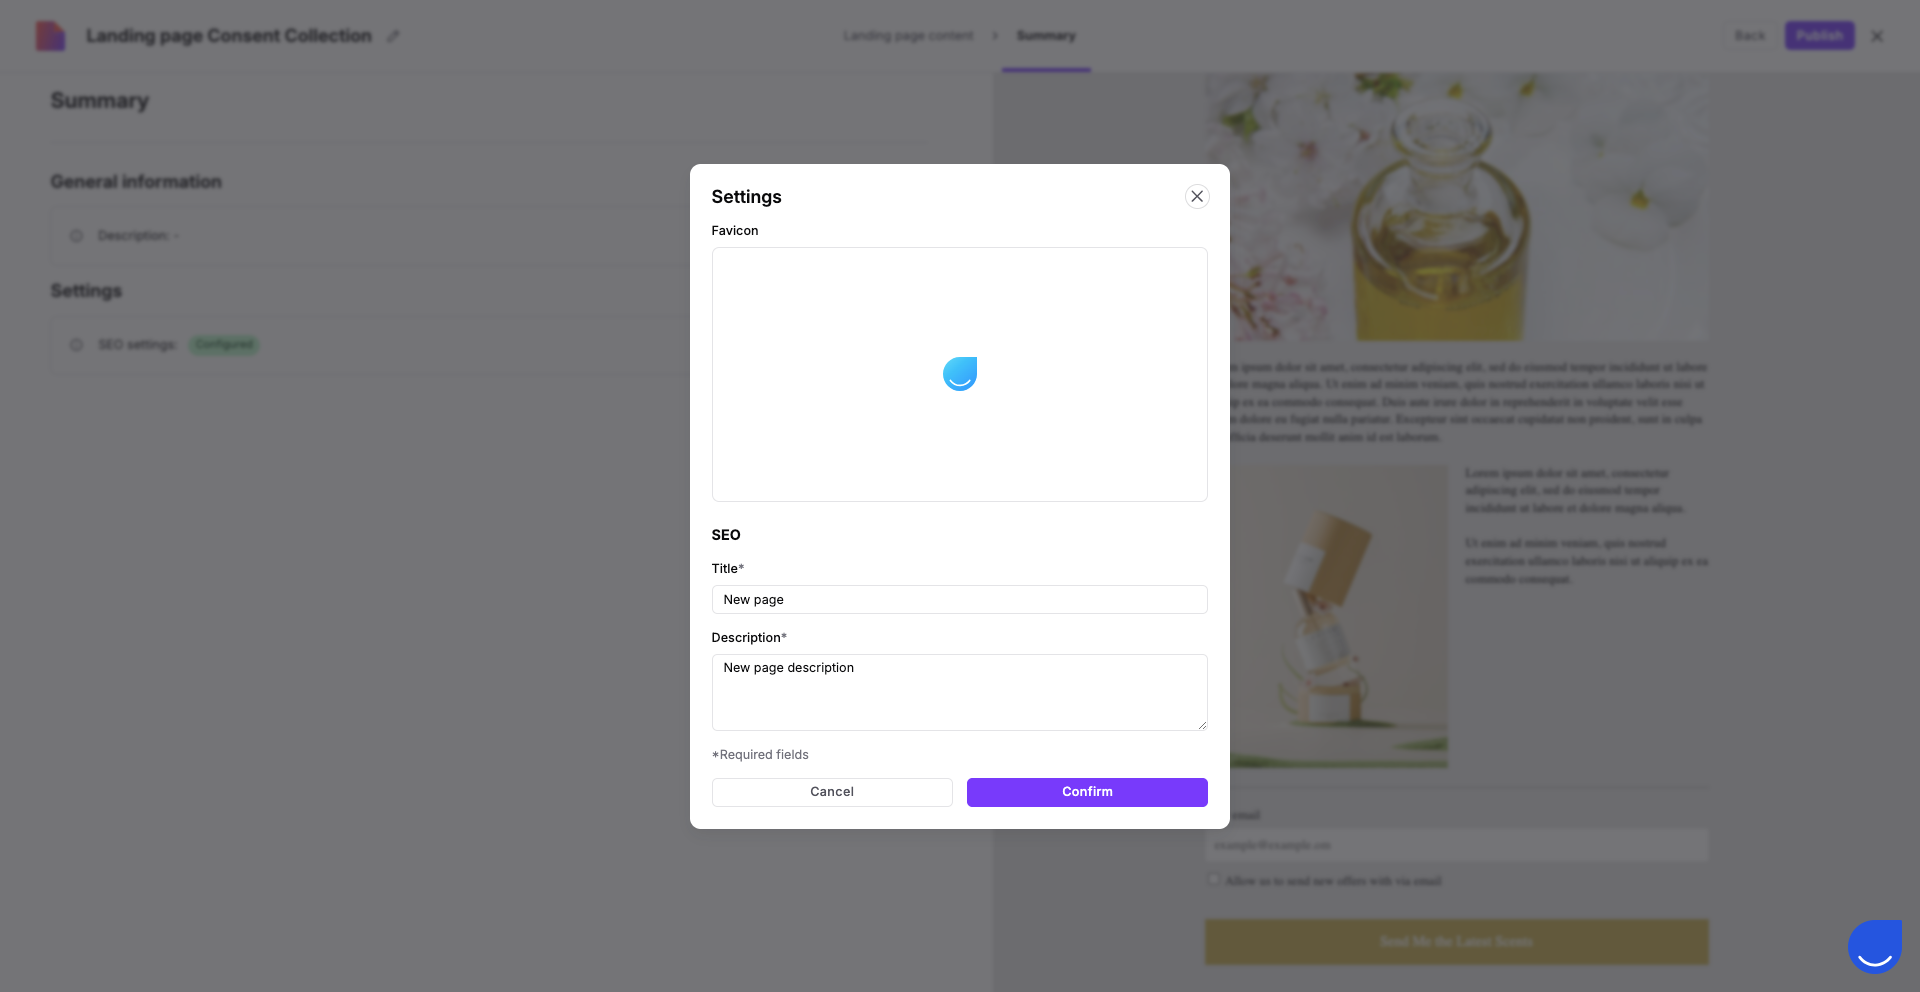
Here you can add a SEO-related parameters. These elements appear in browser tabs and search engine results. To help your page look professional, fill in these specific details:
Favicon: This is the tiny icon shown in the browser tab next to your page title. It helps your brand stand out among other open tabs.
Title: This is the main headline that appears in search engine results and at the top of the browser tab.
Description: This is the short summary (snippet) that appears under your title in search results. Use it to give contacts a clear reason to click on your link.
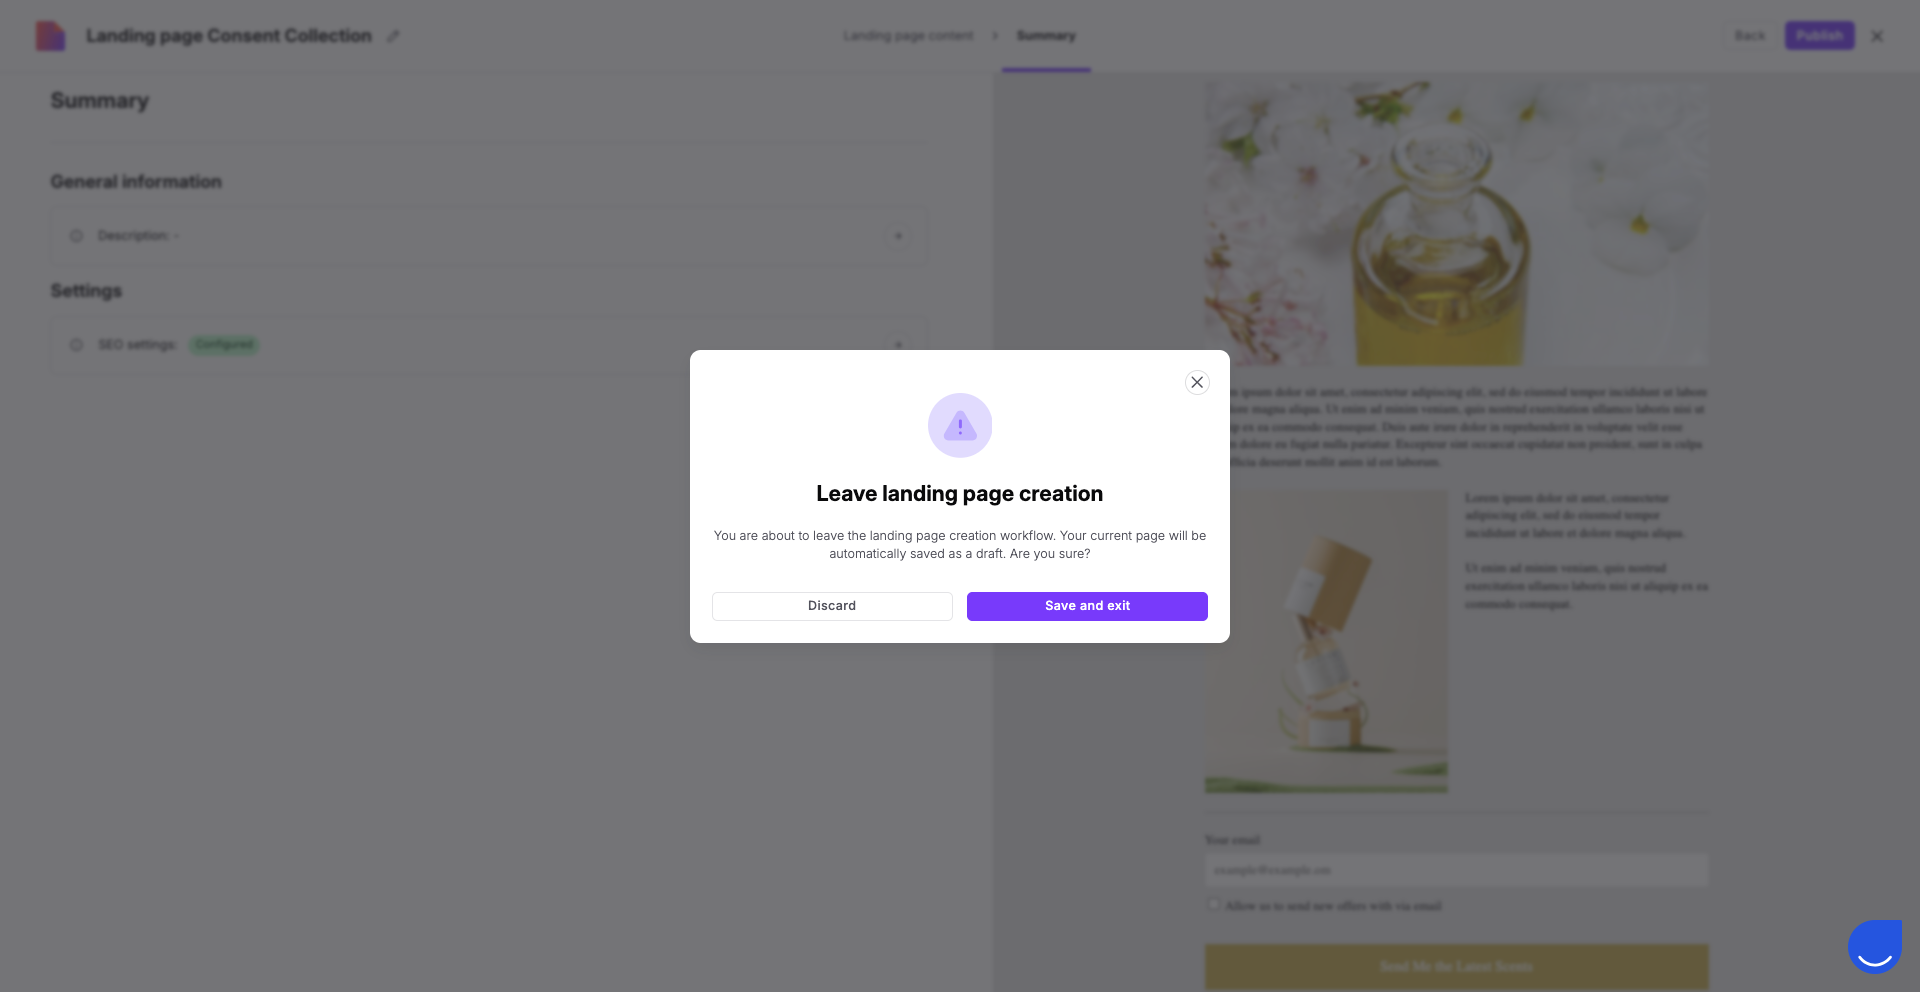
When you are ready - publish the landing page. If you feel that you need more time for configuration - click the “X” button in top right corner and save LP as a draft.
To find out which design works best, you can create a second version of your page. Choose whether you want to create a fully new landing page or copy the existing one to apply small changes.
Learn how to do it from the “How to A/B Test Landing Pages” article.
Every time a contact submits the form on your landing page and reaches the "Thanks Page", the activity is recorded directly on the contact's profile timeline as an event named “landing_page_conversion”. This event contains:
The unique "Landing Page ID".
The specific A/B test version the contact saw.
All the data collected from the form inputs.

To start an automation for a specific landing page, use the "Event” trigger module and select the “landing_page_conversion” event. Since your workspace might have multiple pages, use the “landingpage_id” attribute to filter for the specific page you want to track.
More details in “How to Trigger an Automation on Landing Page Submit”.
By default, your page uses a system URL. Connecting your domain means replacing that default address with your own company domain (like promo.yourbrand.com). This improves brand recognition and builds trust with your contacts. For a detailed guide on this process, see “How to Add a Custom Domain to a Landing Page”.
Lead Generation: Create a page offering a free guide. When an anonymous contact fills out the form, they are automatically converted into a known contact in your "Contacts" section.
Event Registration: Build a simple page for webinar sign-ups and use the "Submit" button to trigger an automation that assigns a task to a team member to follow up.
