Web push notifications let you send quick, direct updates to your audience without crowding their email inboxes. This communication channel helps your messages land directly on your audience's screens, ensuring high visibility for time-sensitive announcements. Even if your contacts are offline when you hit send, they will still receive scheduled notifications the next time they open their browser.
Make sure your web push prompt is fully configured before attempting to send a campaign.
One-time web push campaigns are ideal for manual, immediate updates that target your audience all at once. While automated campaigns run quietly in the background and trigger individually based on a contact's ongoing behavior, one-time campaigns are manual broadcasts. Your team can use them to share time-sensitive announcements, flash sales, or urgent updates that have a strict expiration date and apply to a large group of people simultaneously.
Web push prompt should be configured on your page in prior to collect subscriptions and build a web push recipient database.
In Positive User campaigns are understood as a combination of content and settings which allow you to send email.
Due to that, the process of the campaign creation is divided into several steps. Let’s go through all of them.
Go to "Campaigns" → "Web Push" in your main navigation and click the "Create New Campaign".
Name your campaign and select an optional category to keep your workspace organized.
Choose the “One-time” type, and click “Create”.

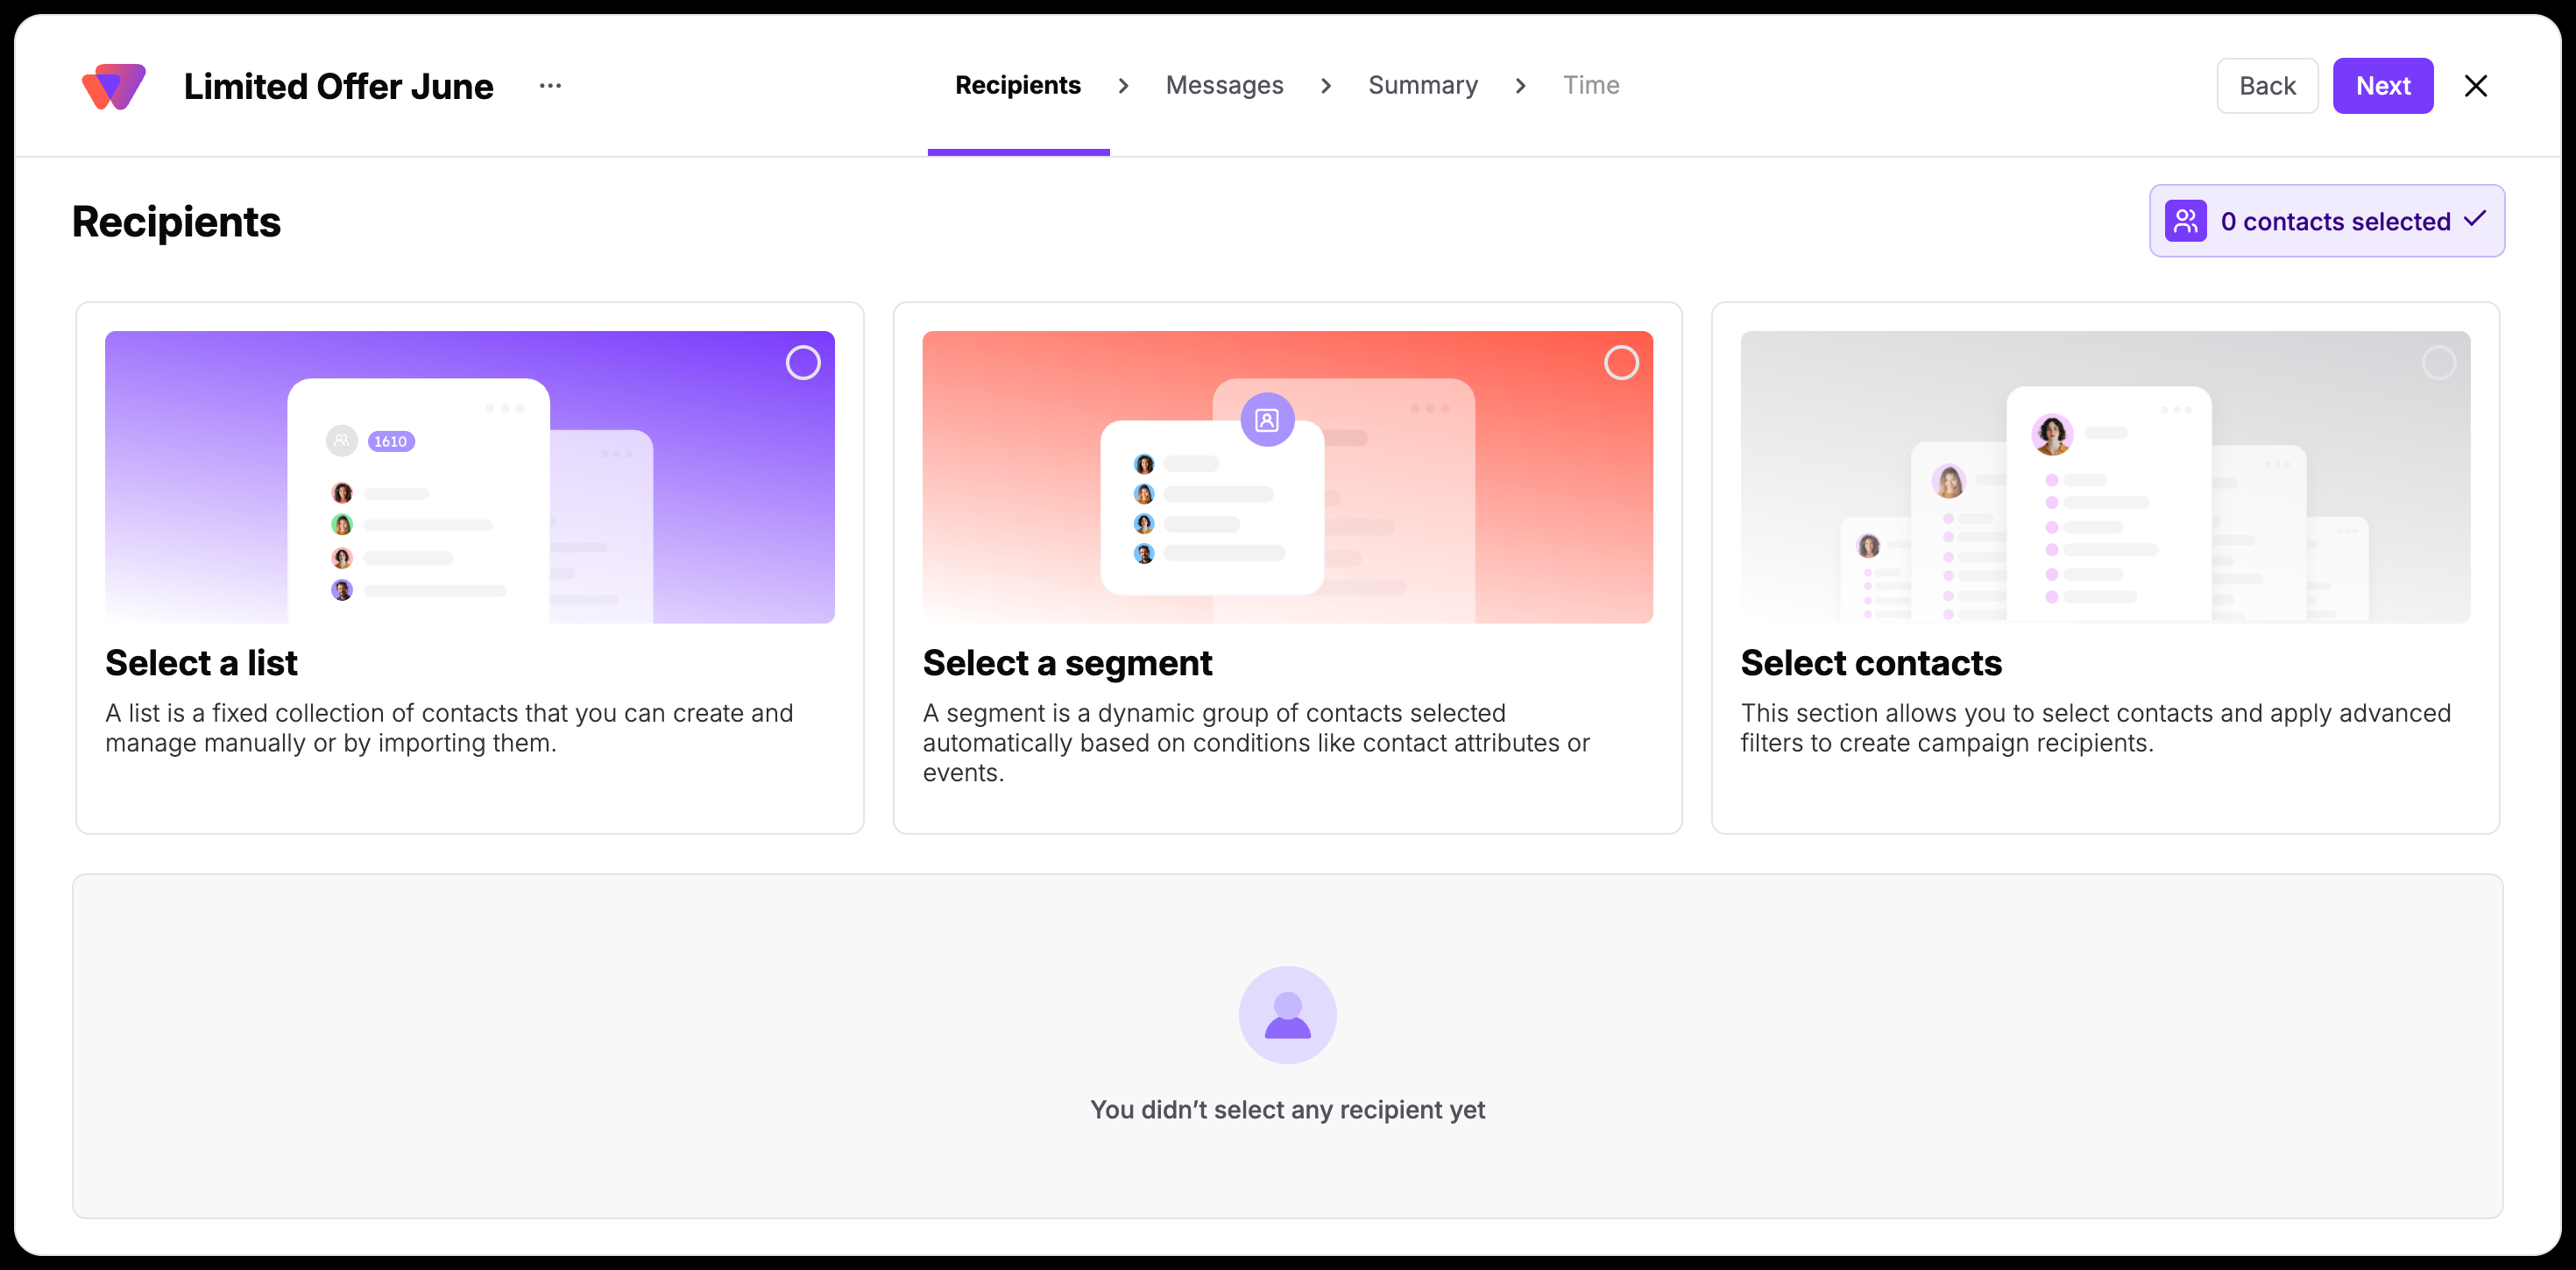
Use filters to specify exactly which audience segment should receive this broadcast. Keep in mind that only contacts who have explicitly accepted your web push prompt will be able to receive the message. There are 3 available options to define them:
Select a contact list.
Select a segment.
Select contacts (using filters).
Configure how your notification will appear clicking right on the preview. Modify the text, image and UR. Reach your audience using these fields:
"Title": Enter the headline text that appears at the top of the notification.
"Message": Write the primary body text of your web push.
"URL": Add the destination link where you want to redirect contacts who click the notification.
"Logo": Upload your brand logo or a square graphic. Use a 1:1 ratio image under 3MB for the best cross-device display.
Turn on the “Image” toggle on the right to enable this additional option:
"Image": Upload a larger promotional graphic. This uses a 2:1 ratio (recommended 1024×512 px pixels) and displays exclusively for people on Windows operating systems.
As an alternative you can also add up 2 buttons per message.
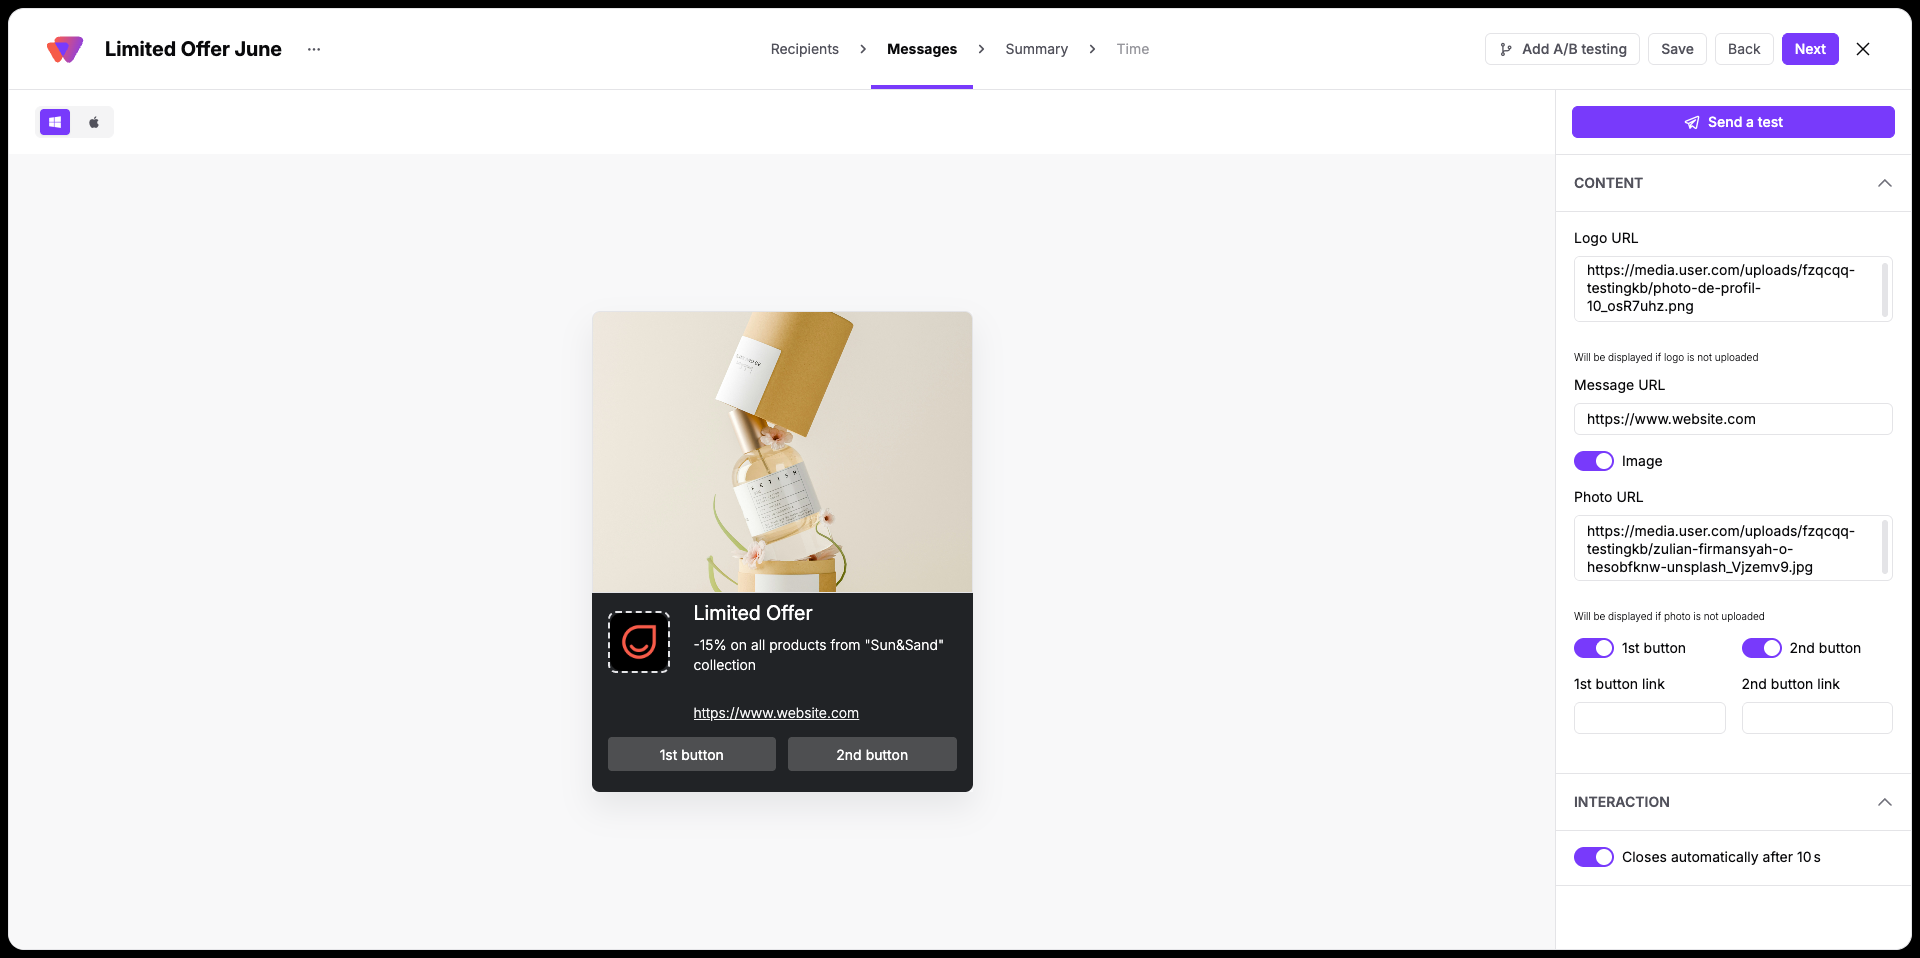
“Interaction”: Close the notification automatically due to lack of action from a contact or let the contact it themselves.
Before continuing, click "Send a test" to preview exactly how the message looks on your own device.

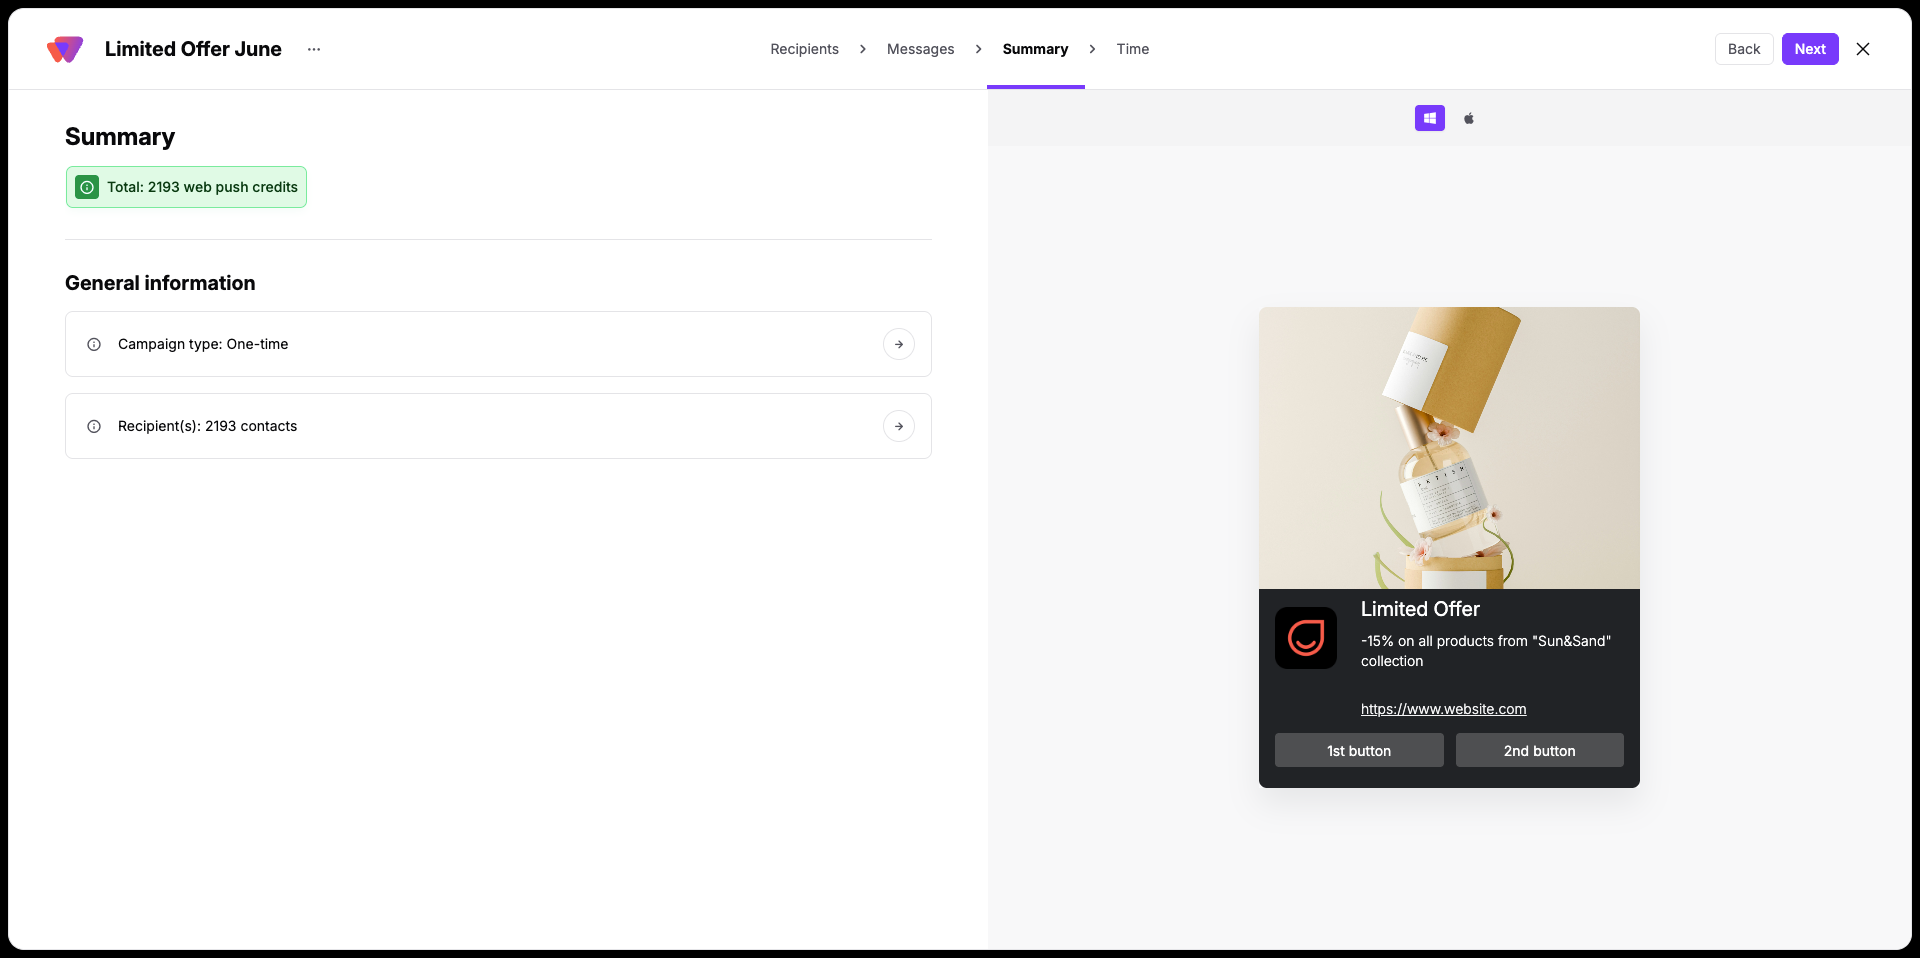
Review all your configuration details on the final summary screen. If you need to make changes, navigate back to the previous steps.
The last, but not least, step is setting the time of the web push campaign delivery.
Send immediately
Schedule campaign (choose date and time period in the nearest future within which the campaign will be sent) [LINK]
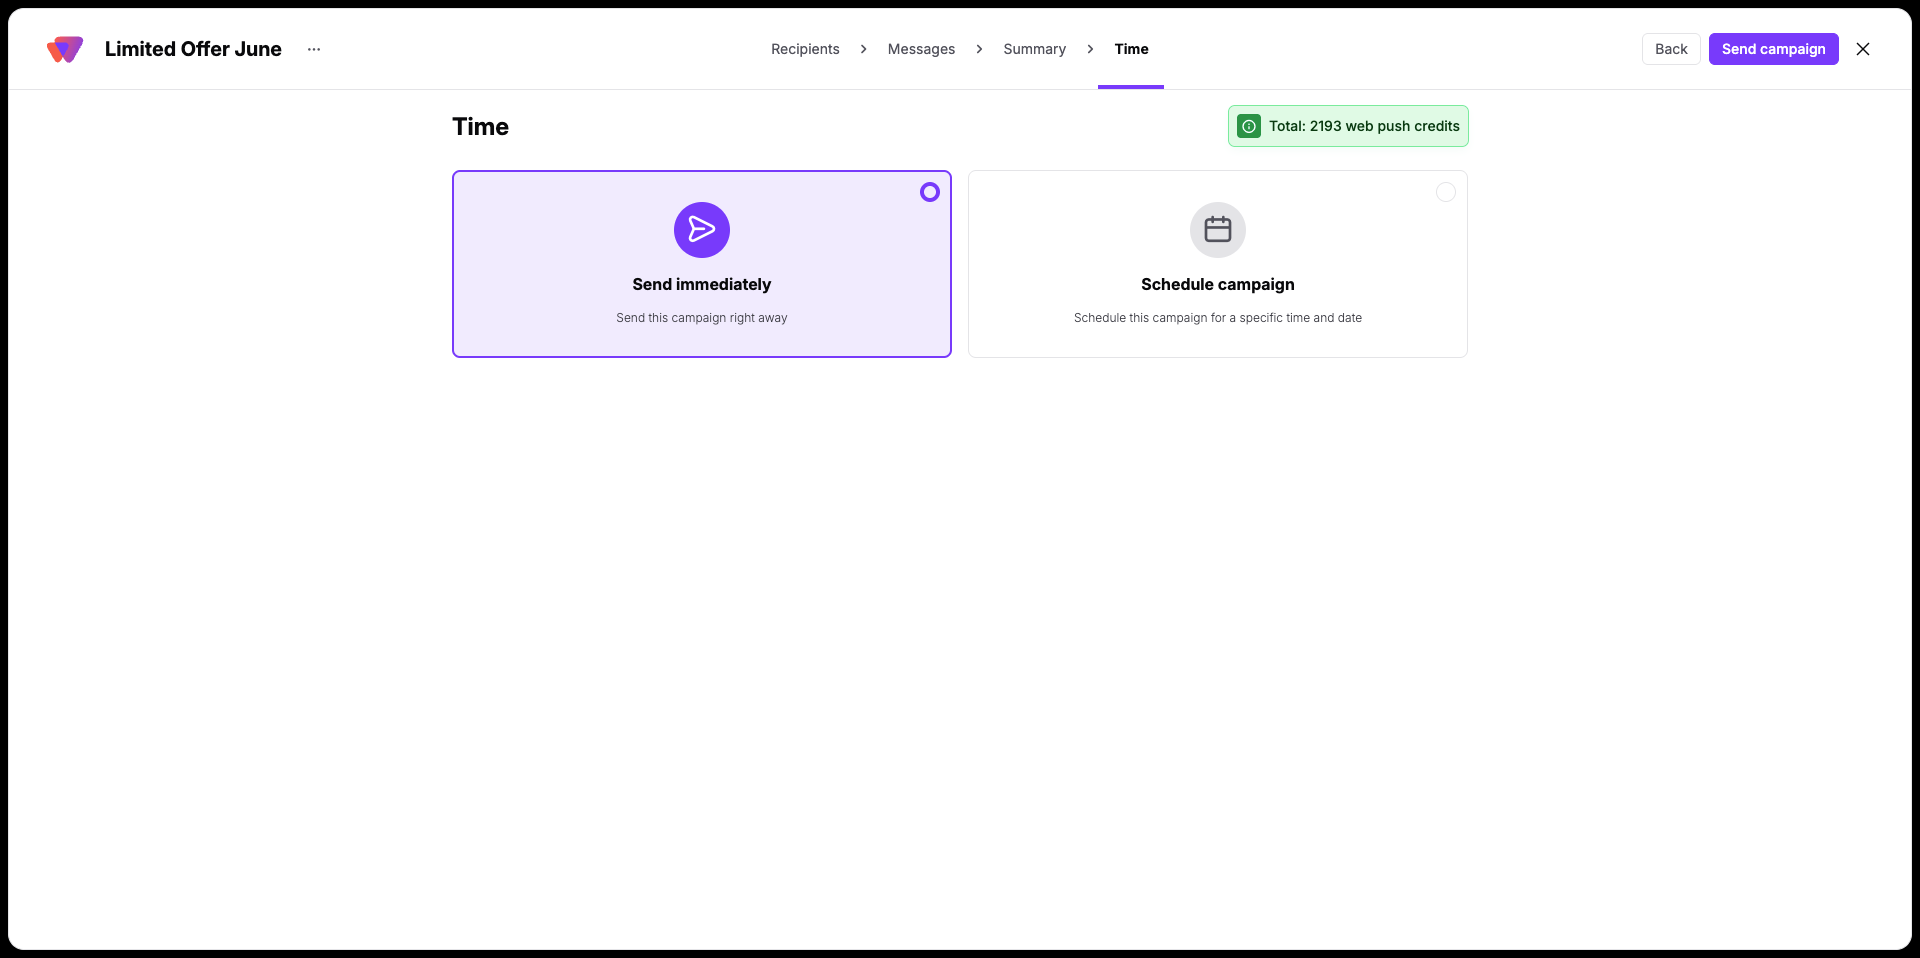
Confirm your choice and activate the campaign.
If you click the “x” icon in top right corner of the panel and save the changes, you will get a draft of the campaign saved on the list. It means you can come back later, modify the campaign and the activate it.
How to Create an Automated Web Push Campaign [LINK]
How to A/B Test Web Push Campaigns [LINK]
Web Push Campaign Statistics [LINK]
