Connecting real goals to your workflows starts here. Whether you want to achieve better targeting, improve your daily team workflows, or maintain clearer data, triggers ensure your system responds instantly to your audience's needs.
Triggers are the mandatory entry points inside the "Automations" section. Every automated workflow must begin with at least one trigger to dictate exactly when a journey starts.
Unlike other automation modules that simply filter or modify data, triggers act as the initial spark. They listen for specific contact actions or background profile updates to pull a contact into a script.

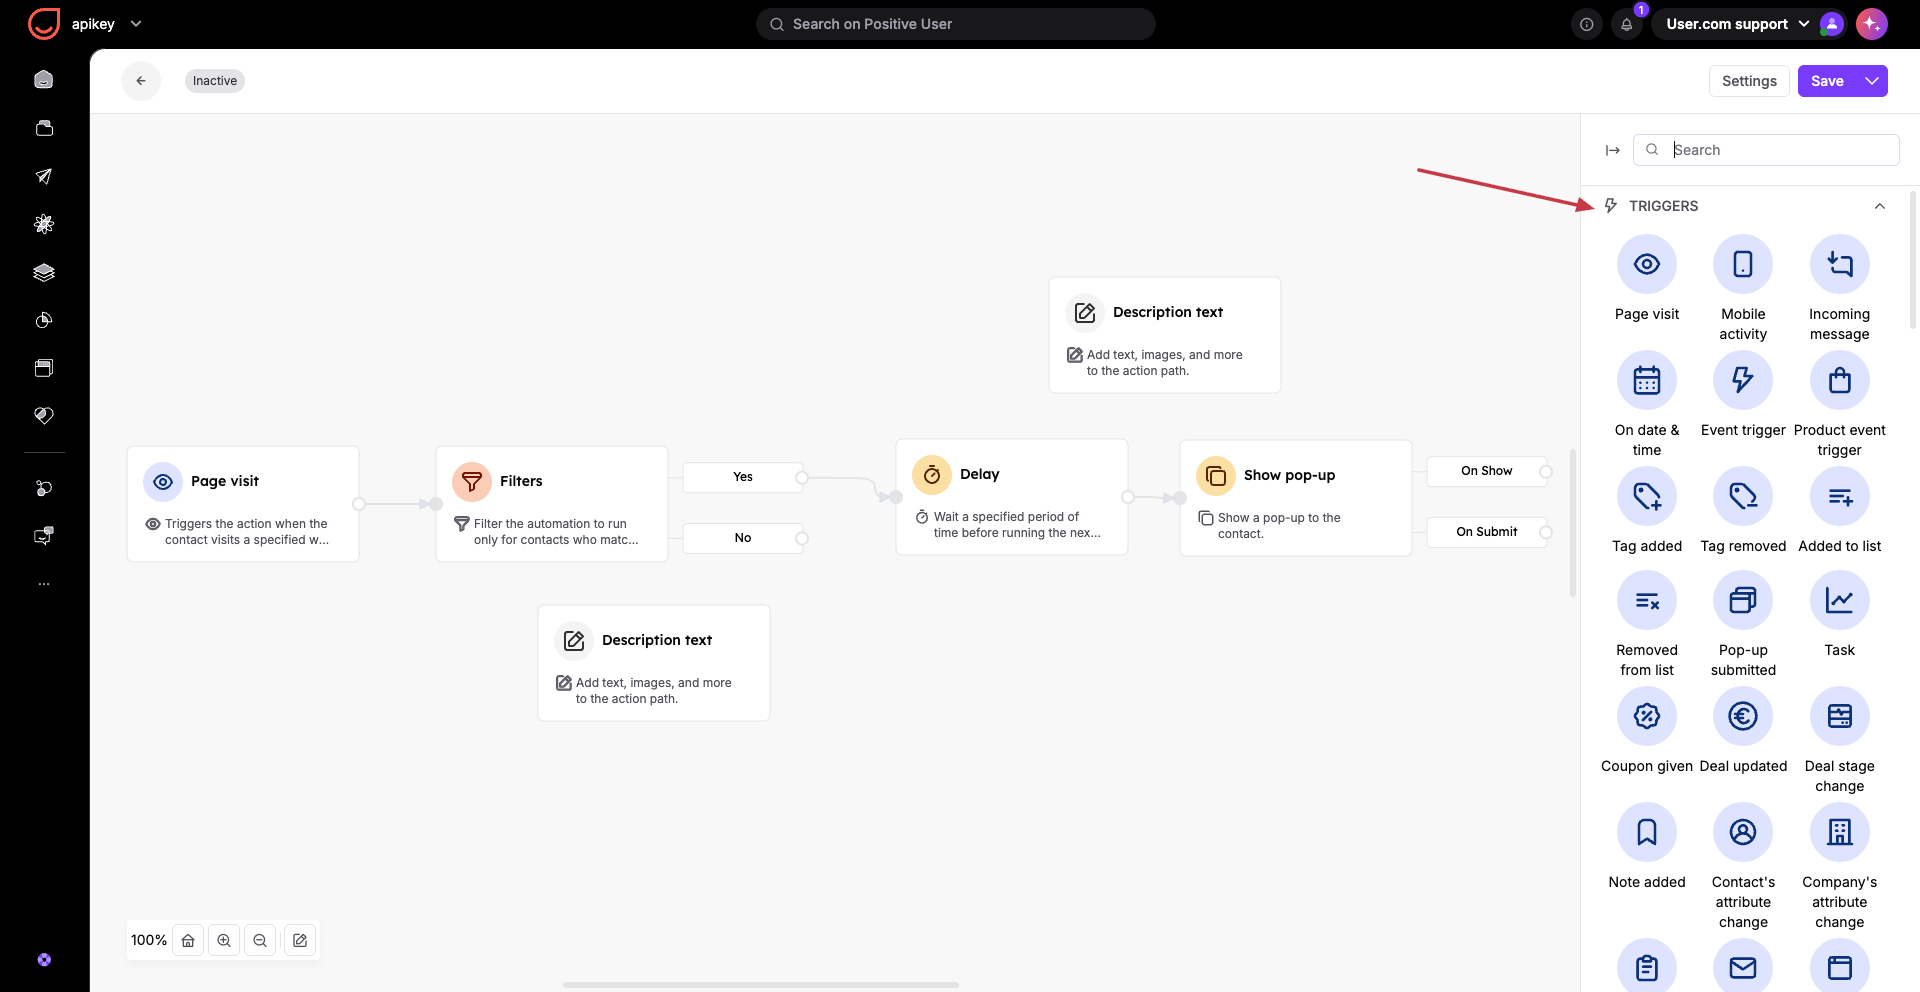
You can find all the triggers on the right side of the automation canvas. These are the purple modules.
Triggers act as the foundational sensors of your system. When a contact fulfills a trigger's rules, they are brought onto the canvas to begin their journey. Positive User separates this logic into two primary scanning types:
Instant Reaction (Event-Based Logic): It reacts milliseconds after a contact acts. Use this for immediate interactions like sending a welcome email right after an anonymous contact fills a form or registers on the website.
Scheduled Logic (On Date & Time): It does not wait for a contact to take action. Instead, at a specific scheduled time (e.g., every Monday at 8:00 AM), it scans the entire database for any contacts matching your rule. Use this for birthday campaigns, subscription renewals, or re-engaging inactive contacts.
You are never limited to just one front door. You can place multiple triggers on a single automation canvas. When you include more than one trigger in a workflow, the system automatically applies an "OR" logic rule between them. This means a contact will enter the automation if they trigger either the first condition or the second condition.
For example, you can trigger a workflow if a contact visits a specific product page or if a team member manually adds a specific tag to their profile.
Be highly mindful of your timing settings when using multiple triggers. If your timing allows multiple entries, a contact meeting both conditions at different times can fire the automation several times. If it is set to fire only once, the first trigger to fire will lock out the second trigger forever.
When building a journey, you can select from the following named triggers inside the interface:
Page visit
Mobile activity
Incoming message
On date & time
Event trigger
Product event trigger
Tag added
Tag removed
Added to list
Removed from list
Pop-up submitted
Task
Coupon given
Deal updated
Deal stage change
Note added
Contact's attribute change
Company's attribute change
Ticket status change
Email action
Web push action
SMS action
WhatsApp action
Ticket created
Deal created
New contact
Conversation changed
Mobile push action
Wallet card status changed
For a fast and healthy system, always add filters directly inside your trigger settings instead of using a separate filter step later in your workflow (where it’s possible). For example, specify a precise web address inside your "Page visit" trigger configuration.
Watch out for attribute loops. Be careful with "Contact's attribute change" triggers. If an action further down your automated workflow changes that exact same attribute, you might accidentally create an infinite loop.
Introduction to Conditions [LINK]
Introduction to Actions [LINK]
