Deliver timely, automated messages to your contacts right when they need them most. By connecting your WhatsApp campaigns to automated workflows, your team can instantly follow up on customer actions without manual effort.
An automated campaign is ideal for reccuring updates or behavioral follow-ups. Your team can use this approach to send instant order confirmations, appointment reminders, or automated welcome offers right after a contact completes a specific action on your website.
WhatsApp - Positive User integration (more details in “WhatsApp - Positive User Integration”).
Approved WhatsApp templates (follow the “How to Create a WhatsApp Message Template” article).
Follow these steps to set up your campaign framework before adding it to a live workflow.
Go to "Campaigns" → "WhatsApp" and click the "Create New Campaign +" button in the top right corner of the panel.
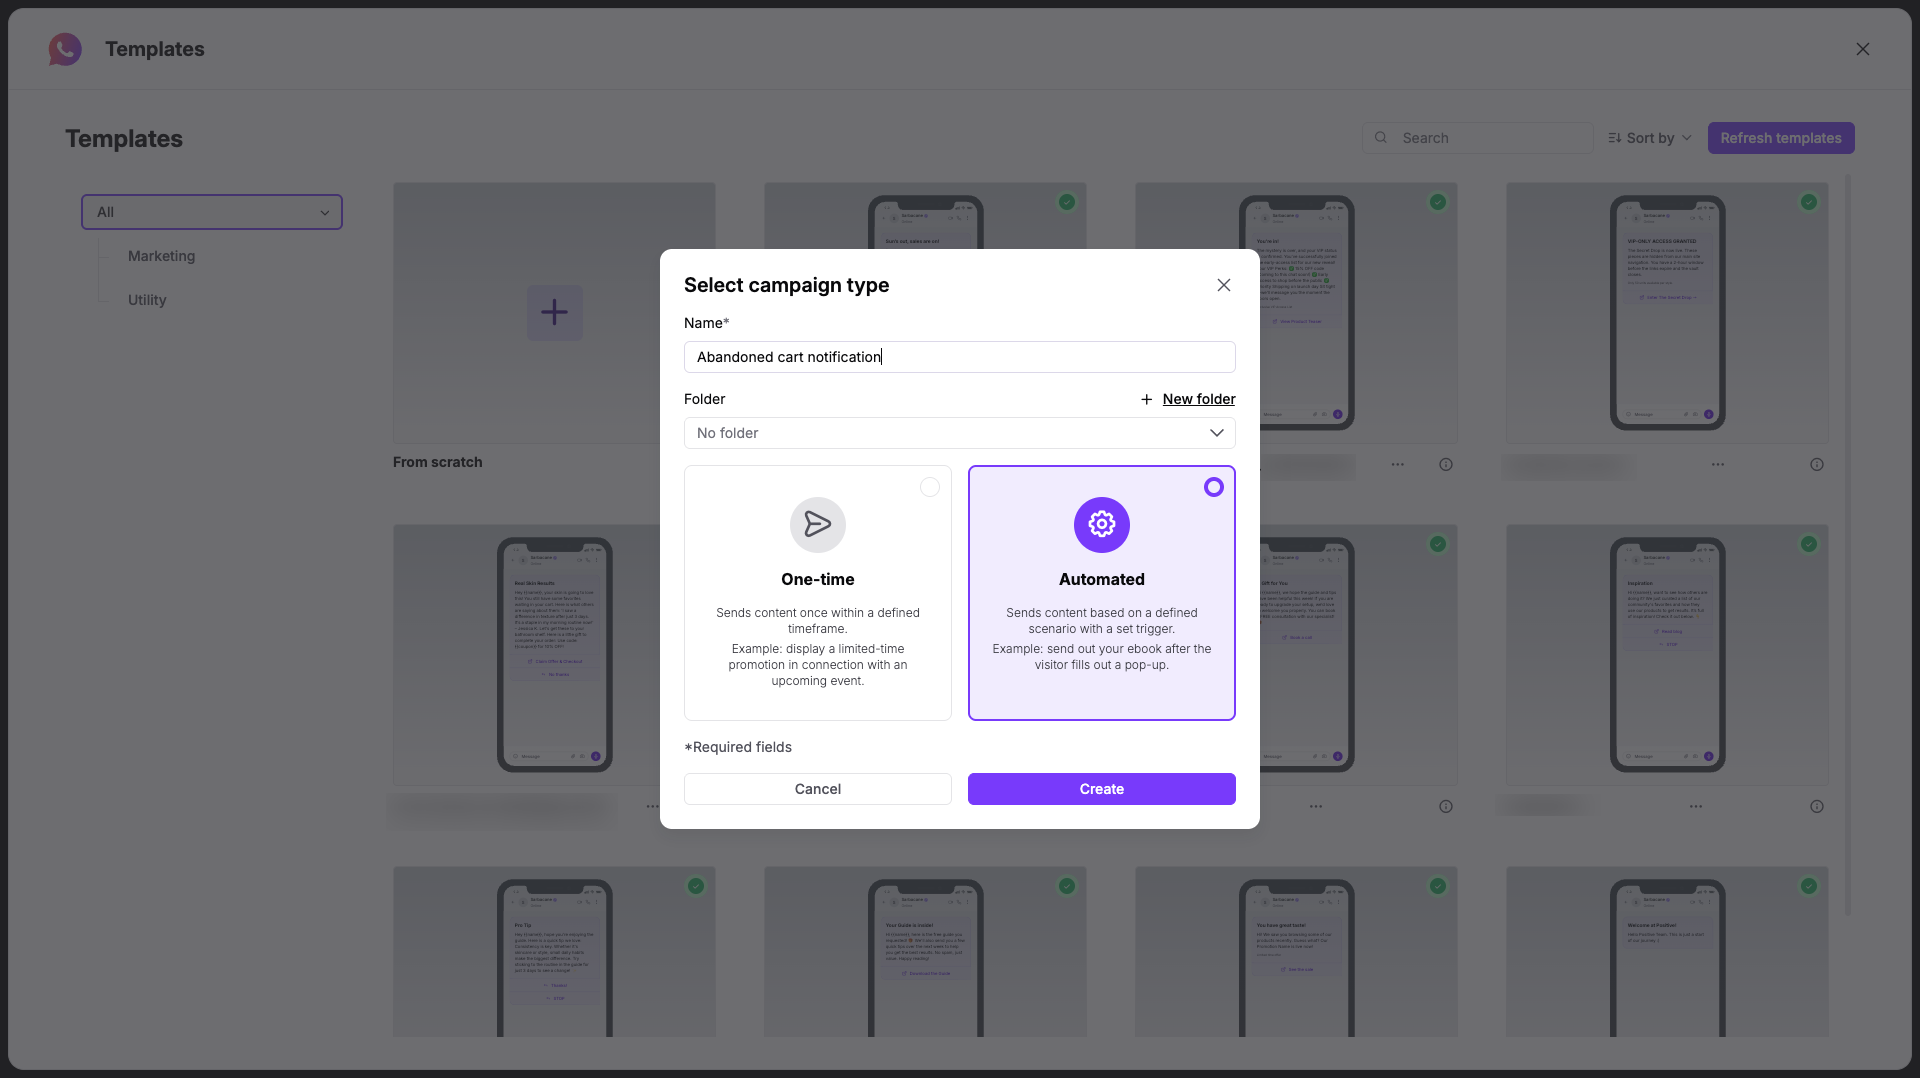
Choose one of the existing templates or create your own from scratch. Choose between:
Marketing: For promotional, opt-in-required messages.
Utility: For updates or service-related notifications.
Once you define the content type, decide on the name of the campaign and assign it to the folder, if needed.
Choose the “Automated” and click “Create”.
Next configure the message that will be used in the campaign. We highly recommend choosing a predefined template that has already been approved by WhatsApp — this ensures a smooth launch without delays. Click on “Open templates” if you want to pick one of the existing templates.
If you decide to create a new one, then you need to fill the following details:
Name of template: Type a distinct name for your text template to help your team identify it later. Please use only small signs without any space.
WhatsApp Business Account: Select your connected messaging profile from the dropdown list.
Language: Choose the language your message text is written in.
Template type: Select the functional category that matches your campaign goals:
Marketing: For promotional, opt-in-required messages.
Utility: For updates or service-related notifications.
Next, adjust the content right in the preview editor in the middle of the page. Type the header and the body of the message.
More details about message configuration can be found in “How to Create a WhatsApp Message Template”.
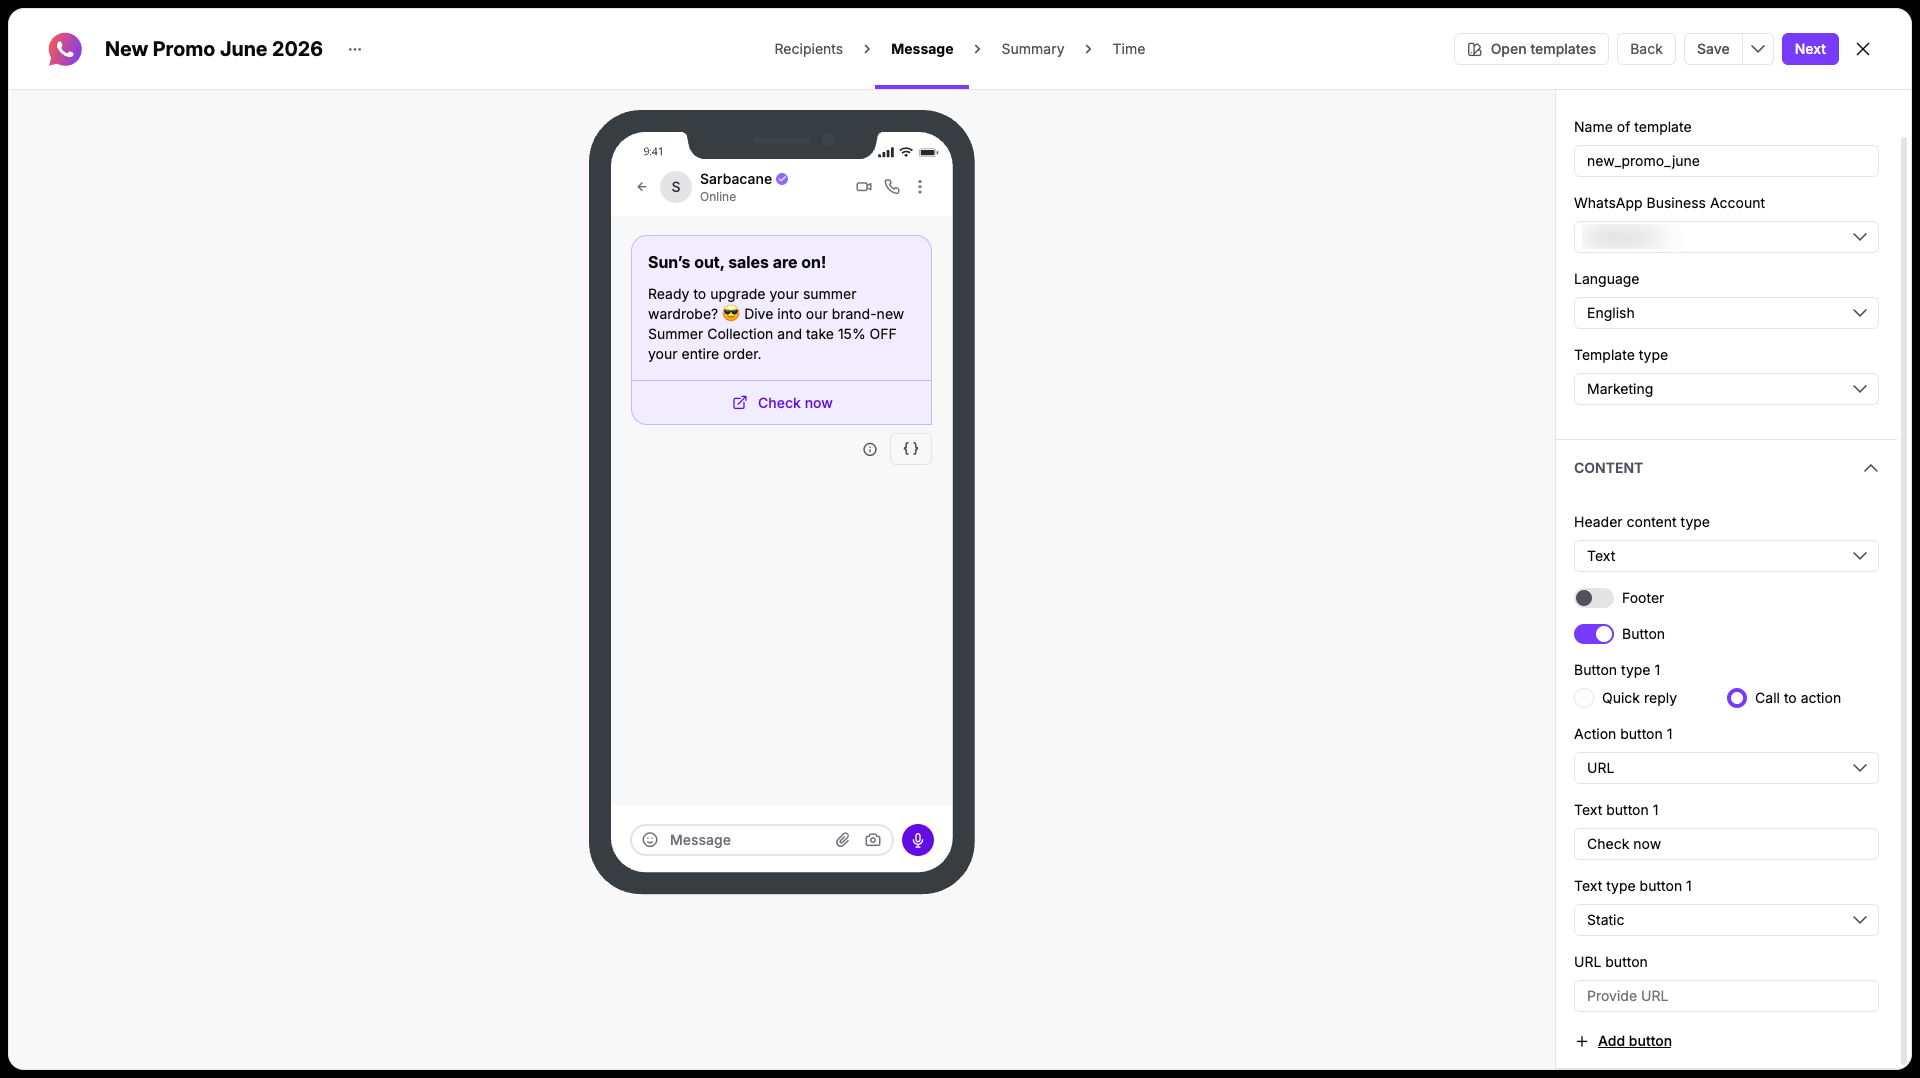
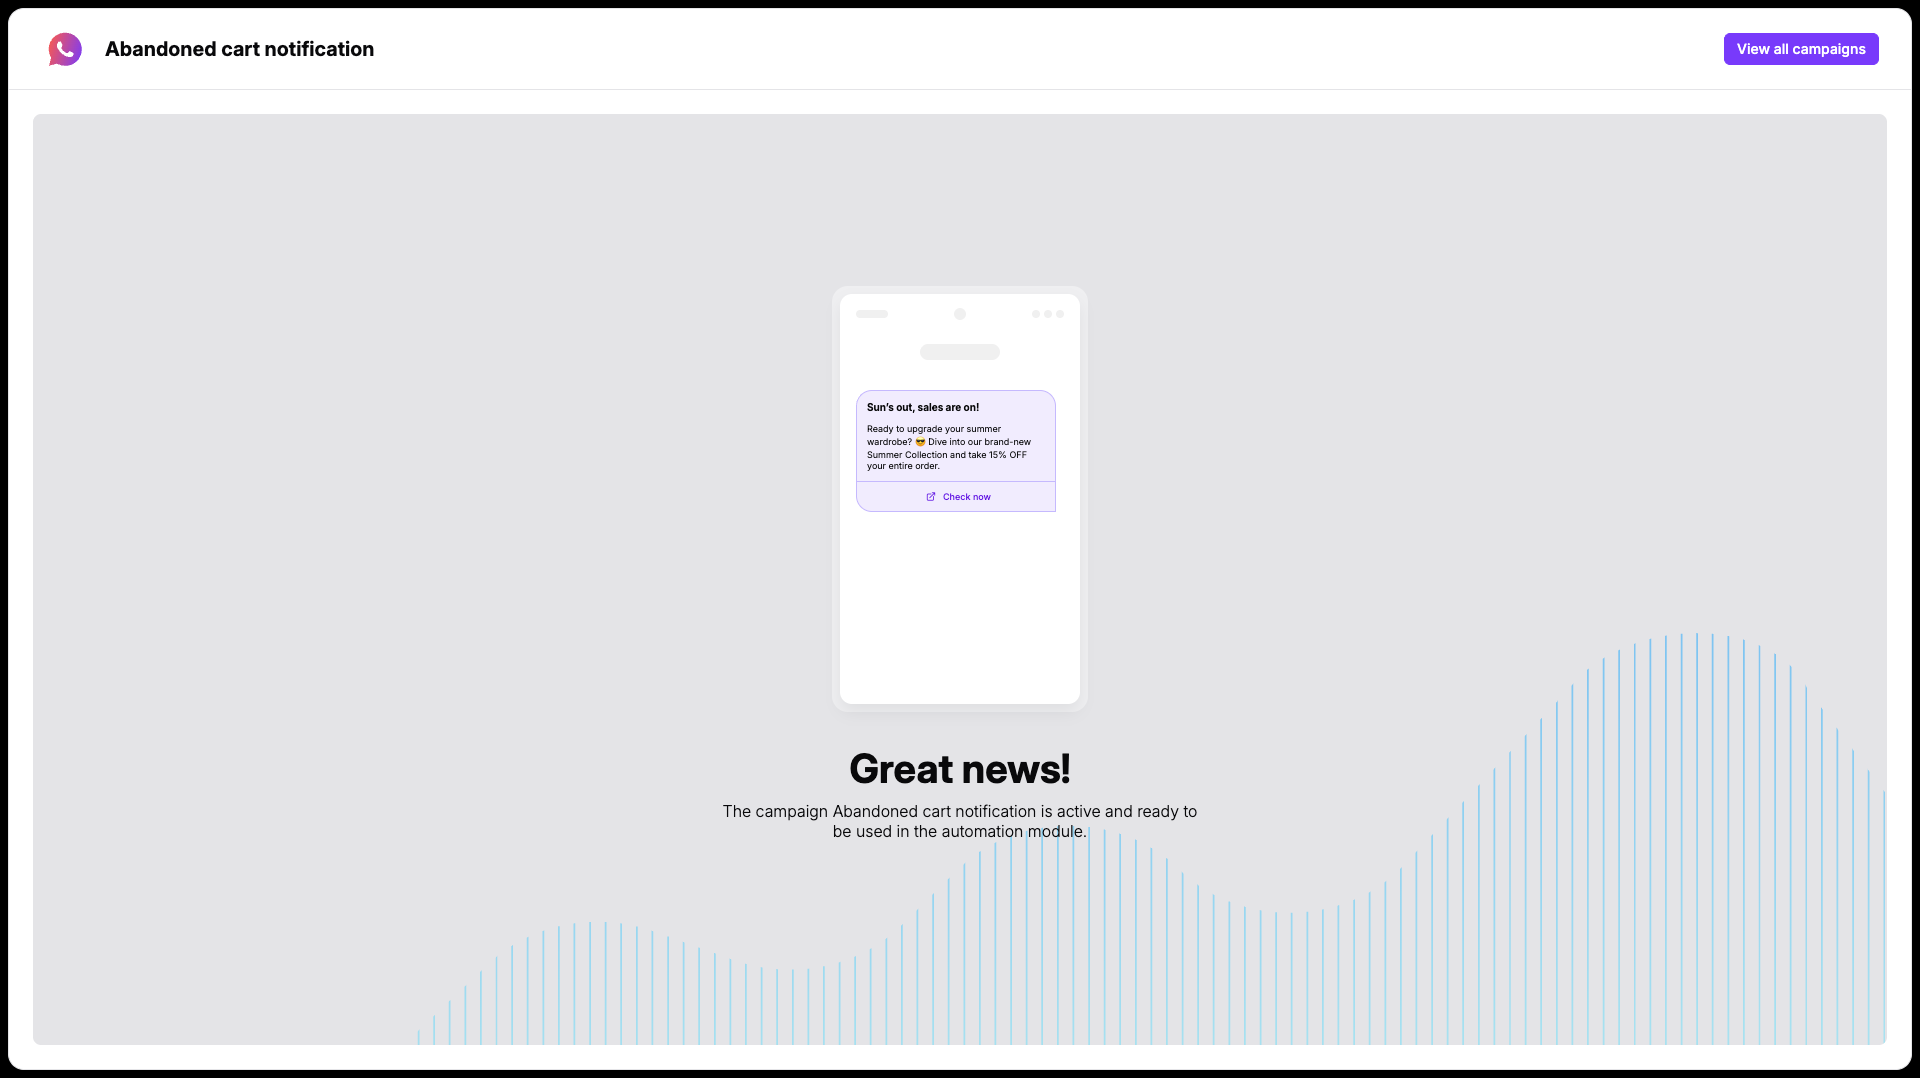
As you adjust these settings, check the mobile screen graphic in the center of the workspace to view a real-time preview of your message.
Verify all details of your campaign before moving to final scheduling. The "Summary" step gives your team a comprehensive overview of your campaign configuration and credit requirements:
General information: Double-check your campaign type.
Message properties: Confirm your selected "WhatsApp Business Account" and your messaging "Language".
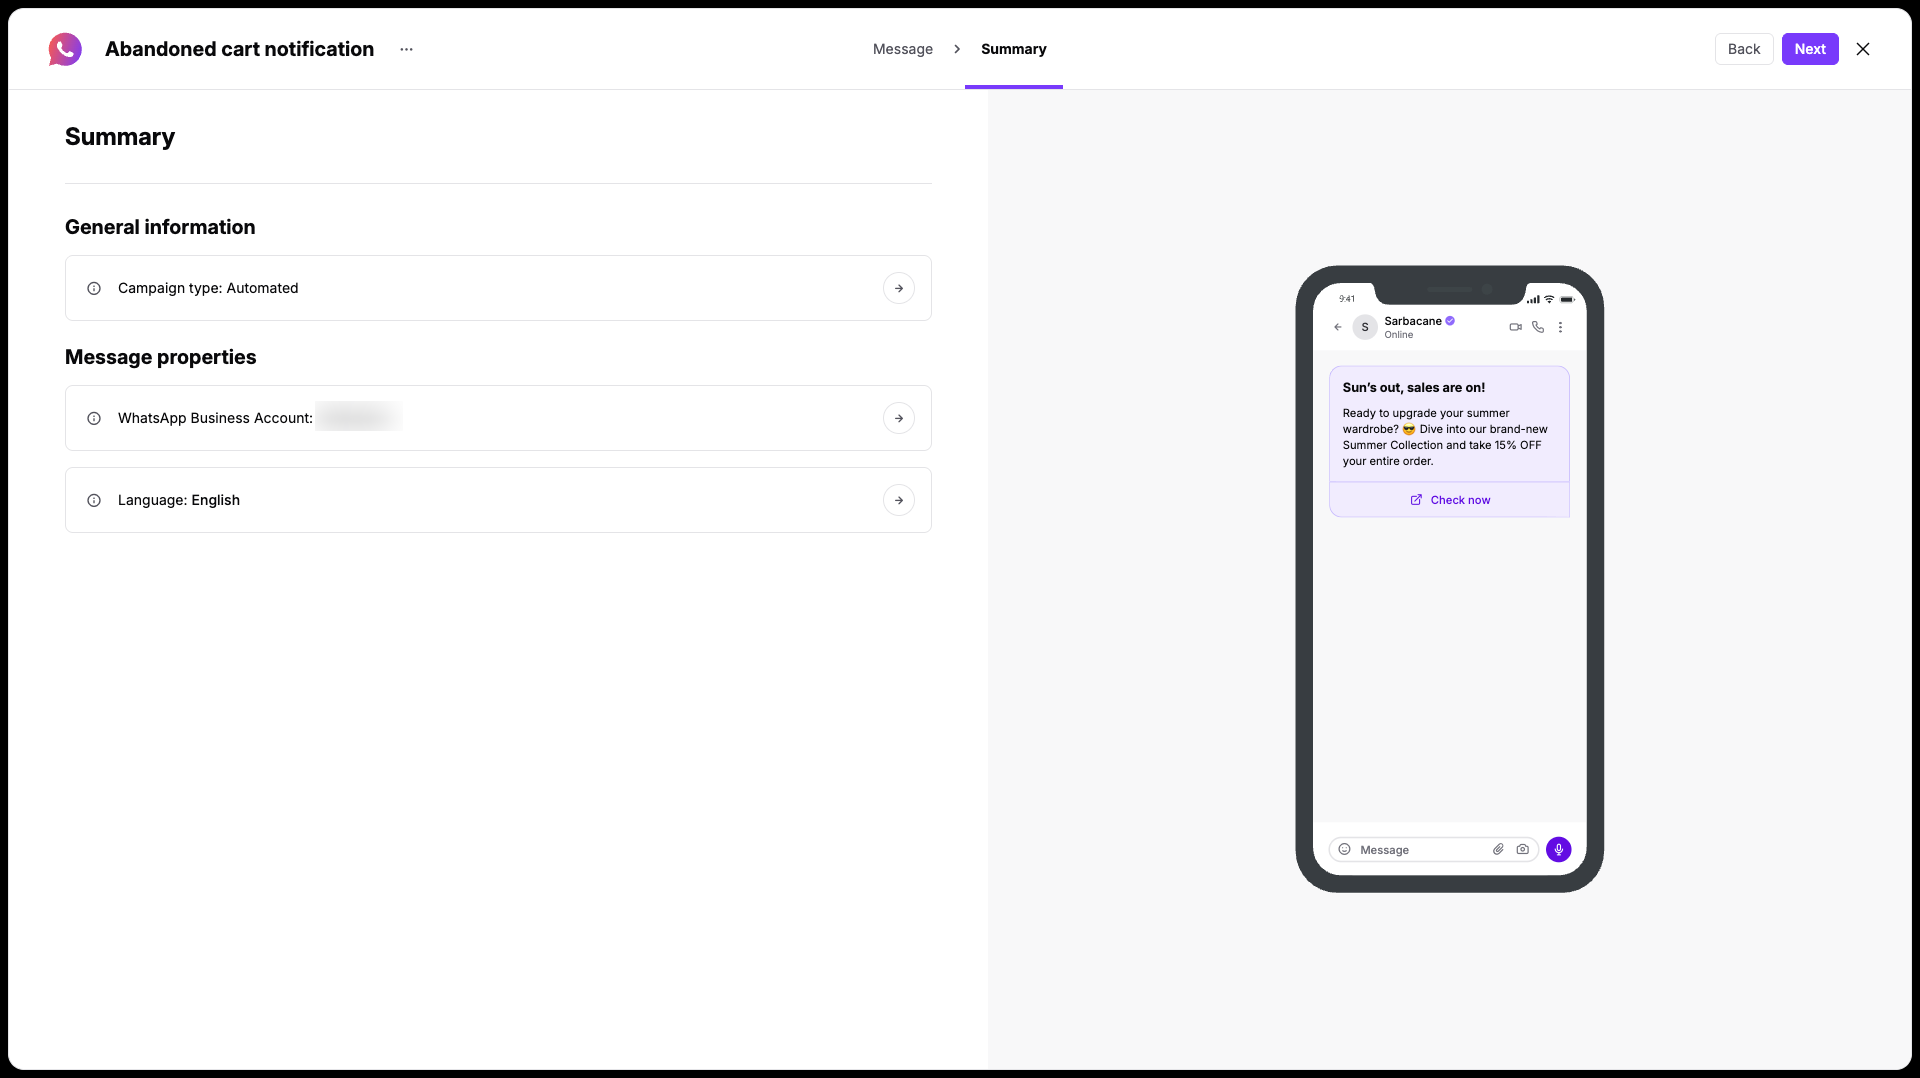
Read through the live mobile preview on the right side of the screen to check your wording. If your settings are correct, click the "Next" button to save your campaign.

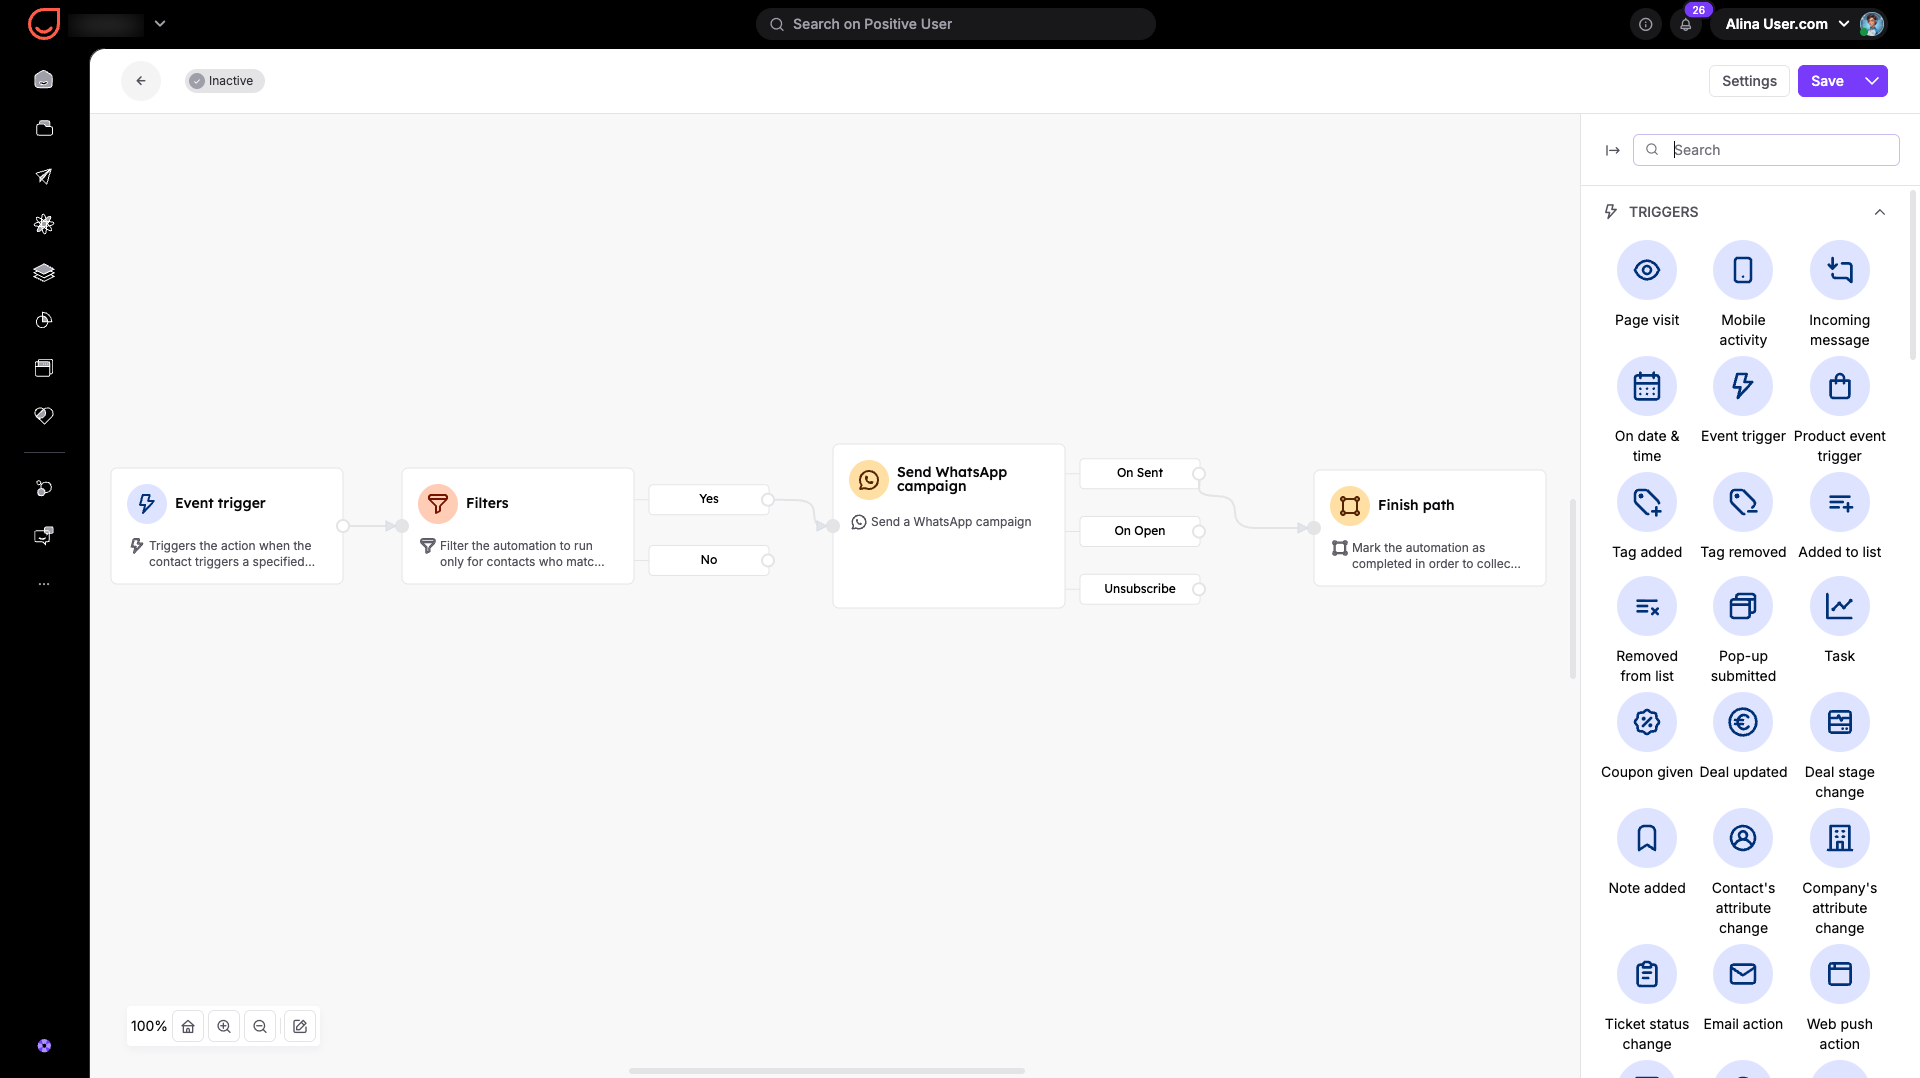
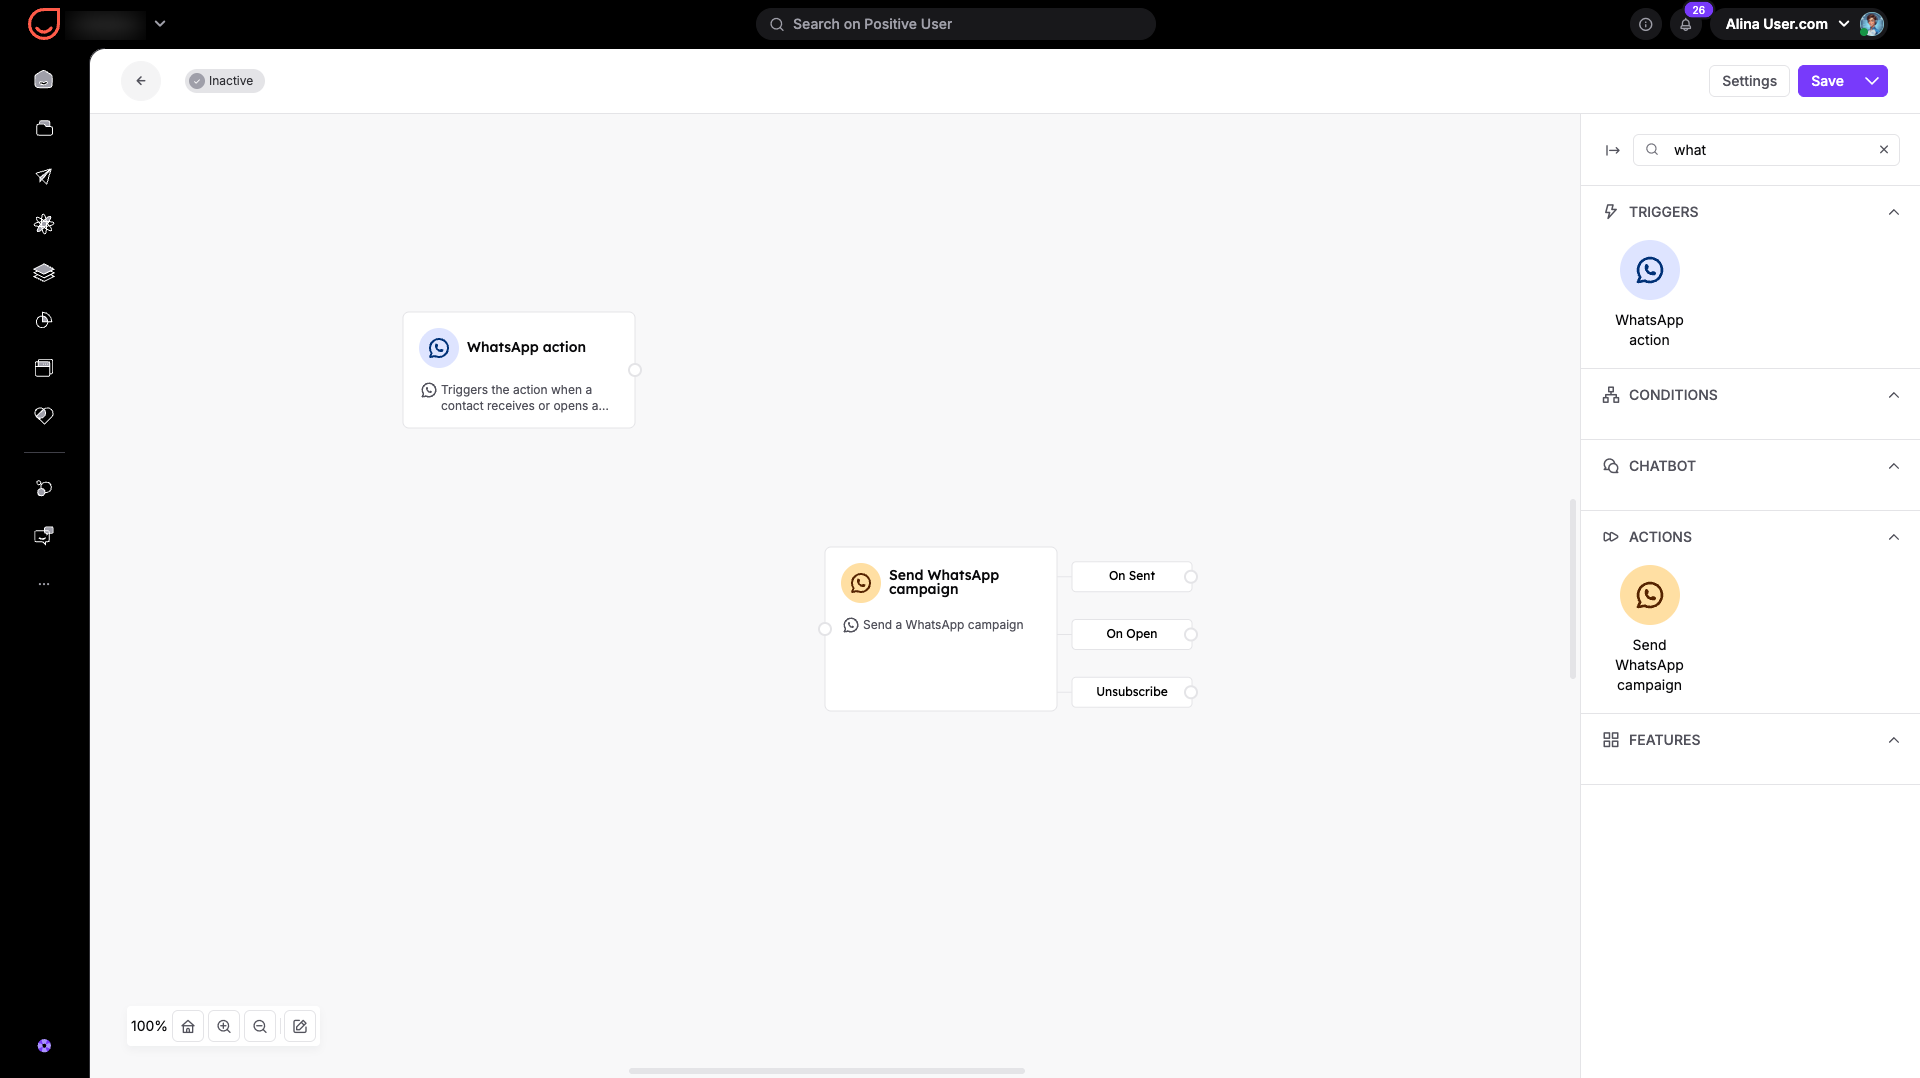
Once you activate your campaign, you can move to your existing automation (or build a new one) and choose the campaign in one of the following modules:
"WhatsApp Action" trigger [LINK]
"Send WhatsApp Campaign" action [LINK]
Each automation starts with a good scenario. Your team needs to write it down, map out the goals, and then select the modules that match your plan. After that, you can fill those modules with your custom content.
Example:
User story: After registration, each contact should receive a welcome WhatsApp campaign. The message should go out a maximum of once per contact. This creates a short automation where the WhatsApp campaign is sent to each contact at a unique moment based on the registration event tracked on your website.
Automation: