A Support Ticket helps your team organize, prioritize, and resolve customer issues. By centralizing these requests in Positive User, you ensure that every contact gets a timely response and your team stays on top of their workload.
Lear more about tickets in “What Is a Support Ticket” article.
Depending on how the issue was reported, you can create a support ticket manually, via email, or through an automation.
Use this method when a contact reaches out directly to a team member (for example, via phone or a personal meeting) and the issue cannot be captured by your automated systems.
Choose your starting point.
You can initiate a manual ticket from several places within the interface:
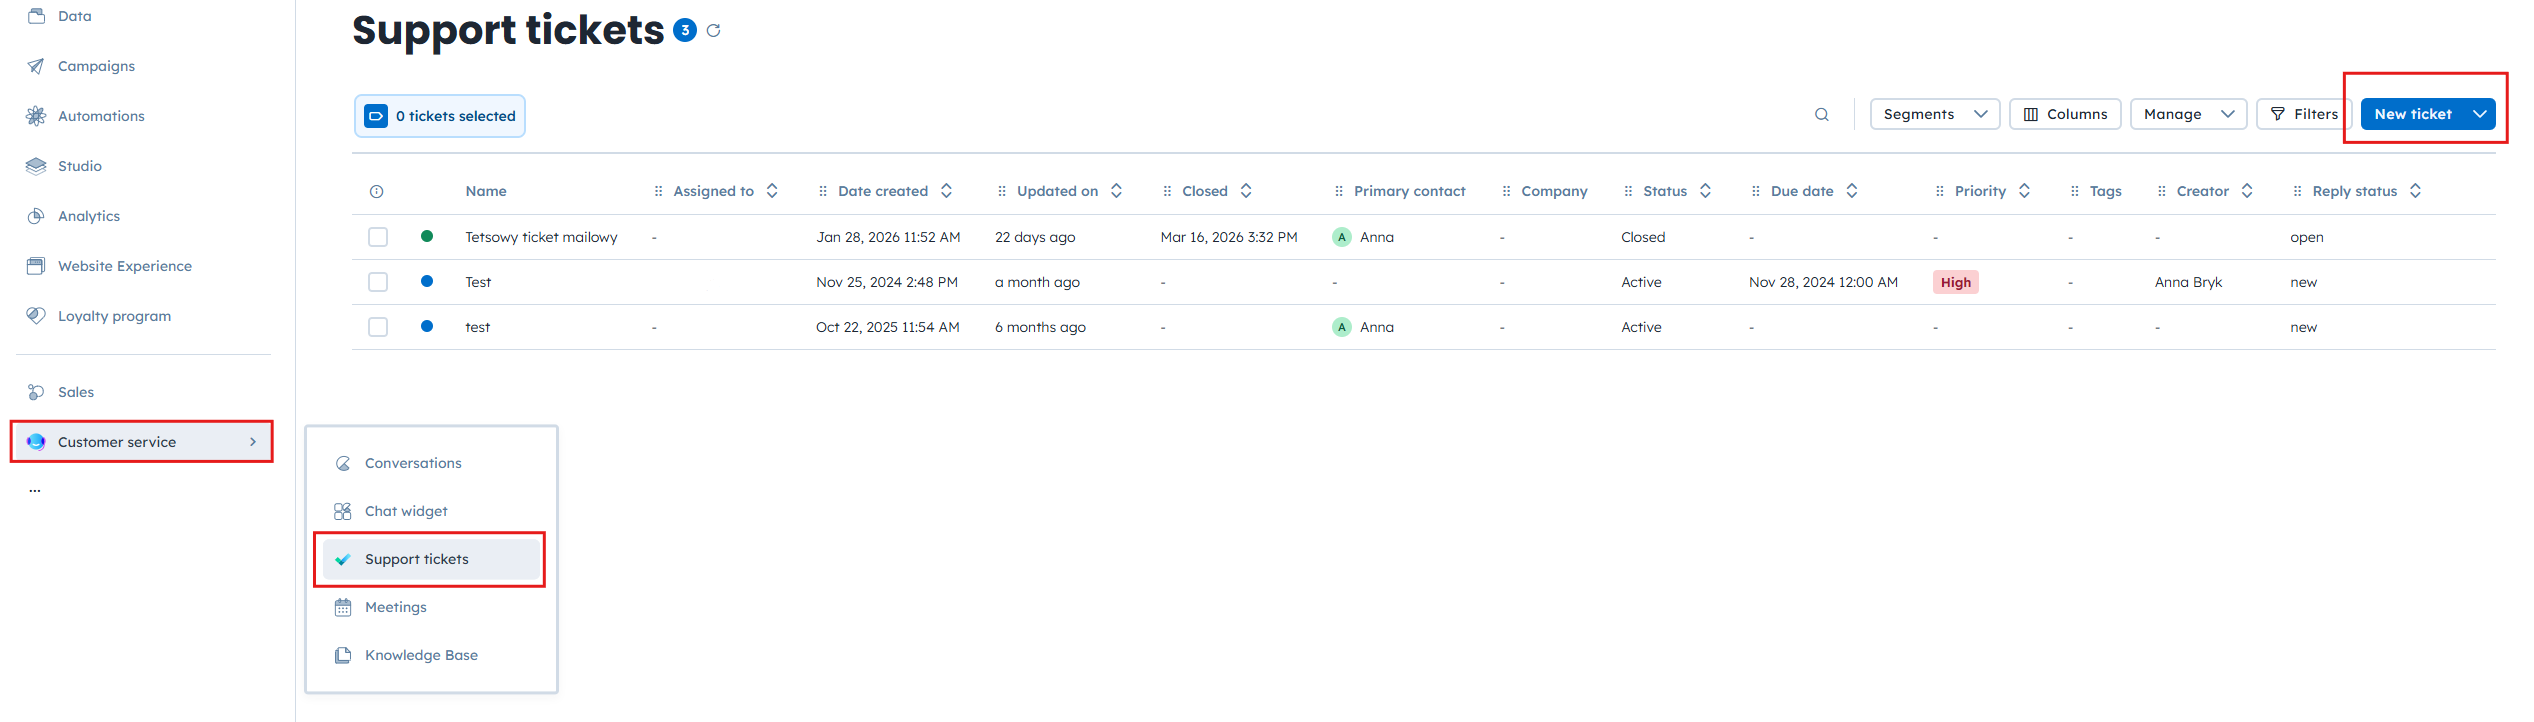
The Main Menu: Go to “Customer Service” → “Support Tickets” and click the “New ticket” button in the top-right.
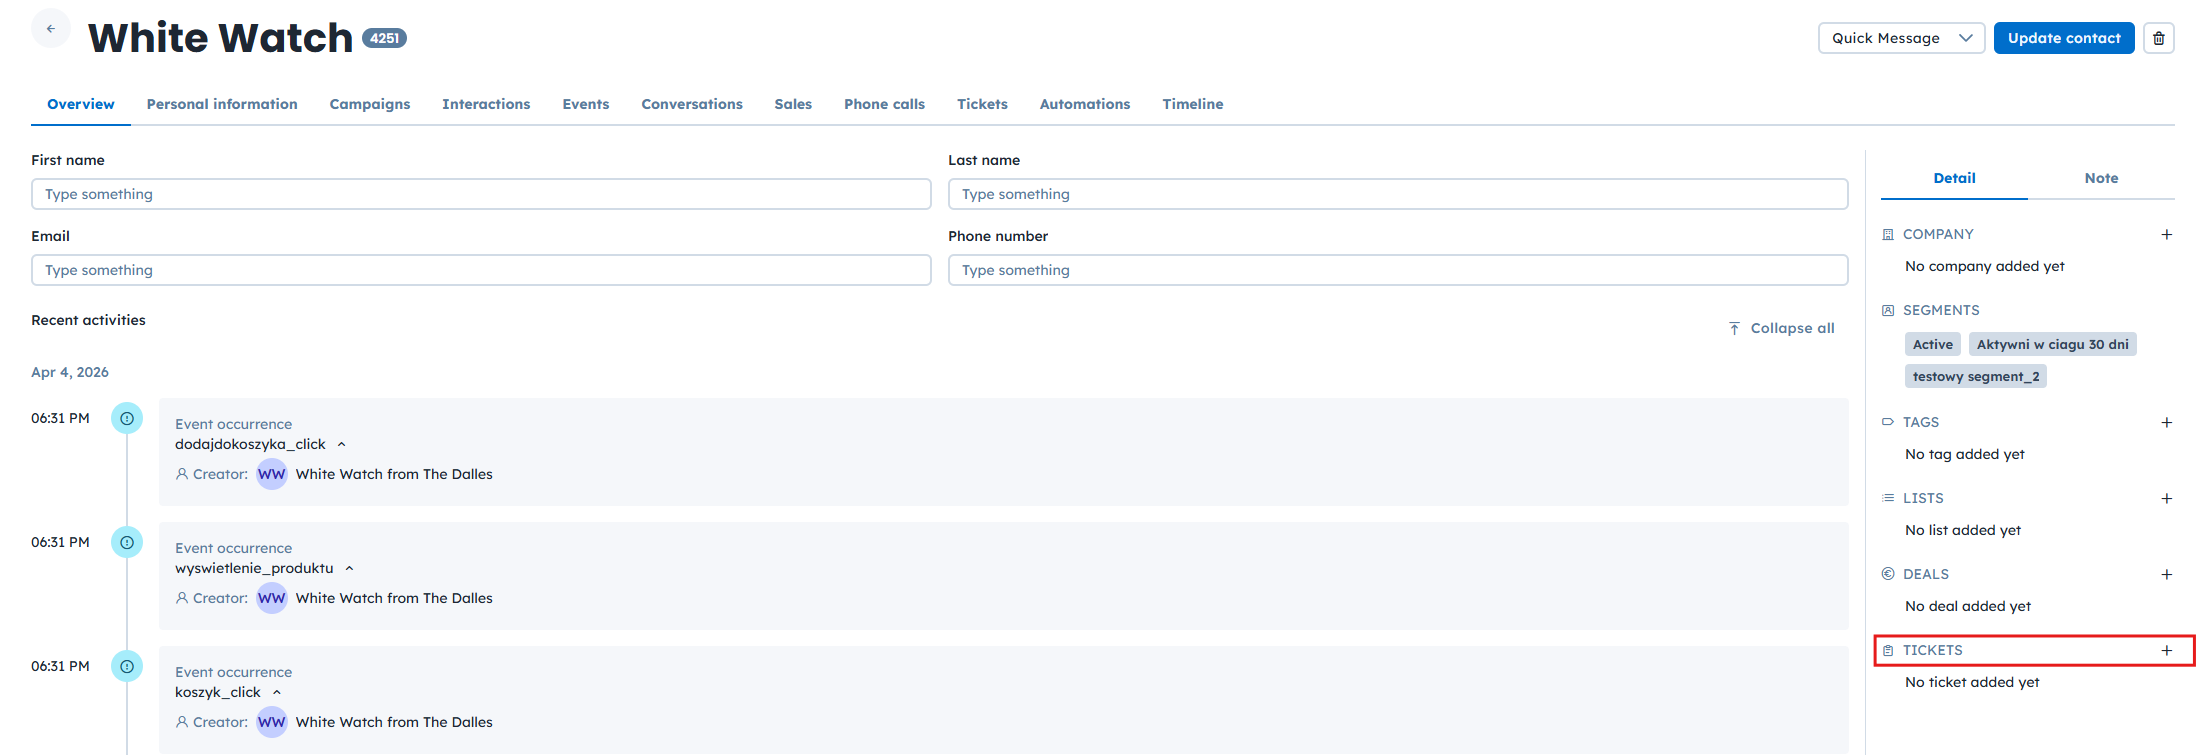
A Contact or Company Profile: While viewing a specific contact or company profile, click the "+" icon in the “Tickets” section in the right-hand column.
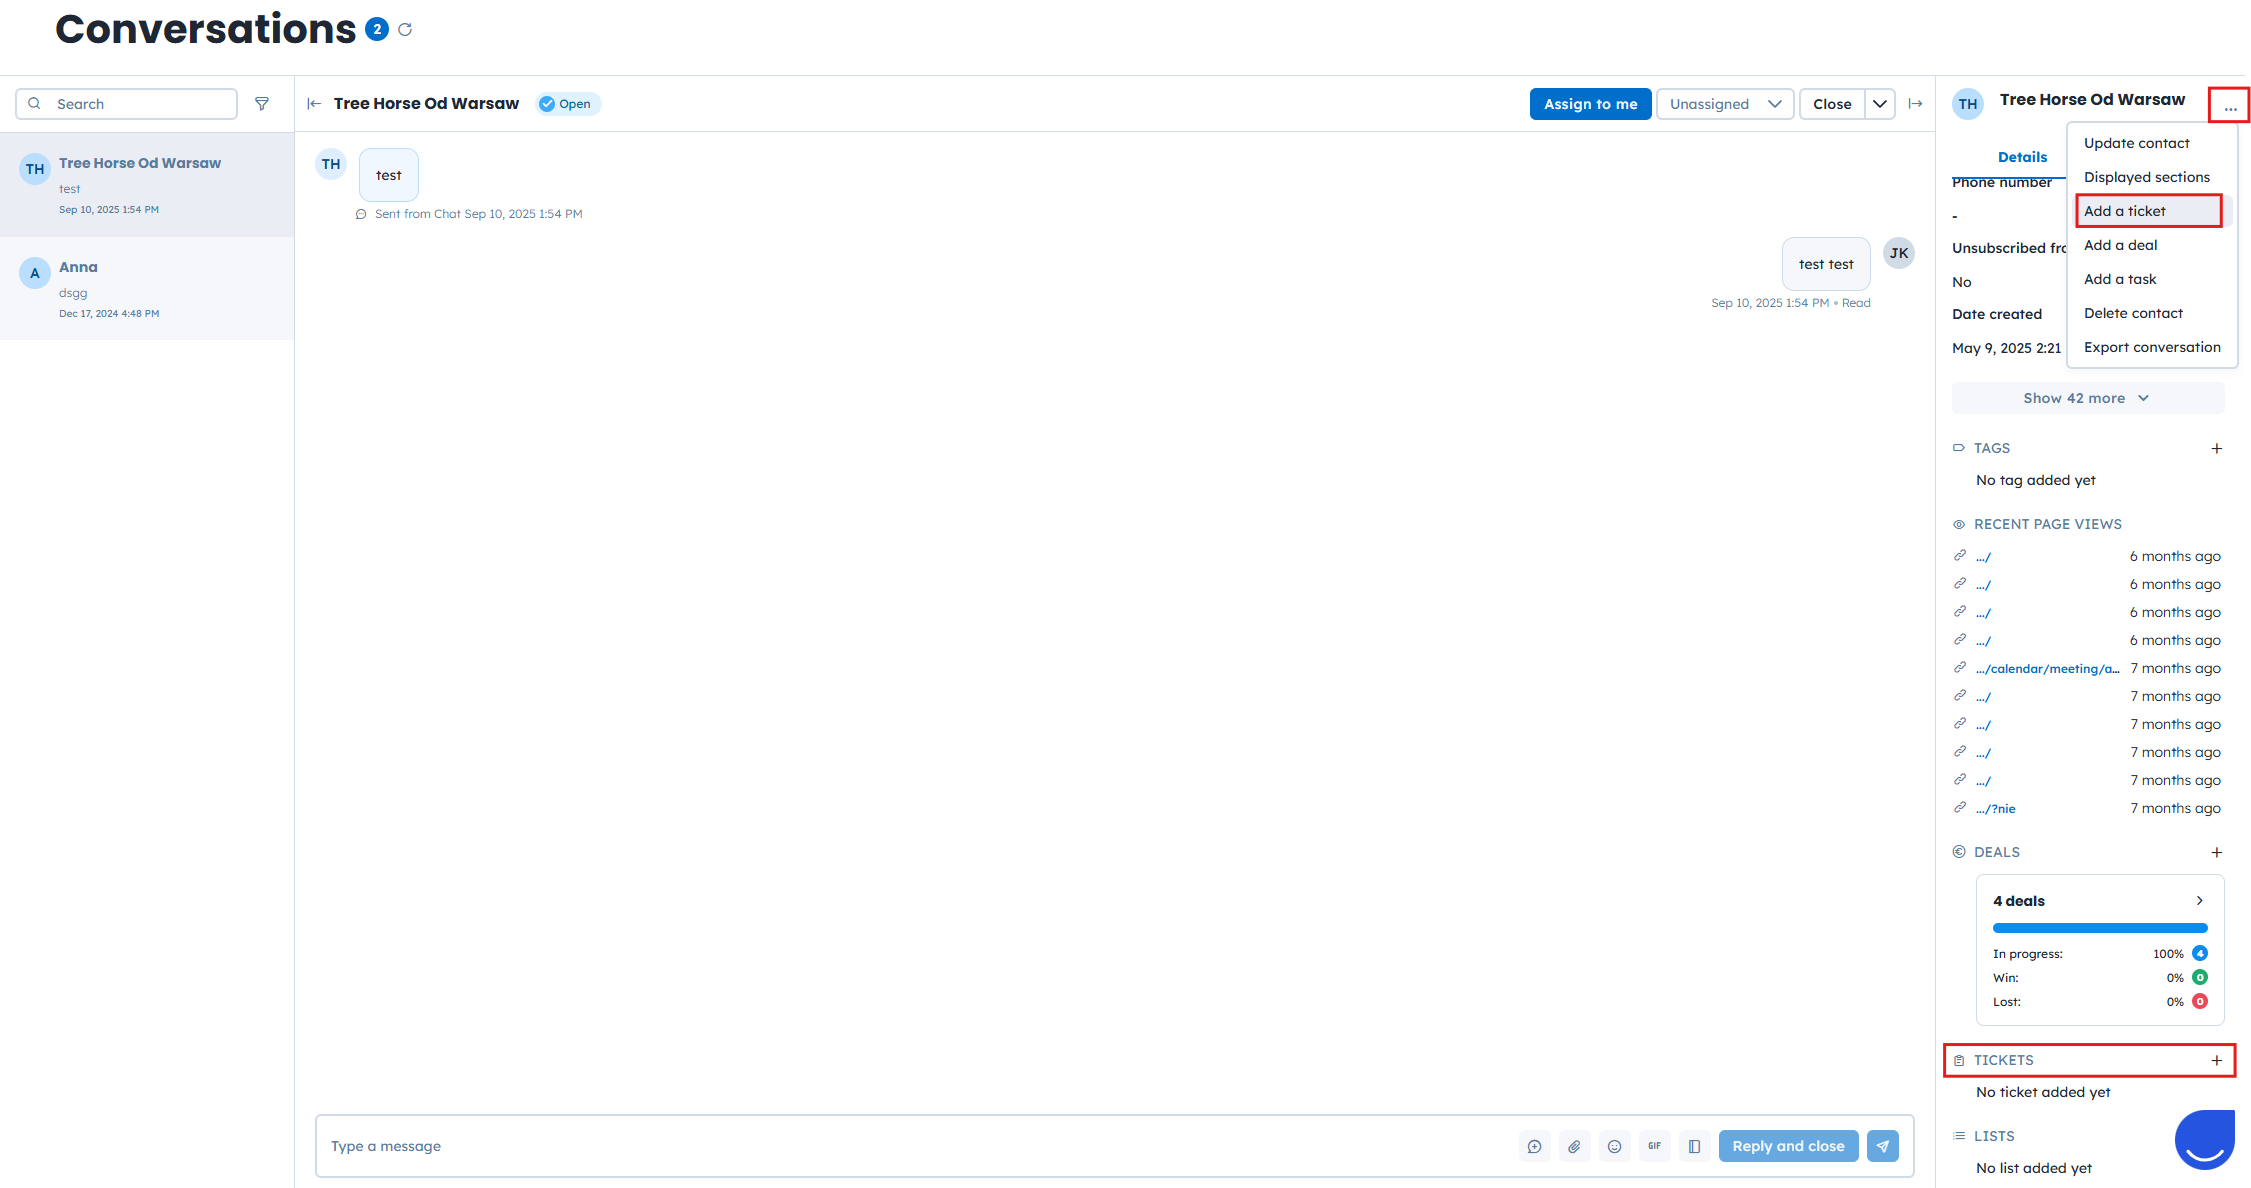
The Conversations Section: If a contact reports a problem during a chat, create a ticket directly within the conversations view to keep the context. You can do it using three dots next to the contact name or by clicking the "+" icon in the “Tickets” section.
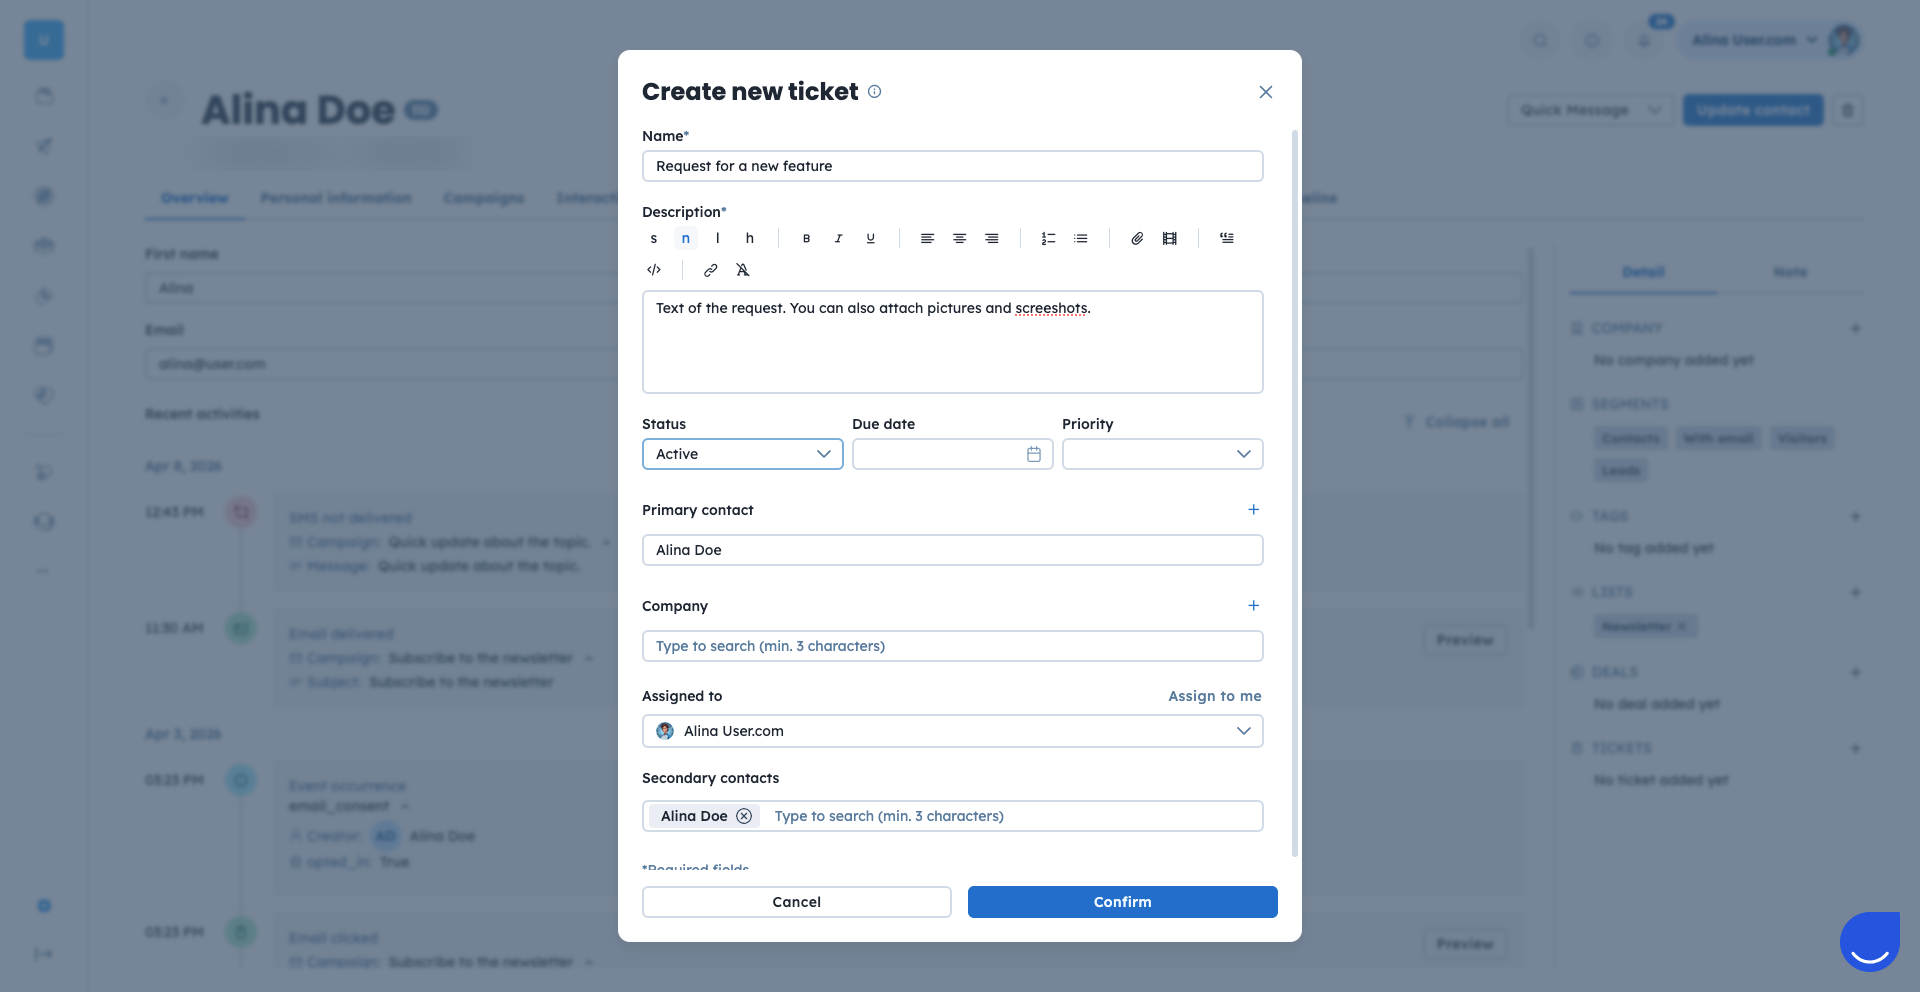
Fill in the ticket attributes.
Enter the details for the support ticket. You don't need to fill in every field immediately, as you can edit them at any time:
Name: The title of the ticket.
Description: A detailed explanation of the issue.
Status: The current stage of the ticket.
Due date: The deadline for resolving the issue.
Priority: The urgency level (e.g., Low, Medium, High).
Primary contact: The main contact related to the ticket.
Company: The company associated with the ticket.
Assigned to: The team member responsible for handling the ticket.
Secondary contacts: Additional contact involved.
Click the “Confirm” button to create the entry. Once saved, the support ticket will appear on ticket lists, and notifications will be sent to the relevant parties.

You can enable contacts to create support tickets automatically by sending an email to a dedicated address.
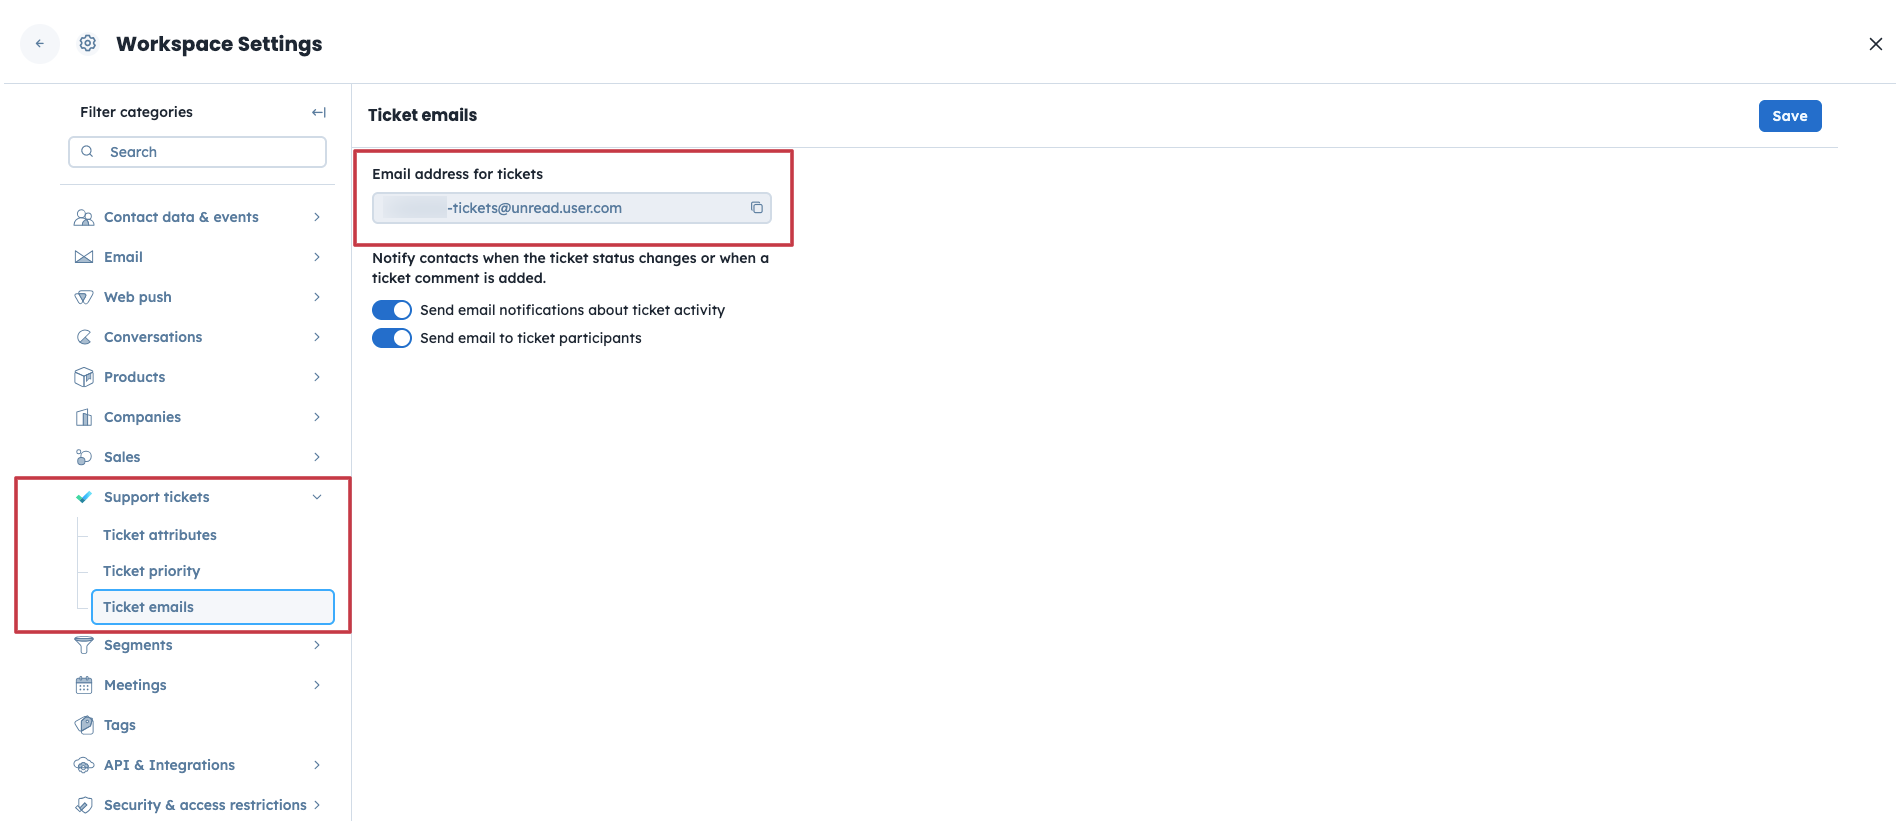
1. Locate your unique ticket email.
Go to “Settings” → “Workspace Settings” → “Support tickets” → “Ticket emails” and check the dedicated email address.
2. Set up redirection.
Redirect messages from your current support inbox to this custom email address. Any email sent here will instantly generate a new support ticket in your workspace.
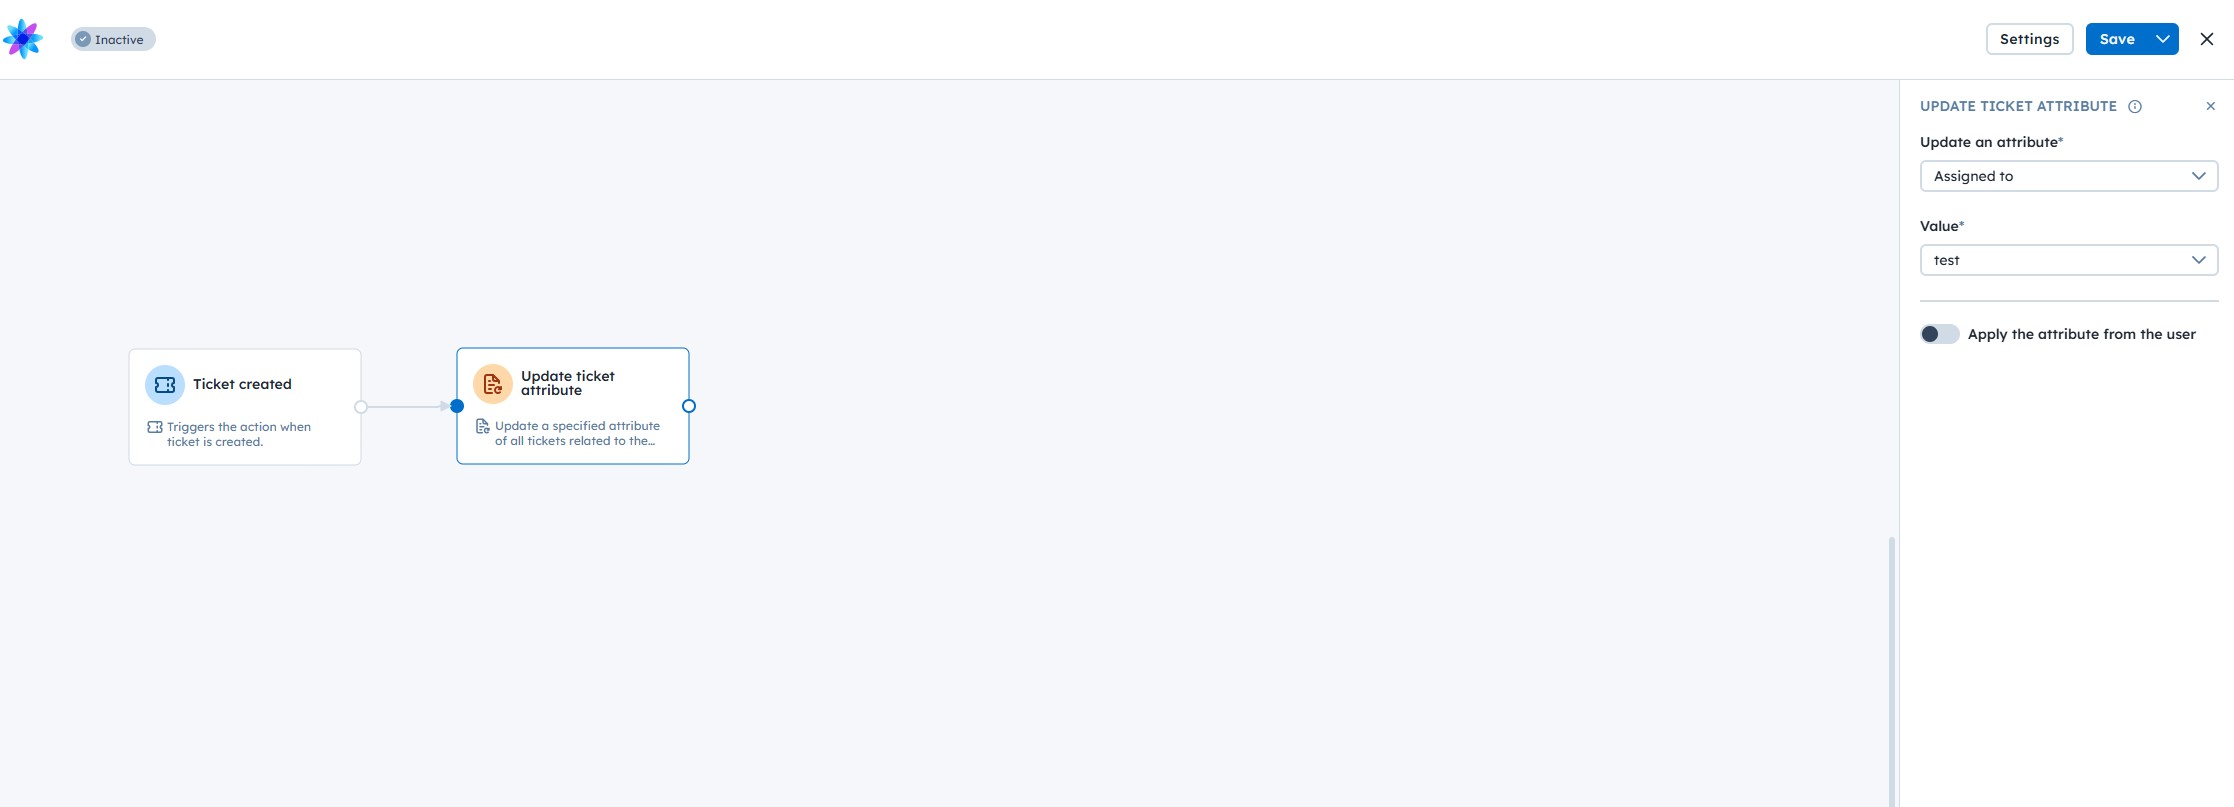
3. Assign tickets automatically (optional step).
To ensure the ticket is assigned to the chosen team member, create an automation. Use a trigger “Ticket created”, and connect it with the action module “Update ticket attribute”, which allows you to update the field “Assign to”.
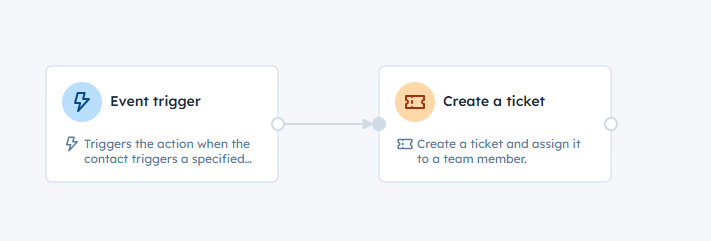
Use the automations to create support tickets automatically based on specific triggers, such as a contact submitting a form. For example, use the “Event” trigger and connect it with a “Create a ticket” action module.
For advanced integrations, you can create support tickets programmatically using the Positive User REST API. This method is recommended for connecting external systems or custom-built tools to your support workflow.
To create a ticket via API, use the Create a support ticket endpoint. This allows you to sync data from external platforms directly into your support tickets dashboard.
For a full list of available endpoints and technical requirements, please check the REST API documentation.
Direct Phone Support: When a contact calls a team member directly, manually log a support ticket to ensure the issue is tracked alongside automated requests.
External System Integration: An external technical monitoring system can create support tickets via API automatically whenever a server error is detected.
