A/B testing allows your team to test different versions of an email to see which performs better with your audience. Instead of guessing which subject line or layout works, you can use real data from your contacts to ensure your final message has the highest possible impact.
Link to the “What is an Email Campaign” article to understand the basics before you begin.

A/B testing removes the guesswork from your marketing strategy. Instead of debating which subject line might work, you can let your audience decide with their actions. This helps you maximize your return on investment (ROI) by ensuring every email you send is optimized for higher open rates and more conversions. By understanding what resonates with your contacts, you can build stronger relationships and ensure your messages consistently reach the inbox instead of being filtered as noise.
Go to "Campaigns" → "Email" and click "New Campaign". To know more about every step of the campaign creation, check the following articles:
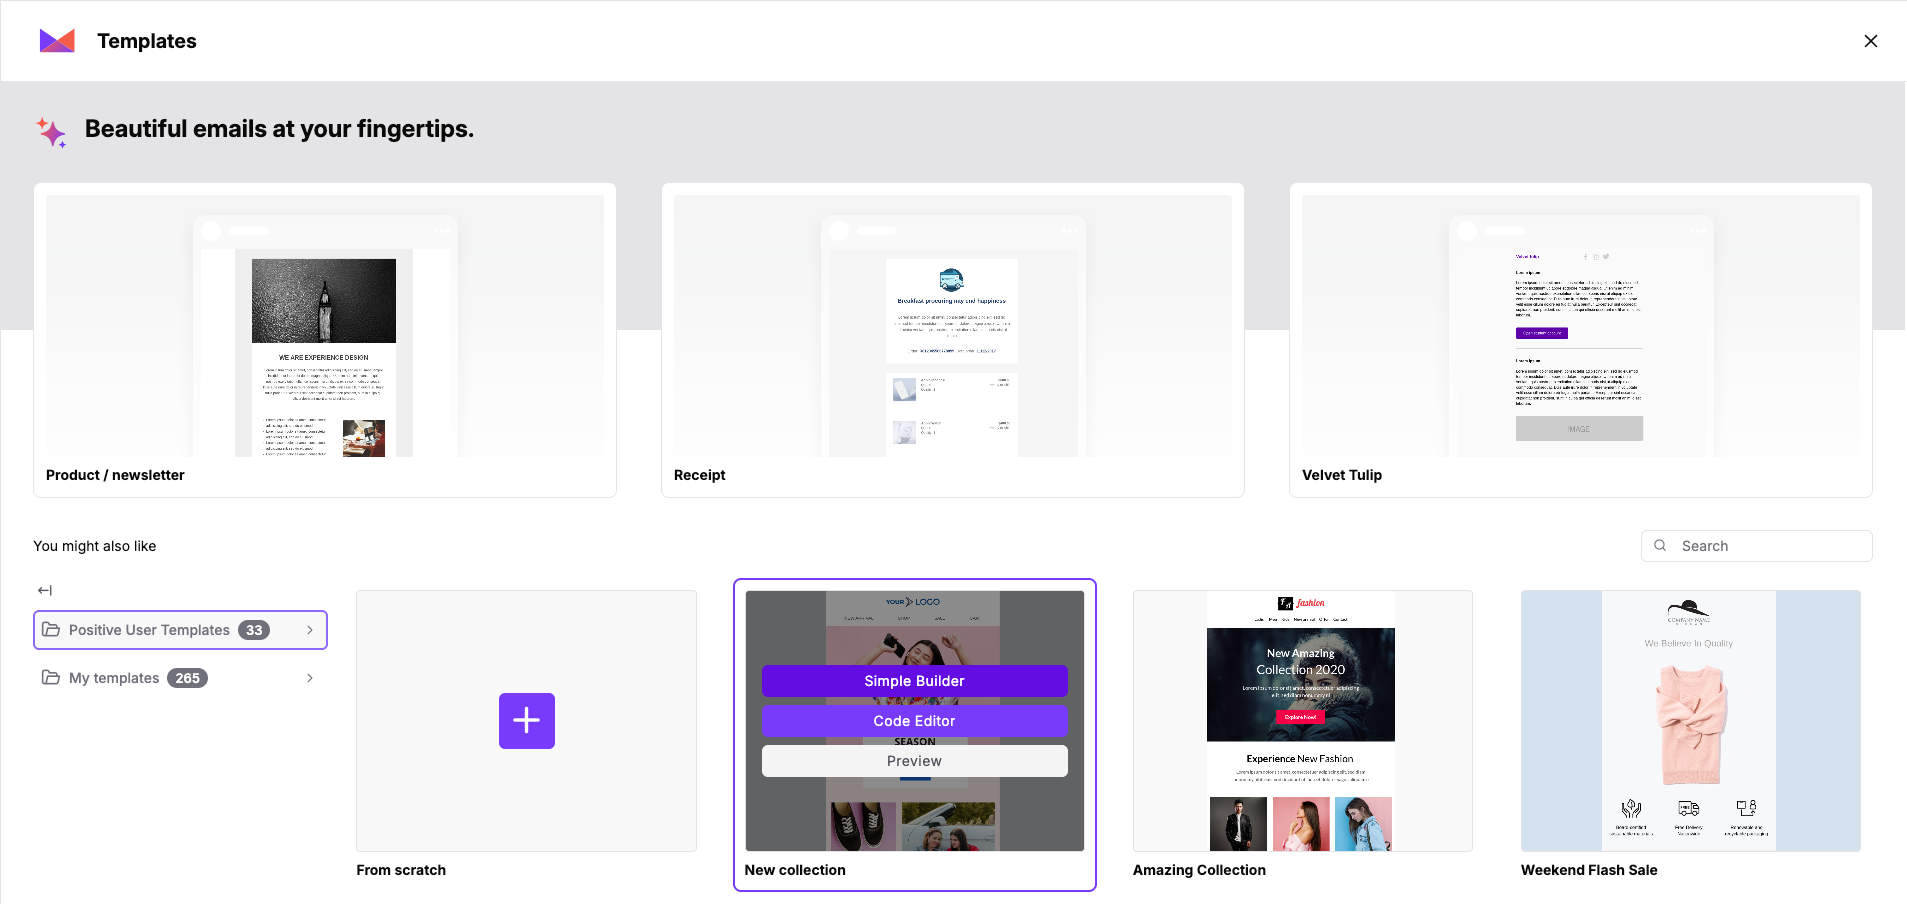
Choose one of the existing templates or create one from scratch. It will be the “A” version of your test.
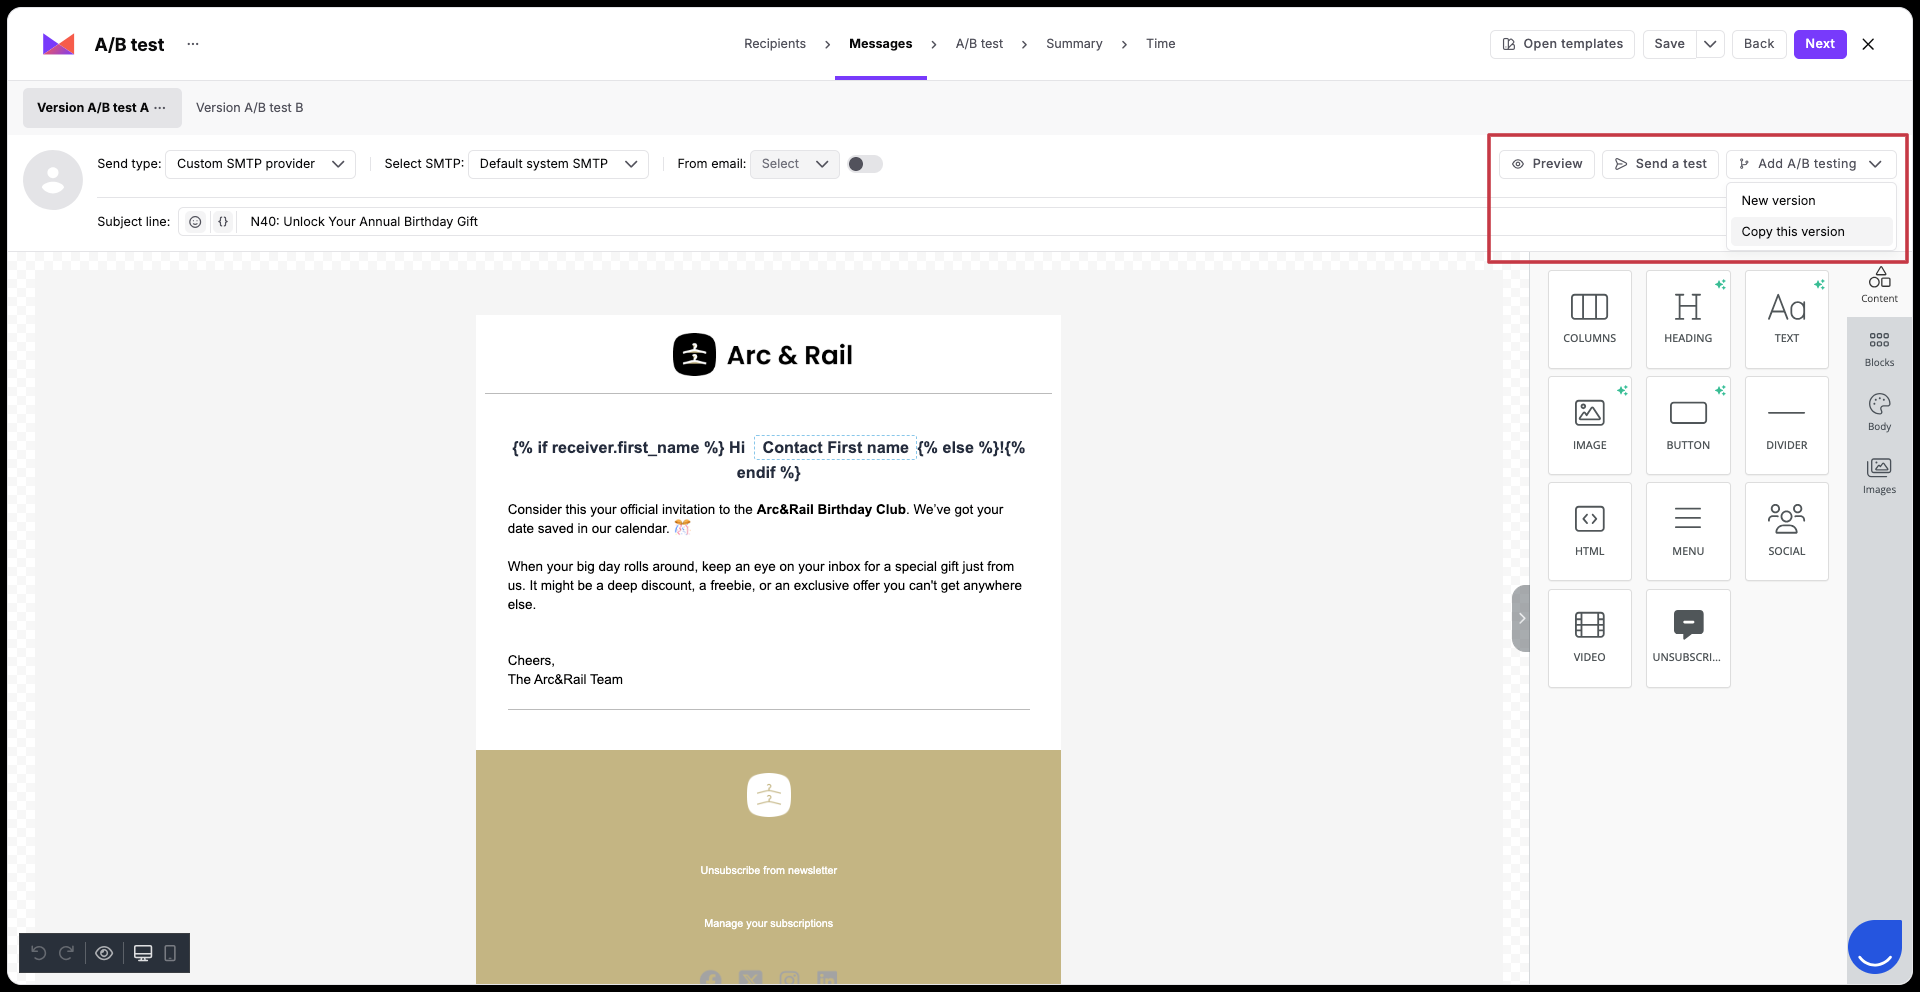
In the "Messages" step of the campaign creator, add the email versions you want to compare. You can add a new version or copy an existing one. You can include up to 5 different versions (labeled A through E).
You can modify:
subject line
content
CTAs
sender
etc…
Remember that the more versions you have, the bigger the recipient group should be to measure the effectiveness of a given message.
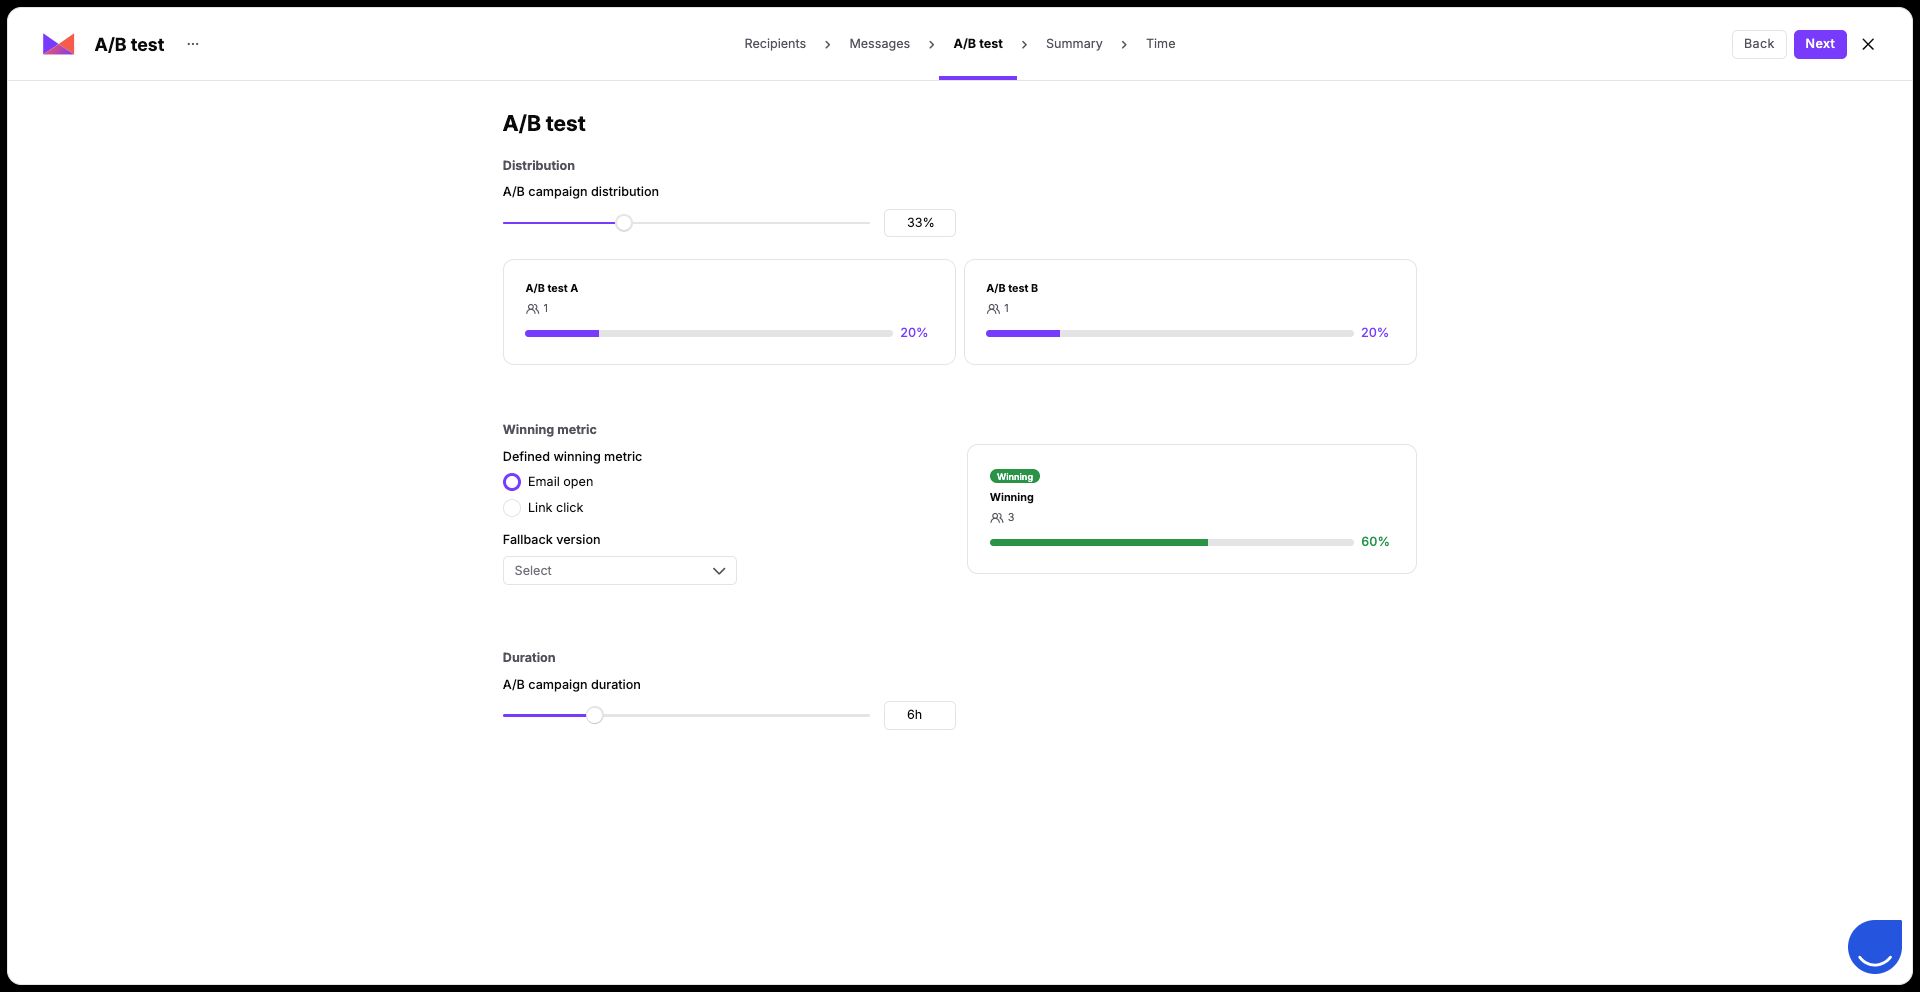
Navigate to the "A/B Test" step. Here, you will define how the winner is chosen:
Distribution: Choose how many contacts receive the initial test.
Winning Metric: Select "Open Rate" or "Click Rate" to determine which version is more successful. Also, you a setup a fallback version.
Duration: Set how long the test runs before the winning version is automatically sent to the rest of your audience.
It’s not necessary to divide all 100% of deliveries between the versions. You can distribute only part, then the rest of the emails will be sent to the winning version.
Finish the campaign creation process and send it to your recipients.
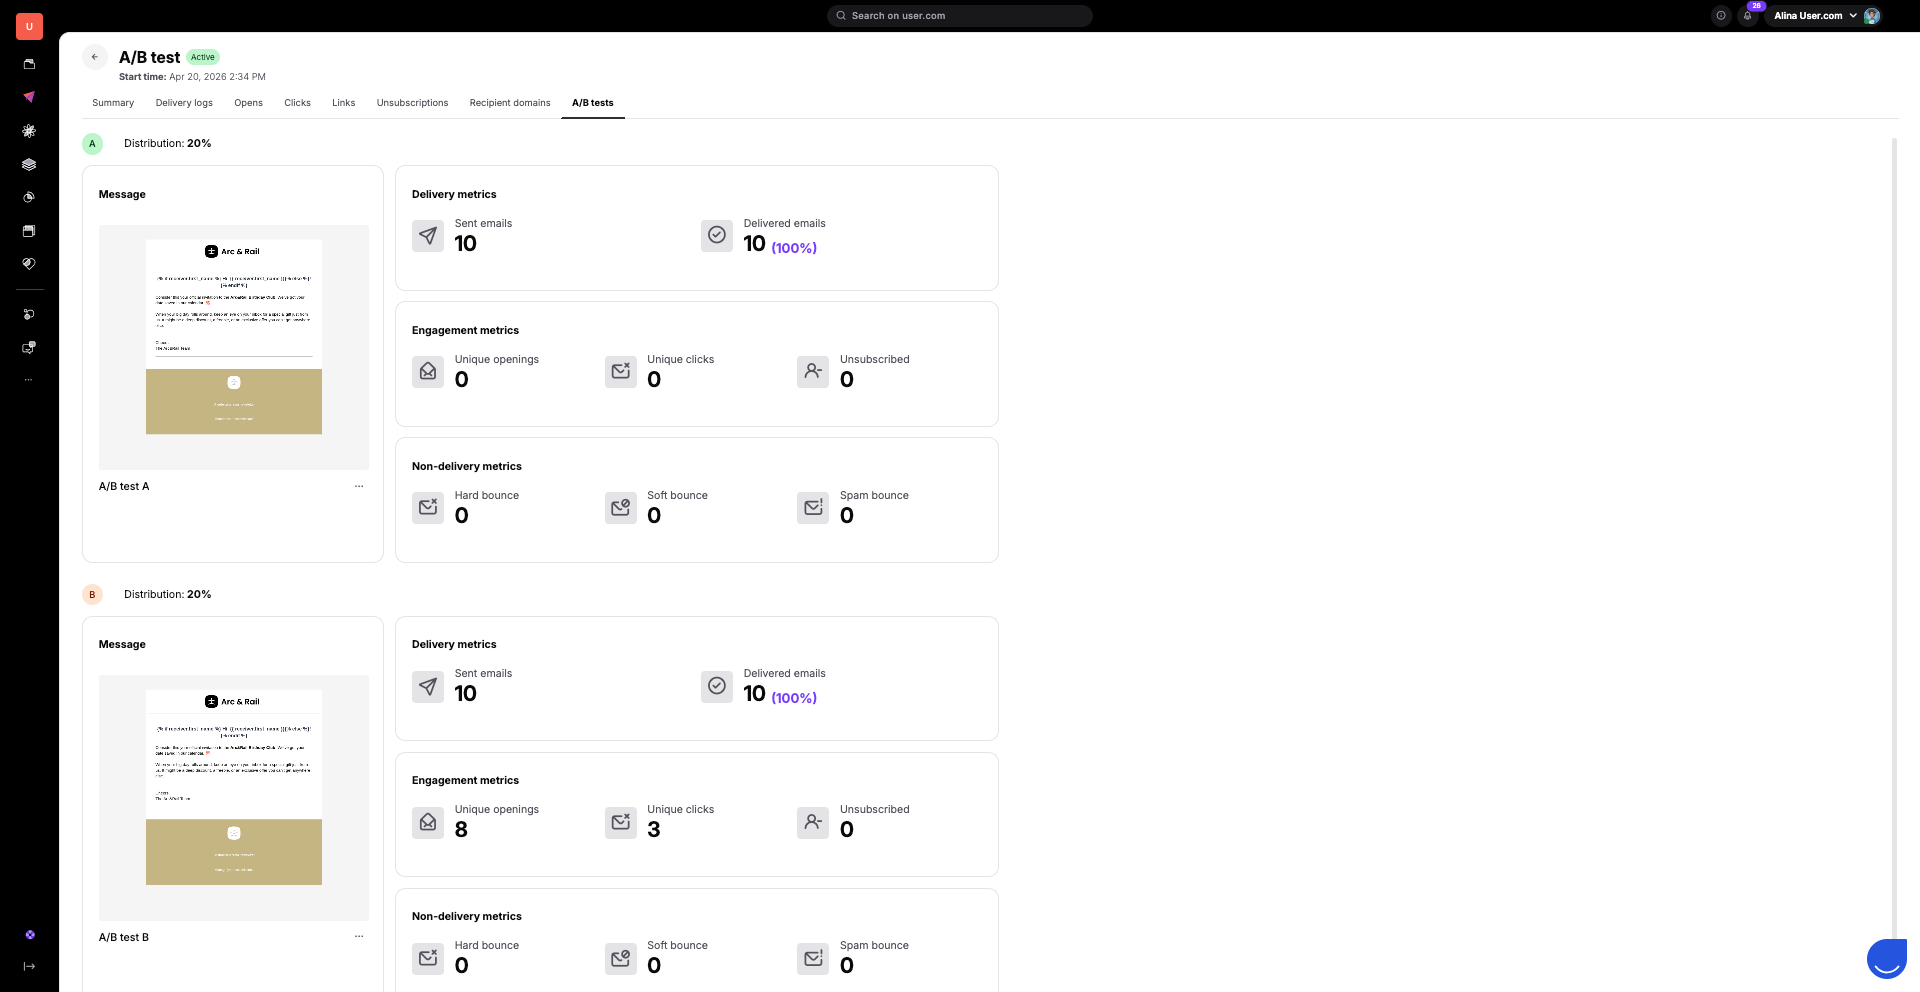
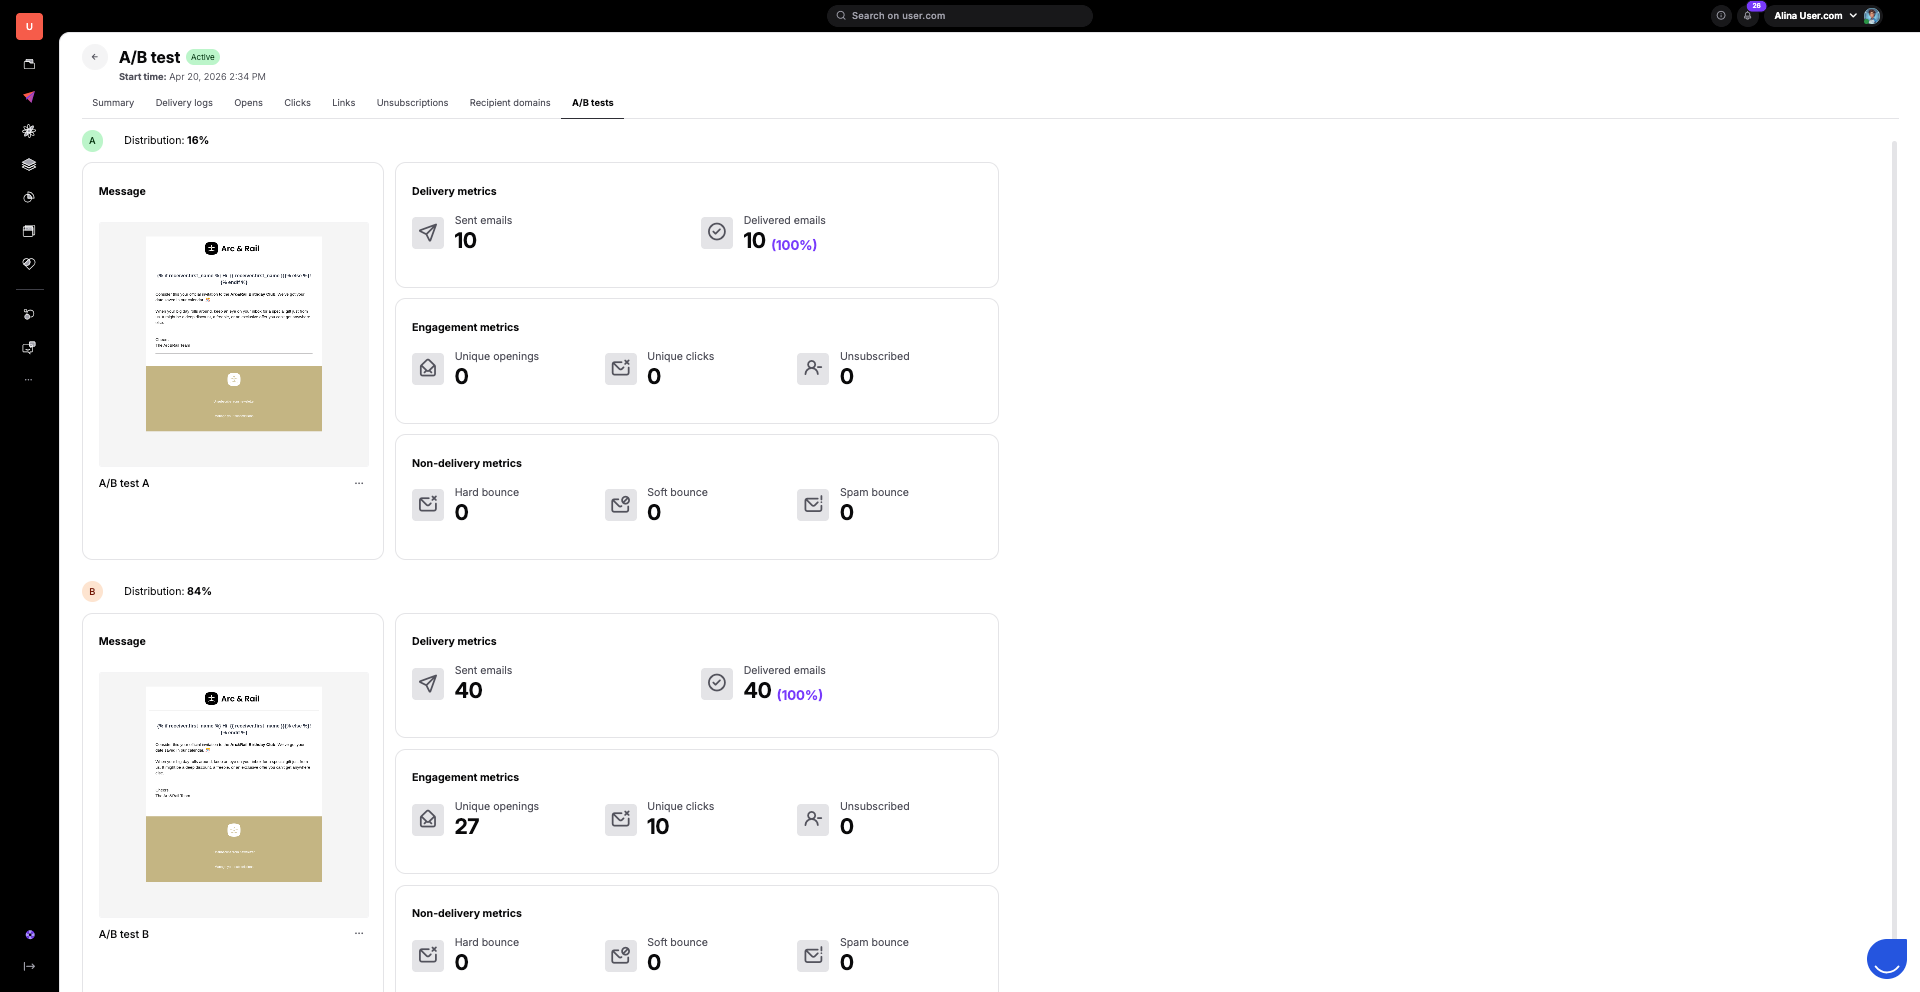
After your campaign is sent, head over to the specific campaign in "Campaigns" → “Emails”. On the top of the profile you can find a dedicated “A/B tests” section.
You will see a list of your email versions with specific data for each, including:
Delivery metrics: Track "Sent emails" and "Delivered emails" to ensure your technical setup is healthy.
Engagement metrics: Compare "Unique openings" and "Unique clicks" to see which message sparked more interest.
Non-delivery metrics: Monitor where emails didn't arrive to keep your list healthy. Look at "Hard bounce" (invalid addresses), "Soft bounce" (temporary delivery issues), and "Spam bounce" (emails blocked by filters).
The statistics you see will change over the course of the campaign:
The Test Phase: Initially, you will only see data for the contacts included in your "Distribution" settings. This is the experimental group where the system compares your versions side-by-side.
The Winning Phase: Once the "Duration" time passes, the system automatically identifies the winner based on your "Winning Metric". This winning version is then sent to the rest of your recipients. At this point, the numbers will grow significantly as the remaining contacts receive the winning email.
These visual tools also show the split between your test group and the final group that received the winning version.
Subject Line Testing: Send version A with a question and version B with a direct statement to see which drives more opens.
Call-to-Action (CTA) Placement: Test if a button at the top of the email generates more clicks than a link at the bottom.
Personalization: Compare an email that uses dynamic content in the greeting versus one that uses a generic "Hi there!"
