The chat widget serves as a direct communication channel where your team can reach anonymous visitors and recognized contacts using manual or automated messages. You can use it to run automated chatbot conversations, offer live customer support, connect your knowledge base, or share helpful articles directly within the window. Managing when this widget is visible ensures your team can handle conversations effectively without getting overwhelmed.
Use this method if you want to remove the chat window from your website entirely.
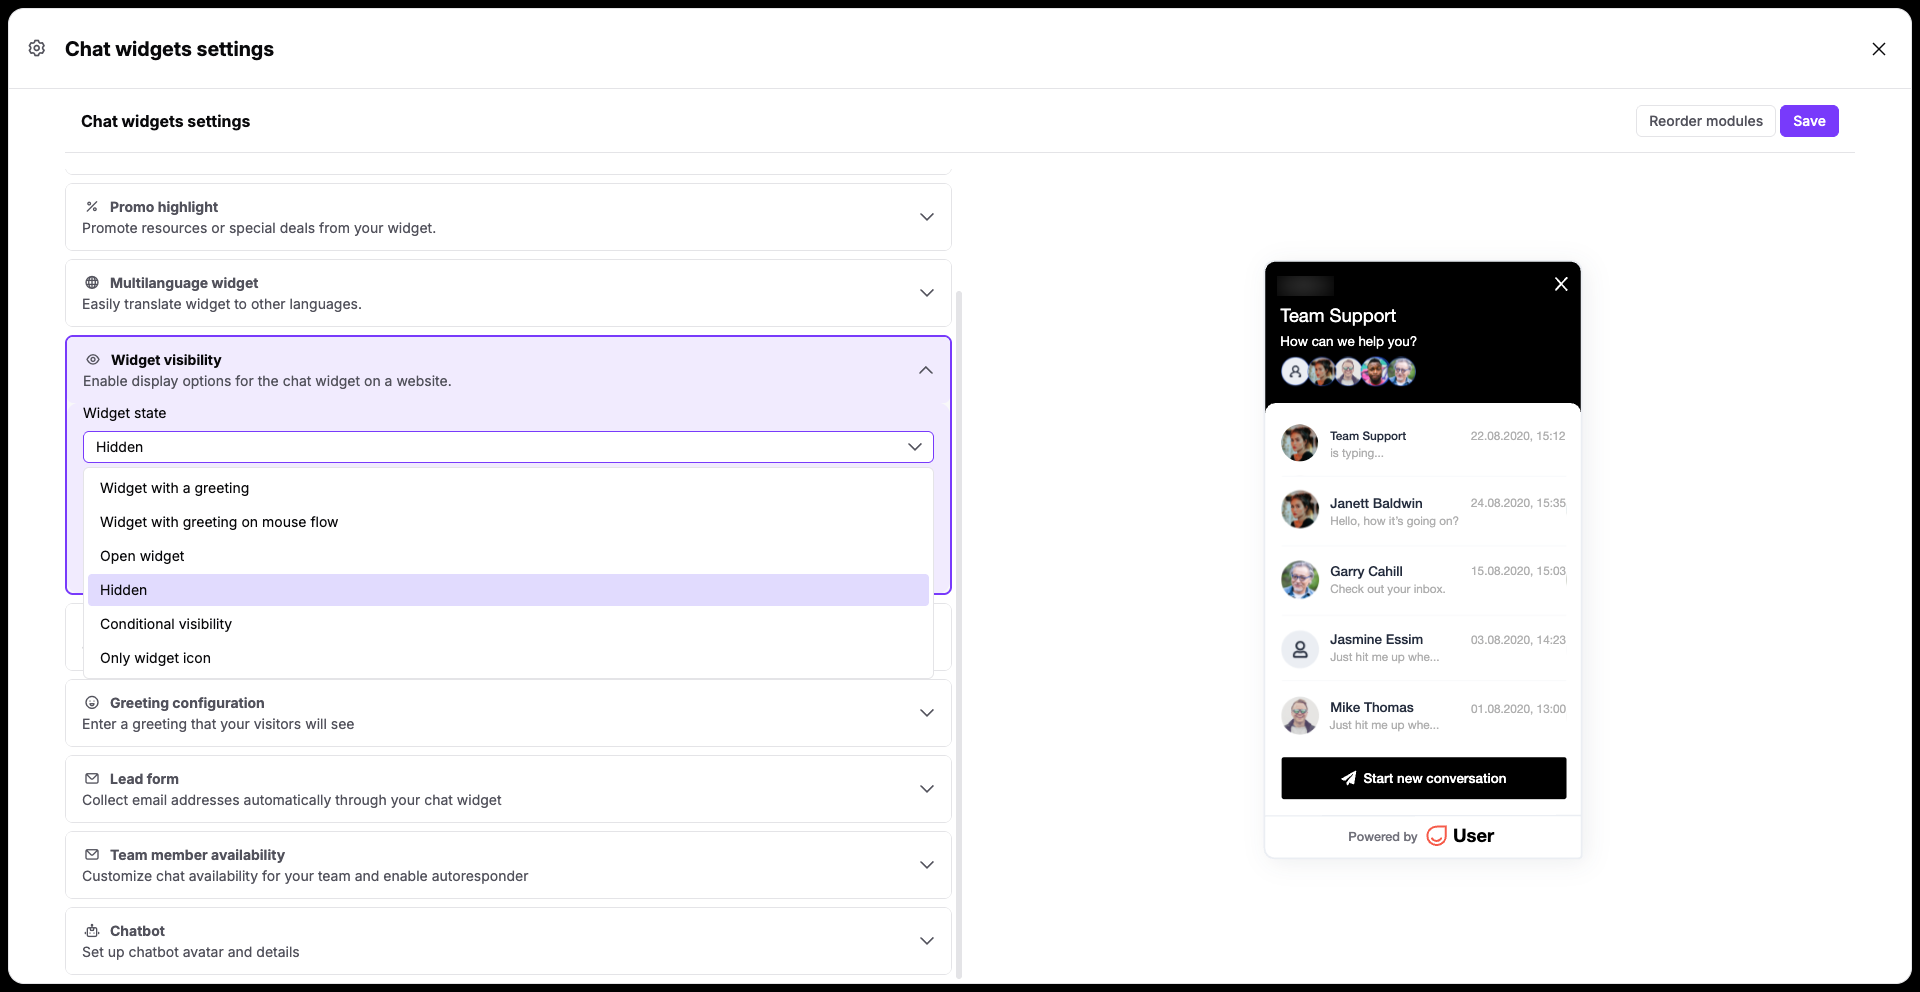
Go to "Workspace settings" → "Conversations" → "Chat widget" and find the "Widget Visibility" section.
Select "Hidden" from the visibility dropdown options.
Click "Save" to apply the update. The chat window will immediately disappear from your website.
Apply this option to limit the chat window so it only appears for certain groups of people, such as recognized contacts or anonymous visitors.

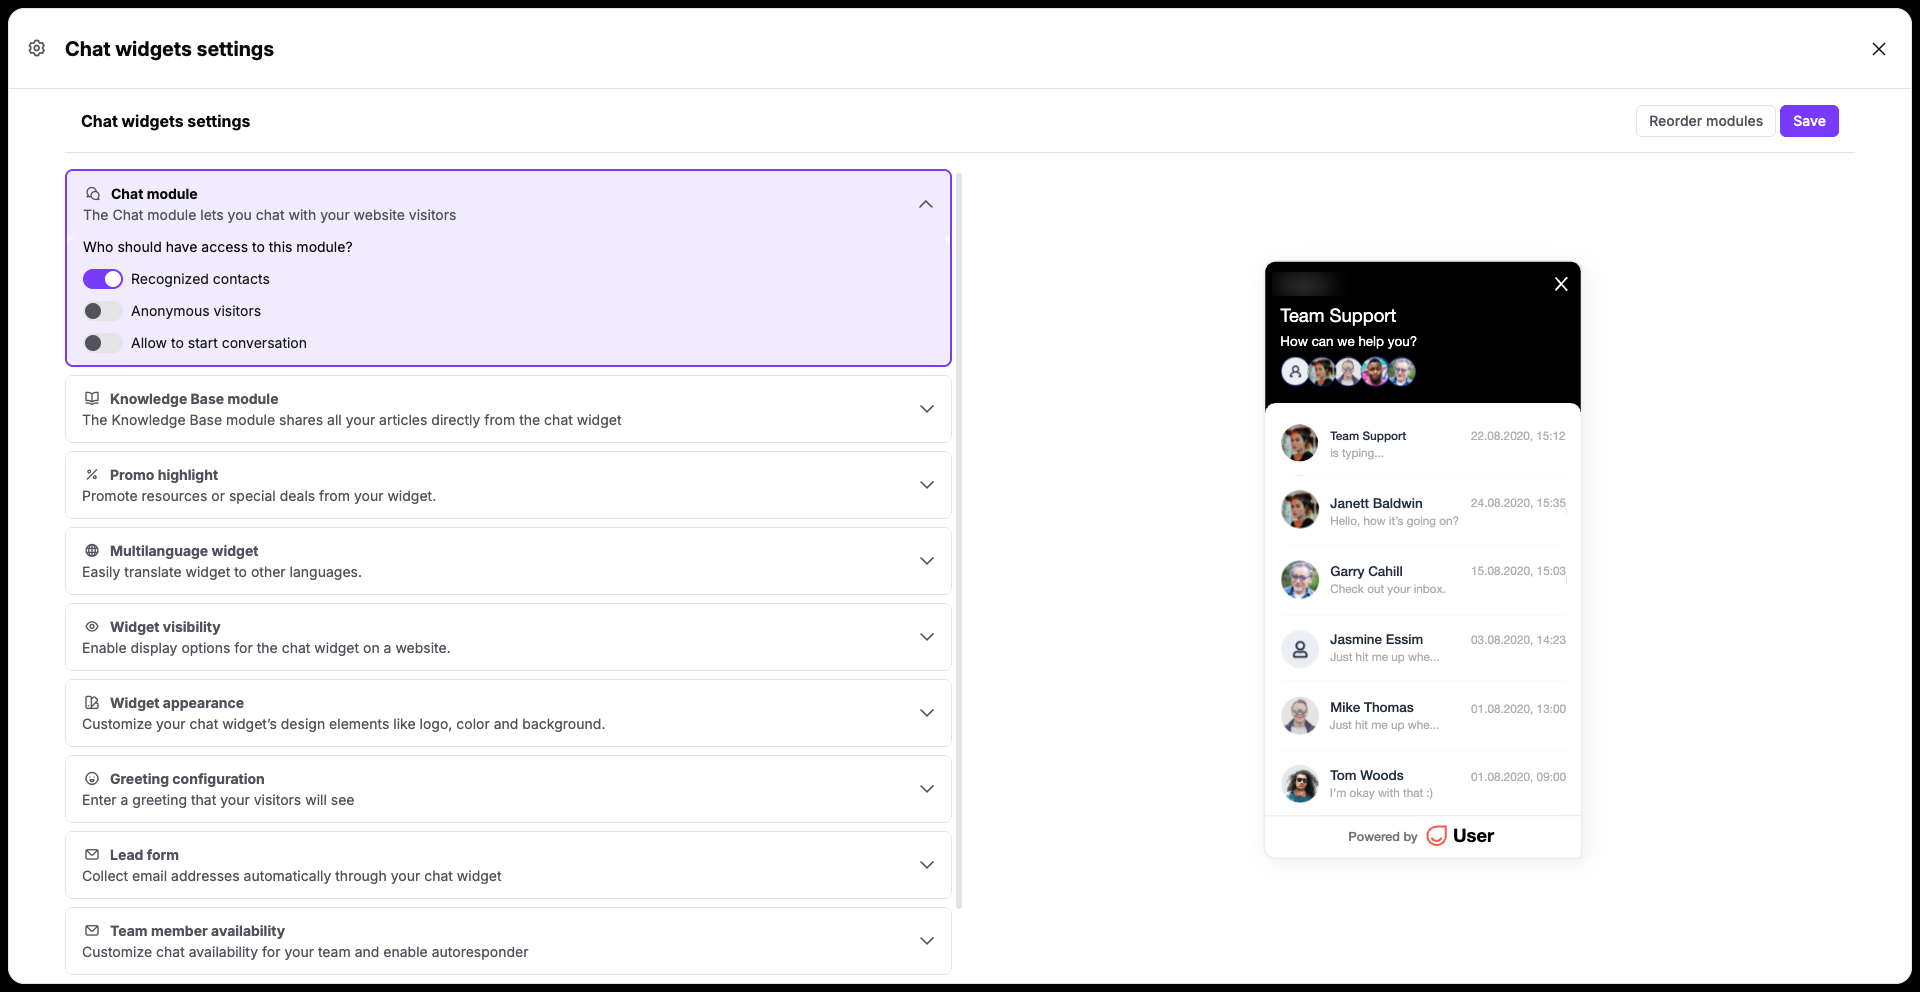
Go to "Workspace settings" → "Conversations" → "Chat widget" → "Chat Module" and look for the audience targeting options.
Choose whether you want to leave the widget visible only for recognized contacts or anonymous visitors (or both).
Click "Save" to apply the update. The chat window will immediately react on the changes.
Decide who exactly should have the access to the widget on your website. The rules can be applied on the basis of contacts’ actions and characteristics.
Go to "Workspace settings" → "Conversations" → "Chat widget" → "Widget Visibility".
Select "Conditional Visibility" option.
Click "Save" to deploy your conditional targeting rules.
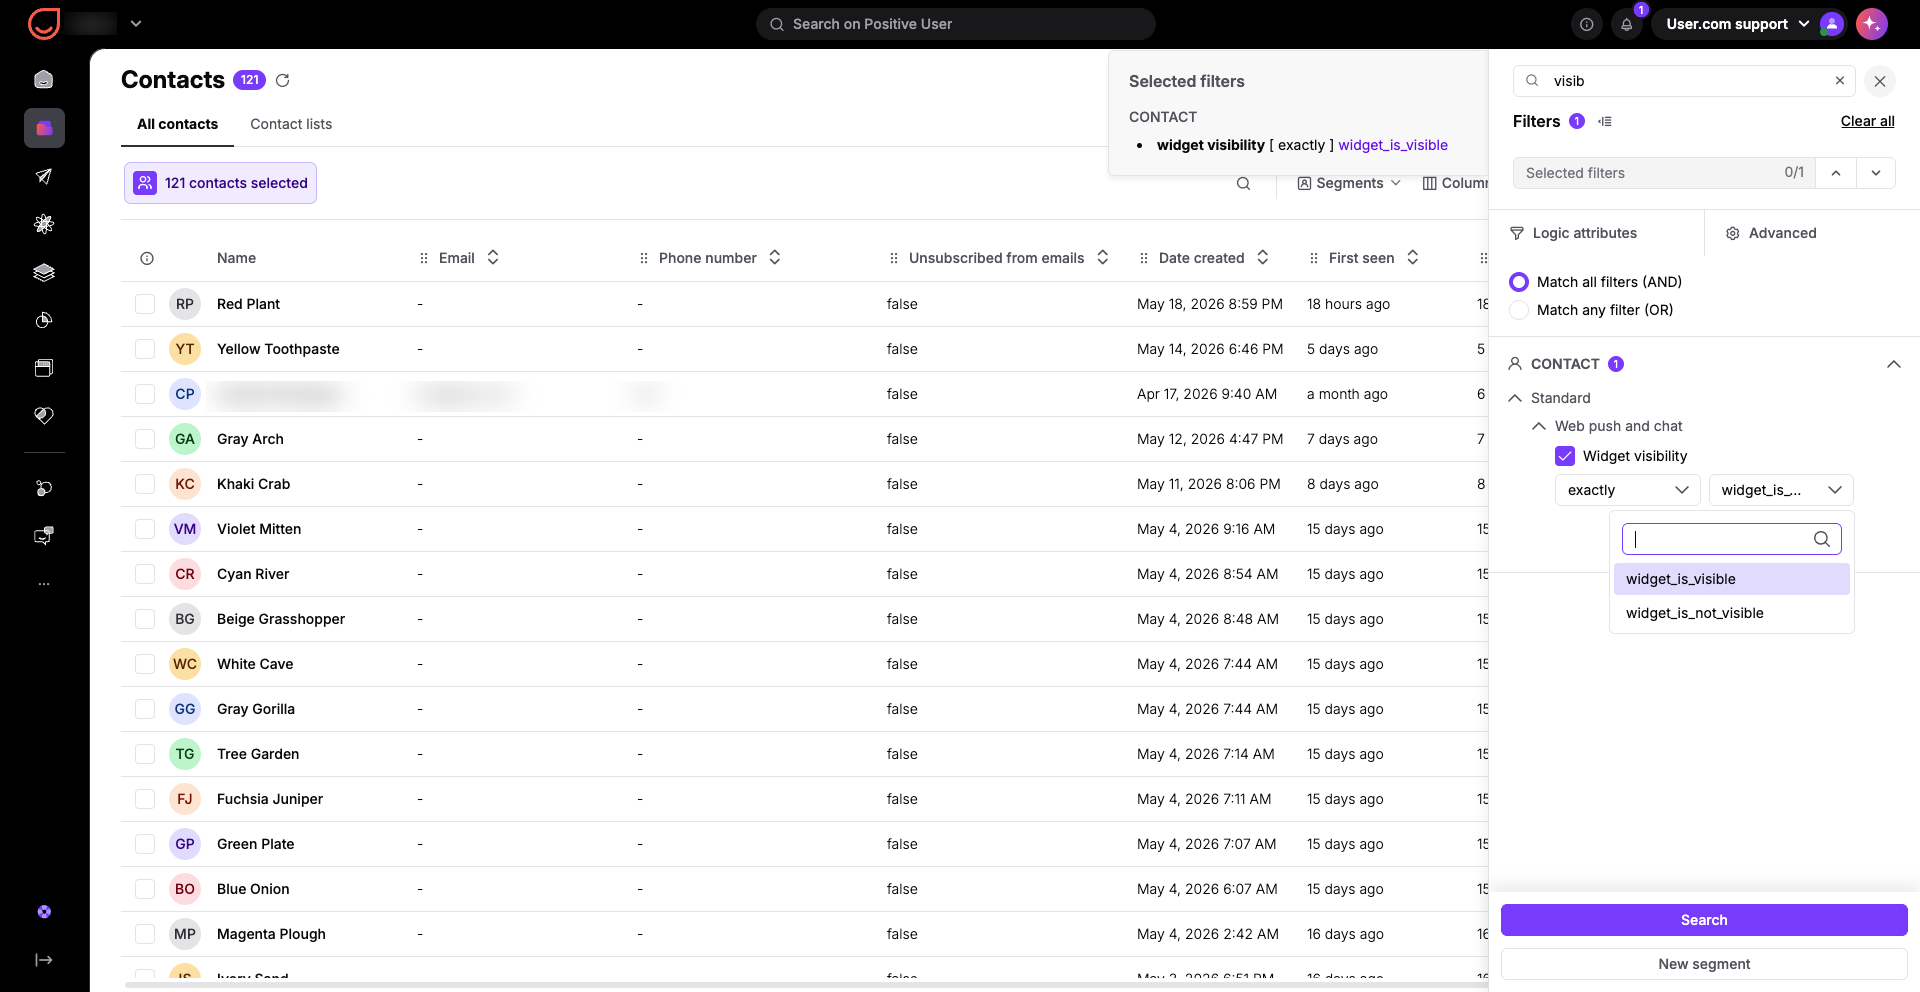
Define your segments in “Contacts” section. Set up specific rules to choose which segments of your contacts can see and access the chat widget. Only the ones who have the attribute “widget_visibility” with “widget_is_visible” value will be able to reach the chat widget. You can create a segment or build an automation to update this attribute.
Use this method to automatically hide the chat window when your team is off the clock so anonymous contacts and recognized contacts don't expect immediate replies at night or during weekends.
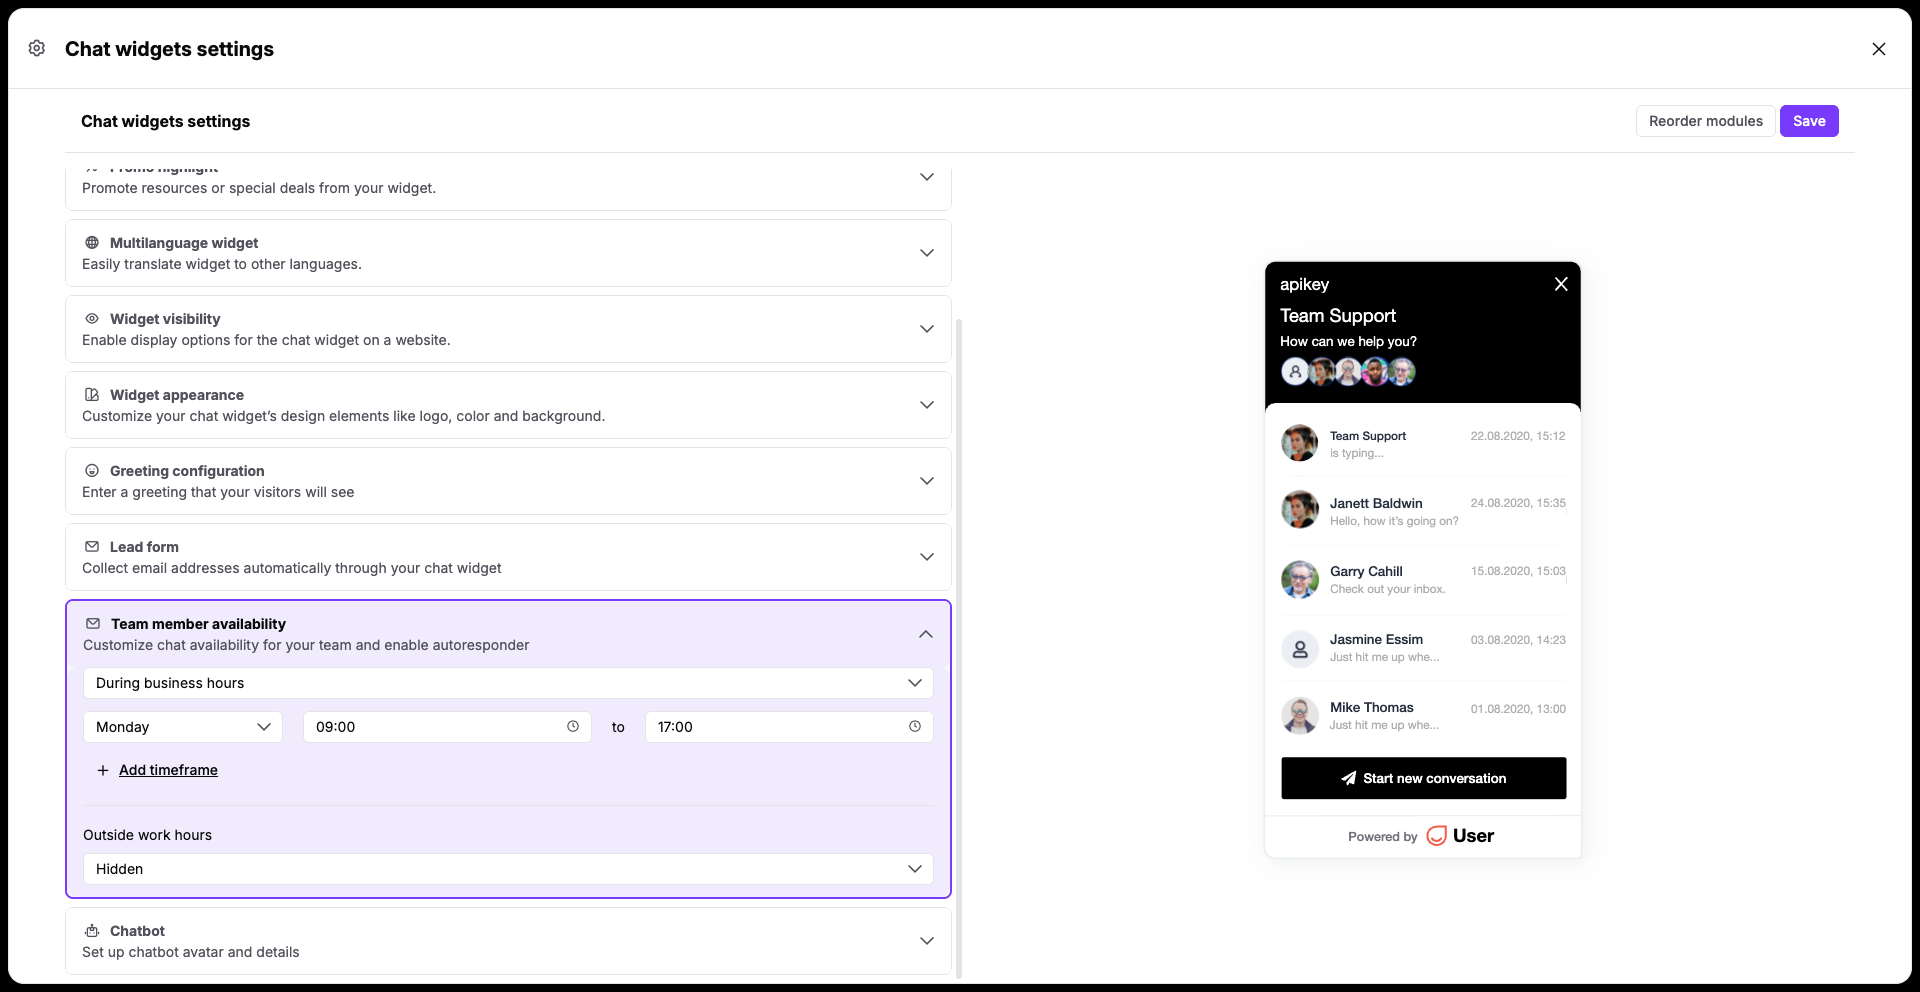
Go to "Workspace settings" → "Conversations" → "Chat Widget" and locate the "Team Member Availability" section.
From the dropdown menu, select when the widget should work. Choose the "During Business Hours" option.
Set the exact time frame for your chat support team's working hours. Below the schedule, choose to hide the chat widget outside of these hours instead of displaying an autoresponder message.
Click "Save" to lock in your availability rules.
If you want to control the chat window automatically based on custom actions or logic on your website, your development team can change its status directly within your website's code.
Add the widget_hidden method to your website's tracking code script where you want to trigger the state change.
window.civchat = {
    apiKey: "YOUR_WORKSPACE_KEY",
    state: "hidden"
};
This setting overrides the default state configured under “Chat Widget Settings” in the Positive User workspace. Use it when you need programmatic control over the widget's visibility or behavior on specific pages.
Support Management: Turn off the chat window automatically at night or during weekends so your team doesn't build false expectations of immediate live help when no one is available to answer.
Targeted Marketing: Display the chat widget only to specific contact segments, such as high-value leads or VIP clients, to provide white-glove service while keeping it hidden from general website traffic.
