You can send emails directly from your own domain to improve deliverability and build contacts trust. To make this work, you need to configure your DNS records and then set up the domain in User.com. This guide walks you through each step.

These settings let you send emails from your domain. To authorize User.com to send emails on your behalf, you must add the correct DNS records. The configuration includes SPF, DKIM, and DMARC.
SPF Record
SPF lets mail servers verify that User.com is allowed to send emails from your domain.
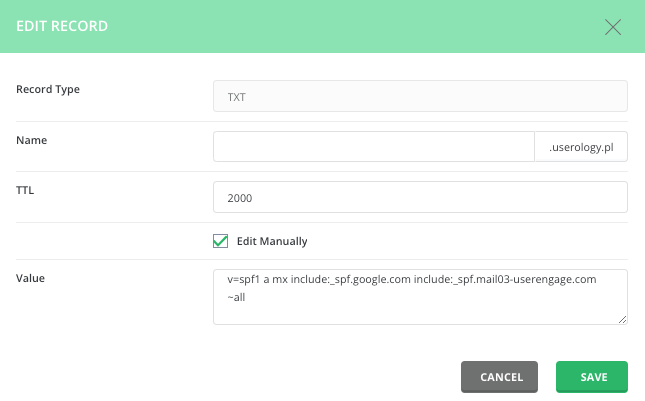
Record type: TXT
Name: Usually your domain name (e.g., example.com). It may differ depending on your hosting provider.
Value: v=spf1 mx a include:_spf.mail03-userengage.com ~all
If your domain already has an SPF record, update its value instead of adding a second record. Add only this part: include:_spf.mail03-userengage.com
Example:
Current value: v=spf1 mx a include:_spf.google.com ~all
Updated value: v=spf1 mx a include:_spf.google.com include:_spf.mail03-userengage.com ~all
If your provider uses an SPF builder, add a new include element.

DKIM Record
DKIM adds a digital signature to your messages to confirm that they are legitimate and unchanged.
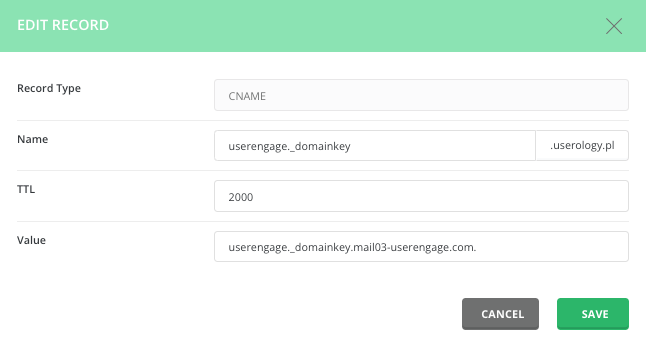
Record type: CNAME
Name: userengage._domainkey.yourdomain.com
Value: userengage._domainkey.mail03-userengage.com
For providers using DirectAdmin, add a period (.) at the end of the value, as shown in the screenshot. If you're not sure about this, check your provider knowledge base or contact their support directly.
DMARC Record
DMARC helps receiving mail servers determine how to handle messages that fail SPF or DKIM.
Record type: CNAME
Name: _dmarc.yourdomain.com
Value: _dmarc.mail03-userengage.com
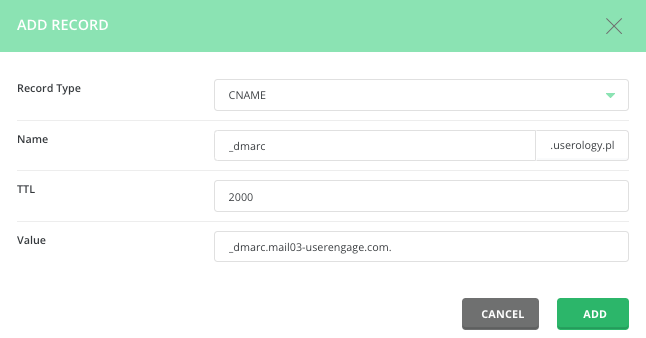
As in the previous example, you may need to add a period at the end of the record value. If you have any doubts, check your hosting provider knowledge base or contact their support.
DNS propagation may take time. You can check your records with Google Dig or any DNS lookup tool.
In the provided example on a screenshot below, we can see that the DKIM record returns the correct value.
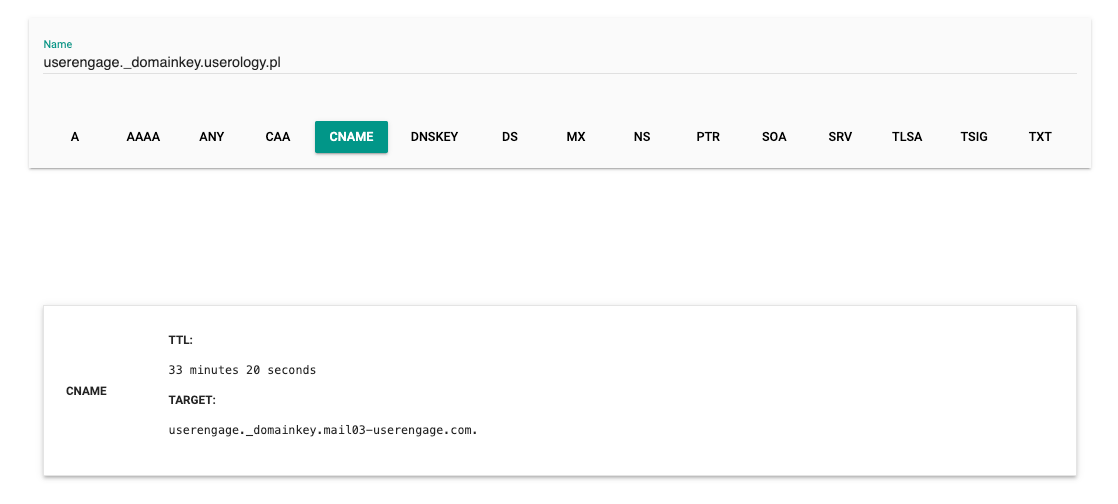
If your value check returns something like this:

It's a sign that you need to add a period at the end of the value, as mentioned before, because the value (target) contains your domain name which was added by your hosting panel automatically. The correct final value should contain only "userengage._domainkey.mail03-userengage.com".
Once DNS is ready, add and verify your domain inside User.com.
Go to Settings → Workspace Settings → Email → Domains.
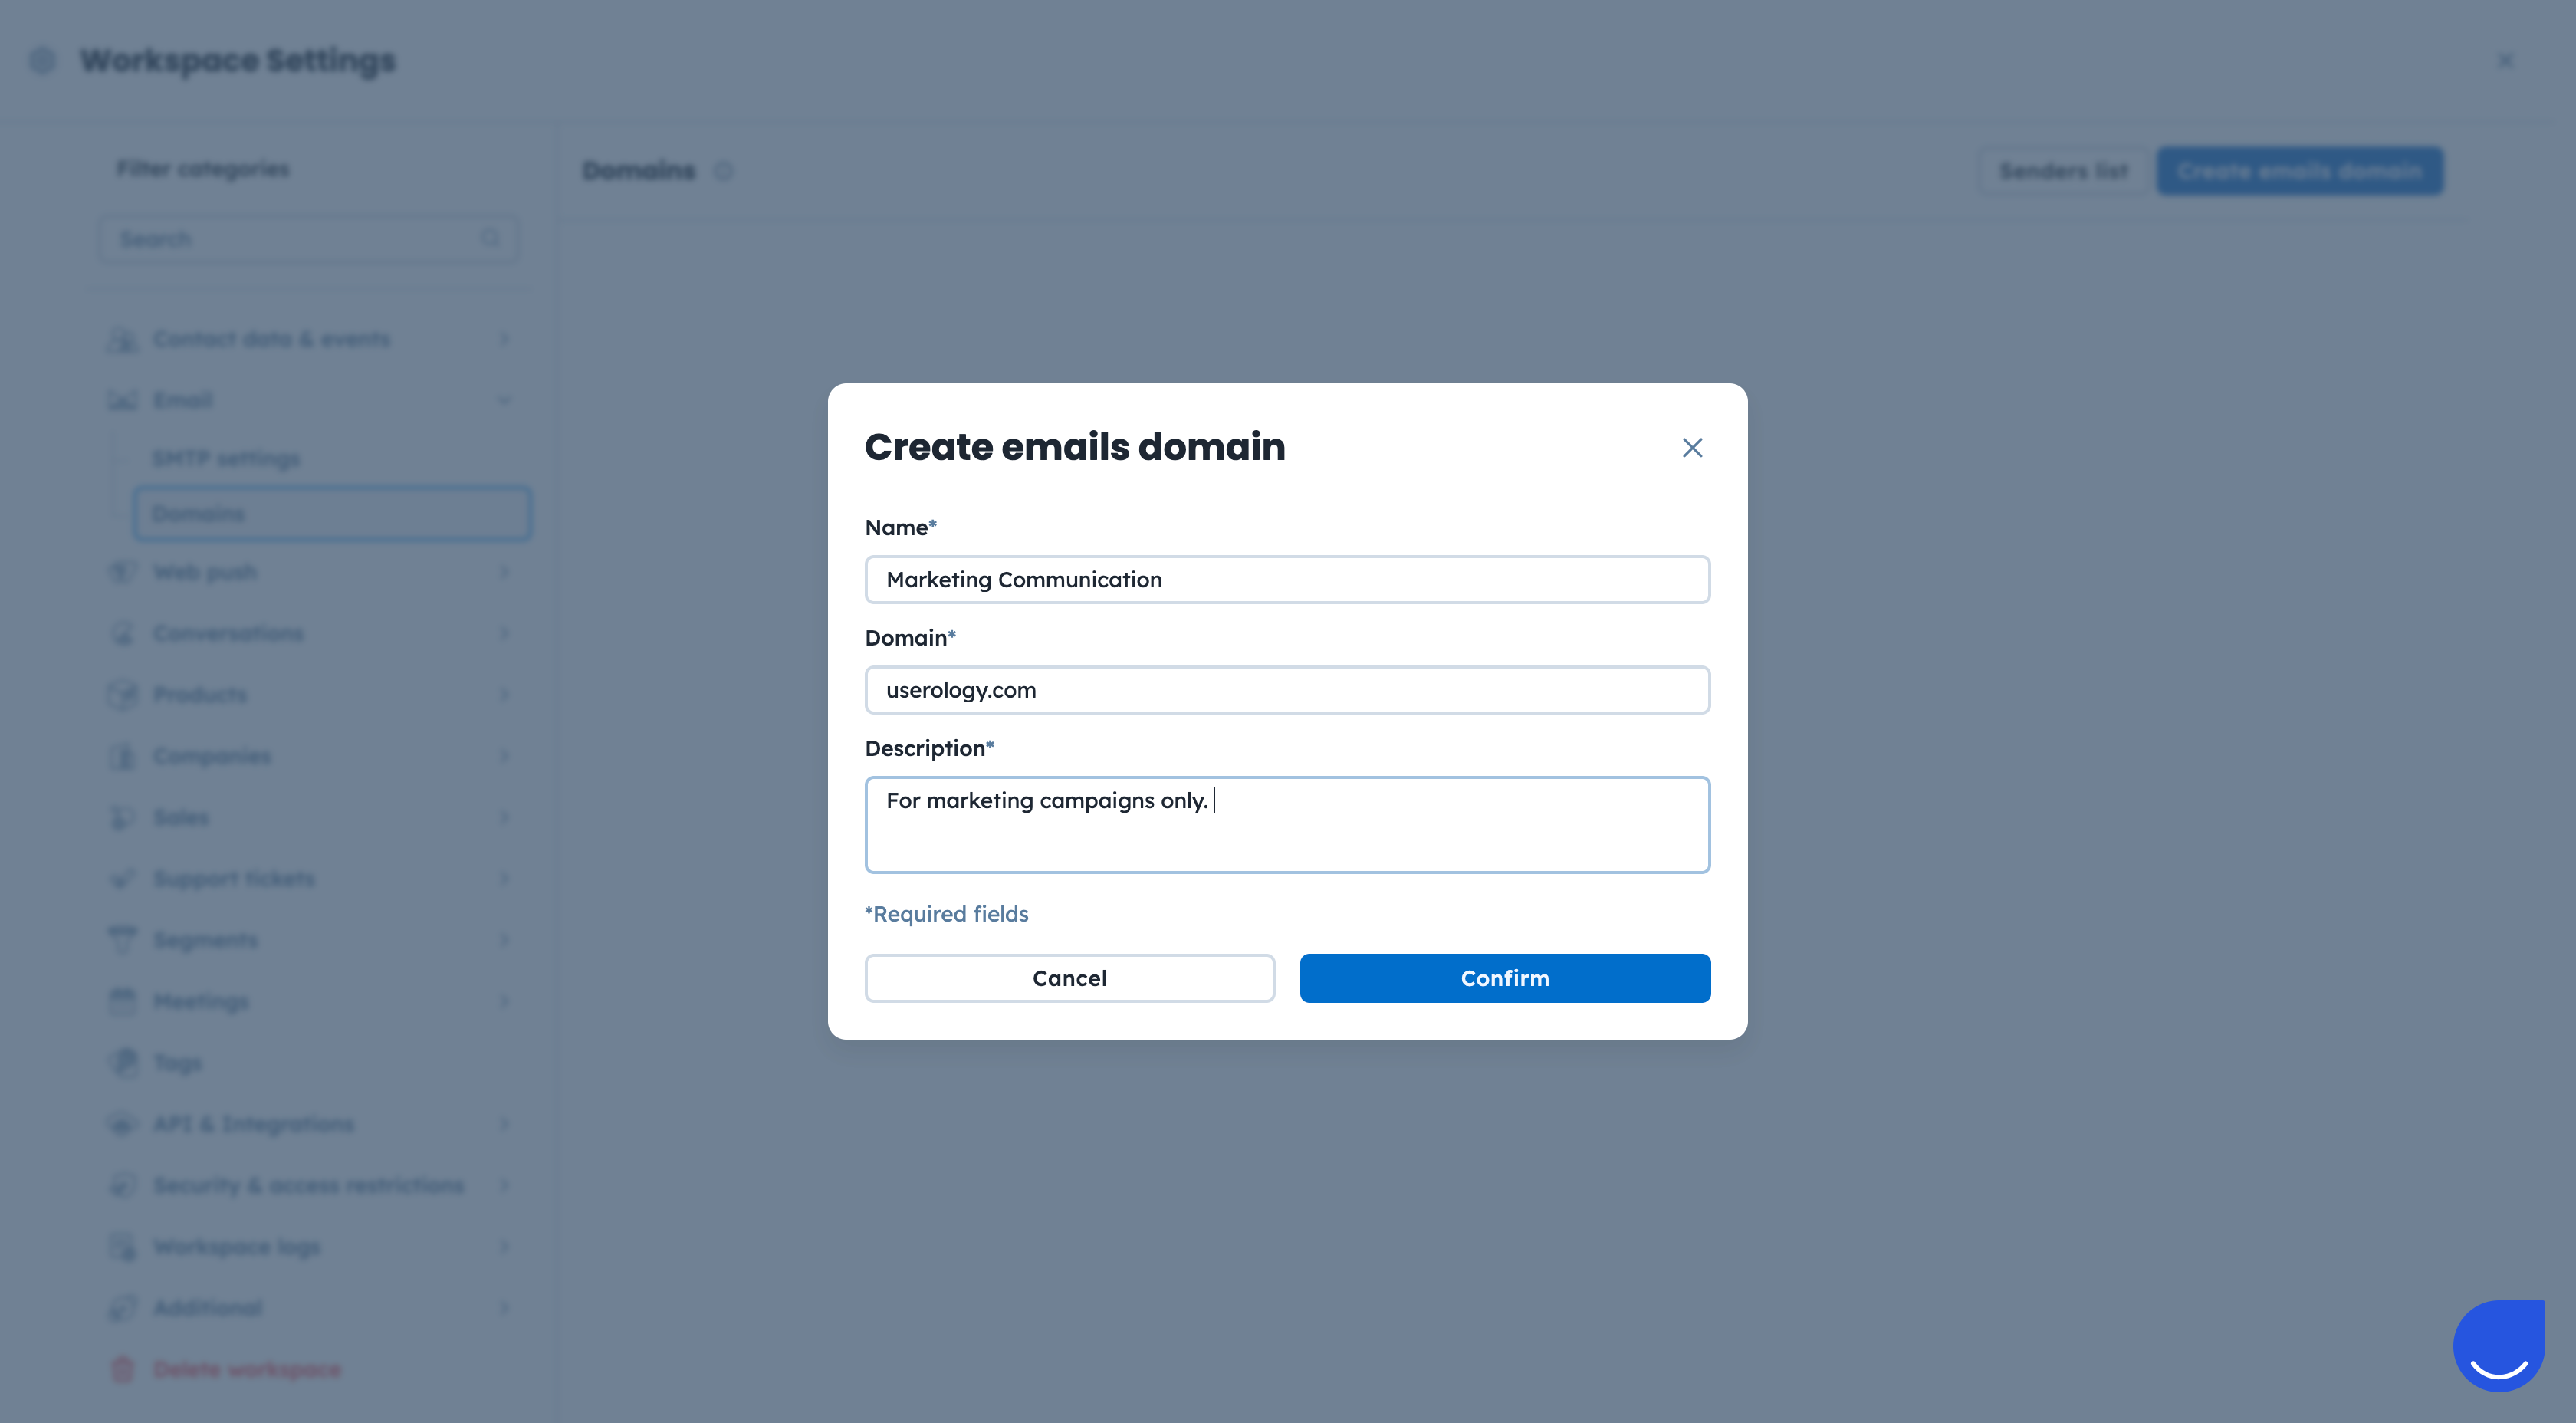
Click the “Create emails domain” button.
Fill the form with the required details:
Name: The label displayed on your domain list inside User.com app. Example: Marketing Communication.
Domain: The domain you want to send the emails from. Example: userology.com
Description: Useful details for your team.
Validate DNS Records

Once the DNS records are validated the domain can be used for the email campaign delivery.
Deliverability Optimization
Sending from your own domain improves credibility with mailbox providers, reduces spam filtering, and increases open and click rates.
Brand Trust
A recognizable sender domain increases trust and supports consistent communication.