Give your website contacts a direct line to your team. The chat widget lets you manage live conversations, trigger proactive chat automations, and share helpful materials like knowledge base articles or marketing posts.
Follow these steps to get the chat widget up and running on your website.
Add the Website Tracking Script
Before the widget can appear, you need to add the main tracking script to your website. This script handles both data tracking and the widget itself. Follow the instructions in our “How to Add a Tracking Script on Your Website” article to complete this step.
Choose Your Target Audience
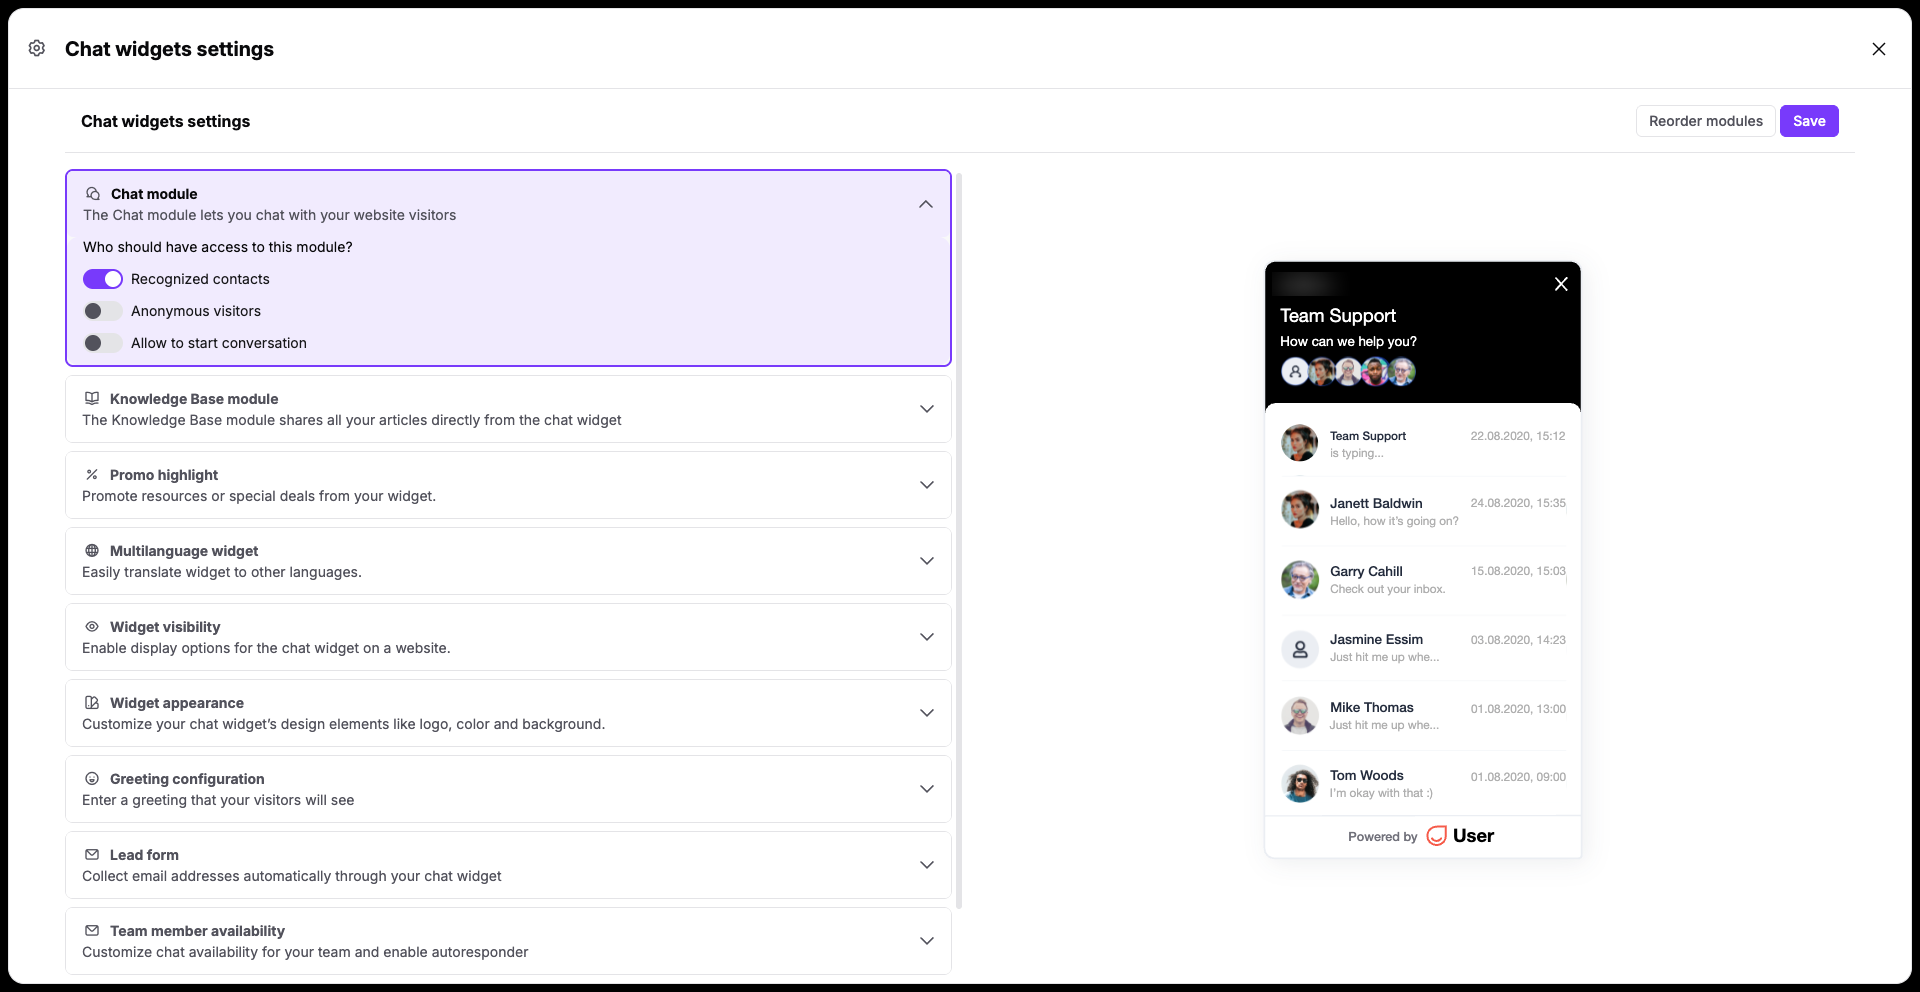
In your Positive User worspace, go to "Customer Service" → "Chat Widget". This will take you directly to the configuration menu of “Chat Module” section.
Decide who can see the widget. You can make it visible to anonymous visitors, limit it only to recognized contacts or show to everyone. You can also choose whether contacts can start multiple separate conversations or if they are limited to one continuous thread.
Set the Widget State and URL Rules
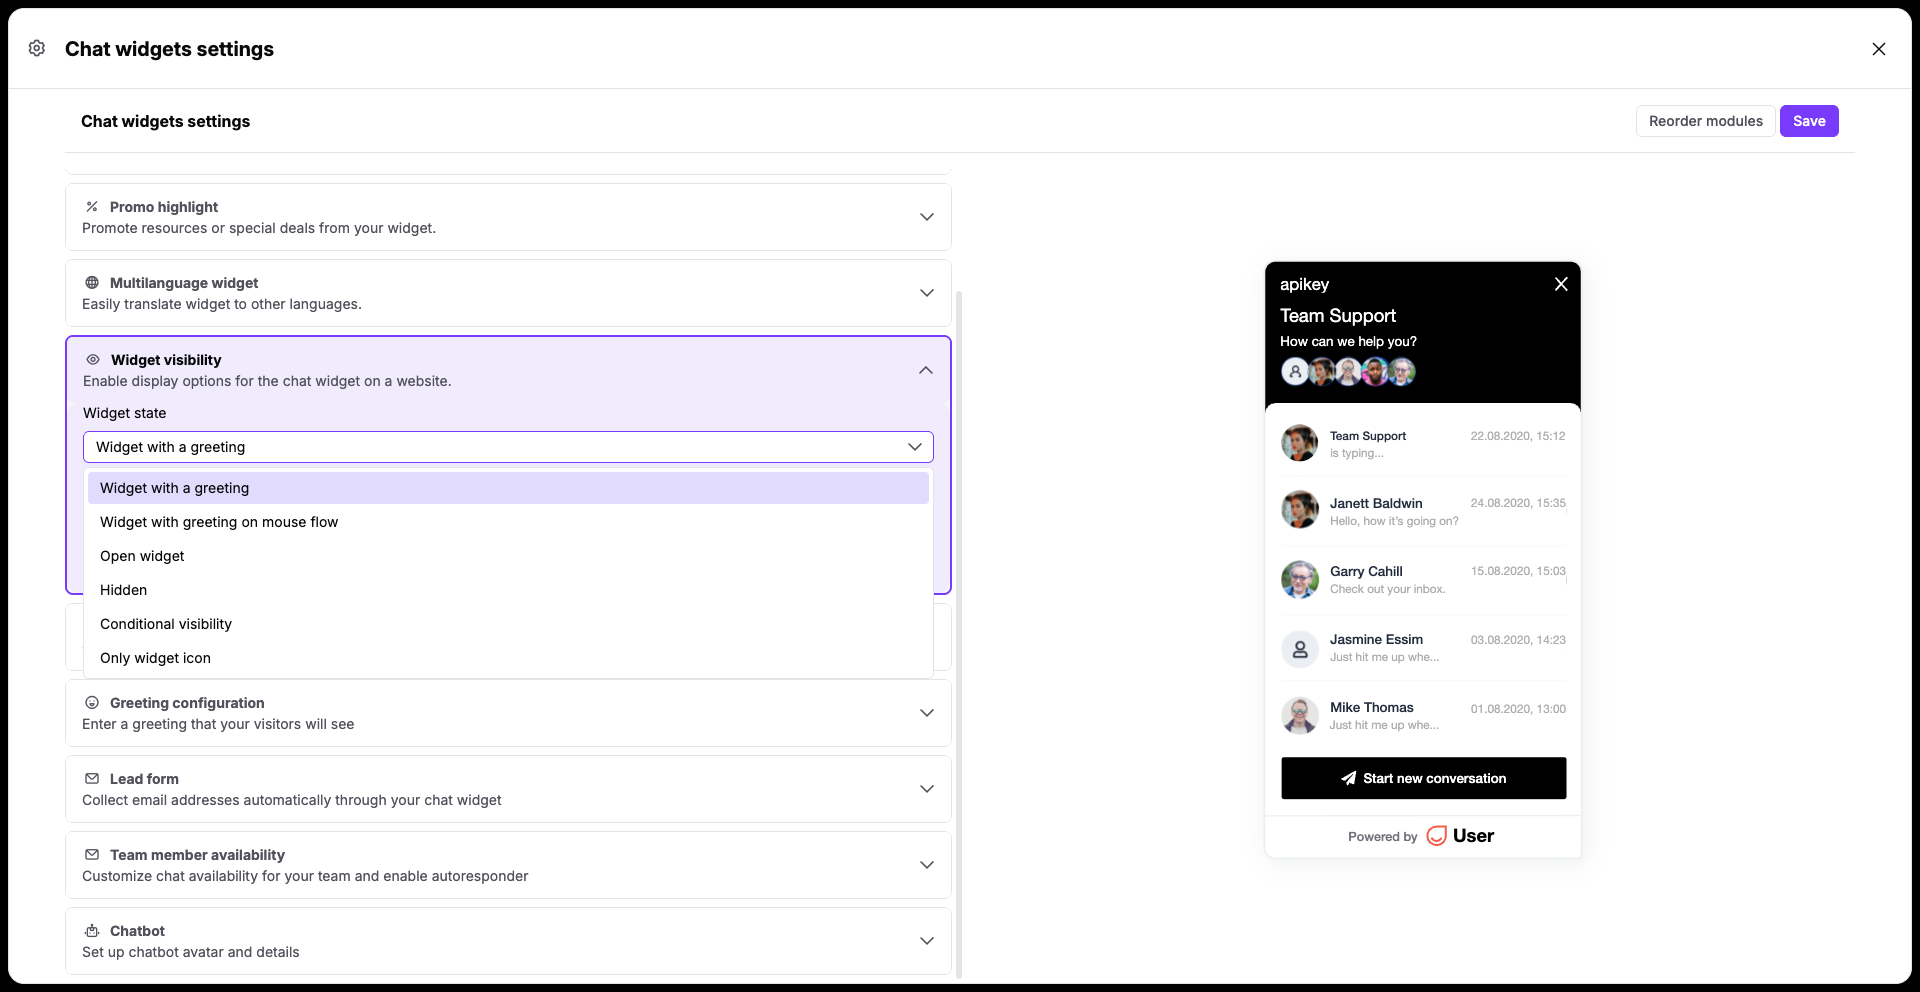
Locate the "Widget visibility" section to define how the widget behaves on your pages. Click the "Widget state" dropdown and select one of the available display options:
"Widget with a greeting"
"Widget with greeting on mouse flow"
"Open widget"
"Hidden" (default state when widget is not shown)
"Conditional visibility"
"Only widget icon"
By default, an asterisk (*) is placed in the website address field, meaning the widget will show on every page where your script is installed. To limit where it appears, replace the asterisk with specific subdomains or page URLs.
Save Your Settings
Click the "Save" button in top right corner of the page to apply your changes. The chat widget will immediately go live on your website.
Proactive Engagement: Set up automated messages to welcome contacts or capture their details using a chatbot flow.
Responsive Support: Give your team a centralized space to handle incoming questions quickly when a contact reaches out.
