Support tickets help your team manage issues reported by your contacts in a clear and organized way. Instead of handling problems across scattered emails or chats, you keep all related communication, updates, and responsibility in one structured place.
Using support tickets, your team can assign ownership, set priorities, monitor progress, and maintain a complete history of actions. This leads to faster resolutions and a better support experience for your contacts.
A support ticket is a centralized record of a contact's question, issue, or request. Tickets are usually used to fix problems and help contacts. They are different from regular tasks because their main goal is to track a specific issue from the moment it is reported until it is completely finished.
You can access Tickets by going to “Customer service” → “Support tickets”.
Example:
A contact reports a billing issue via chat. You create a ticket, assign it to a dedicated specialist, set the priority to “High”, and update the status as the issue progresses until it is resolved.
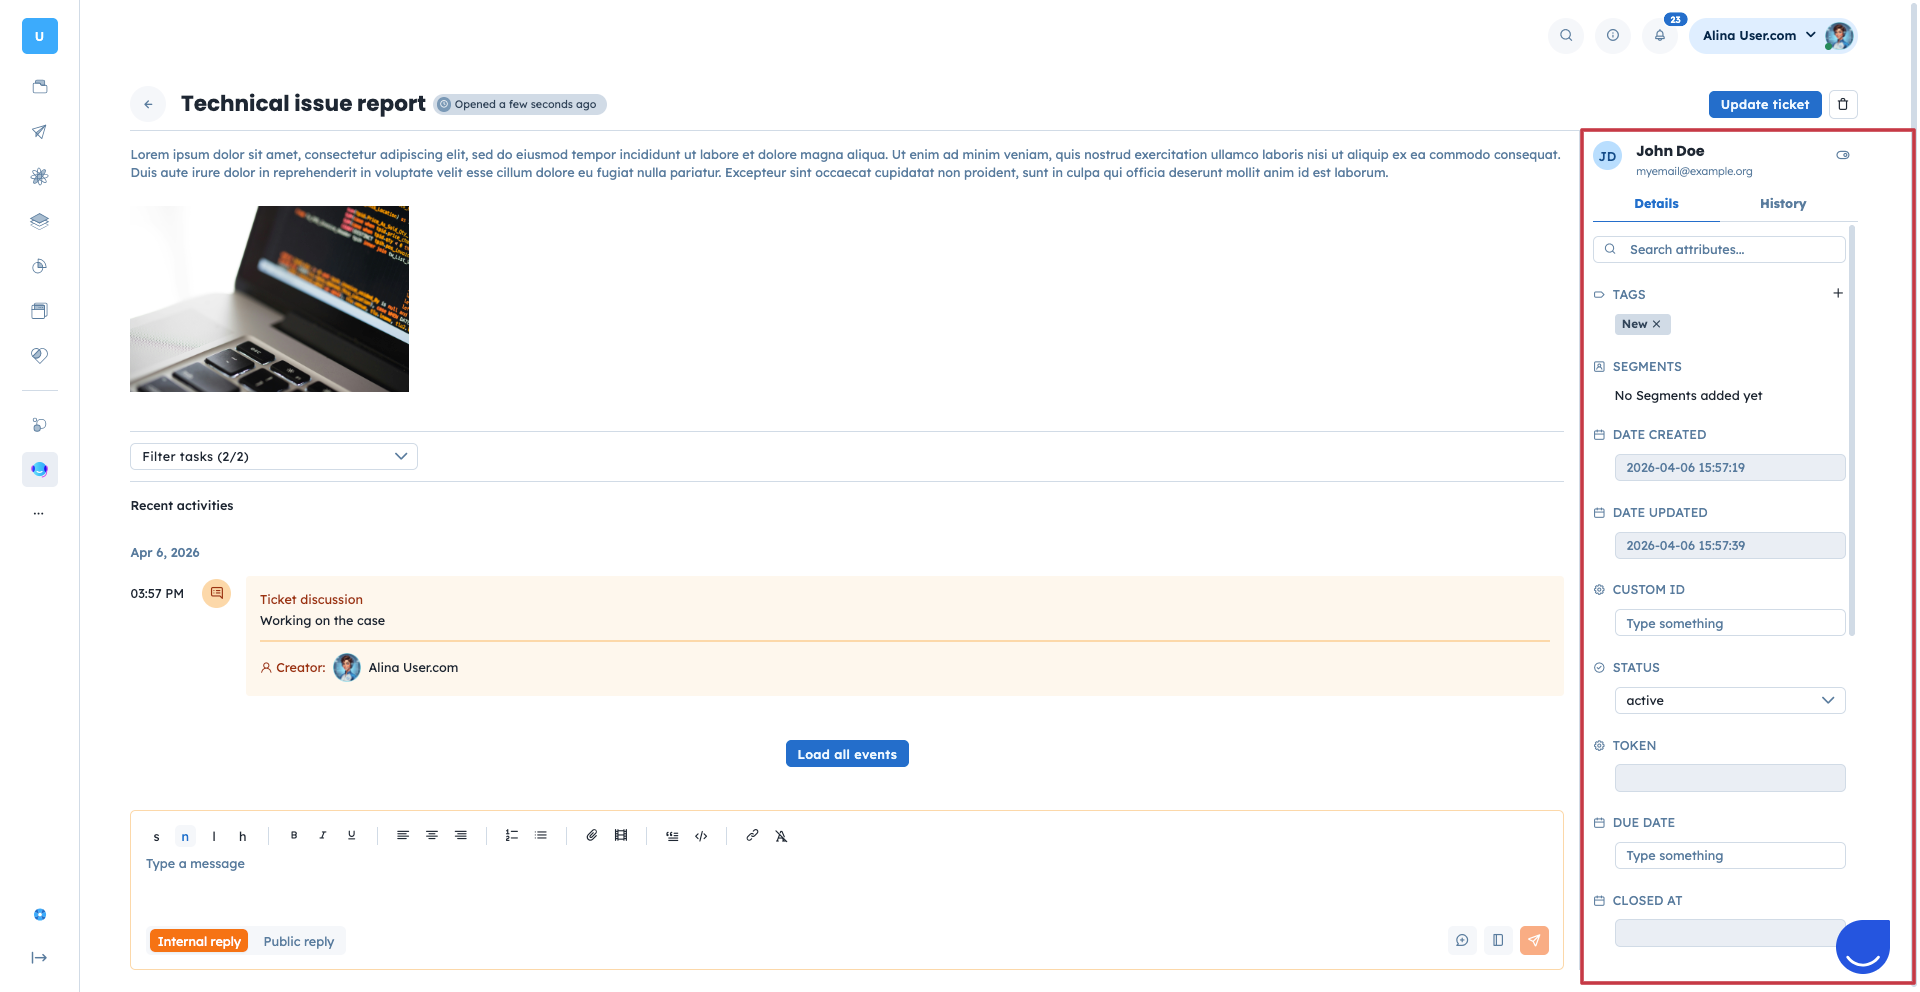
Each ticket contains structured information divided into four main areas: attributes, communication details, and history.
On the right side of the profile you can find “Details” and “History”.
Details include:
Attributes (like “Status”, “Priority”, etc.)
You can also create custom attributes to store additional details about the ticket. Check dedicated steps in the “How to Create a Custom Attribute” article.
History: every status change made in a ticket is recorded in its history. This gives you visibility into what happened and when. You can see the history on the right-hand side of the profile.
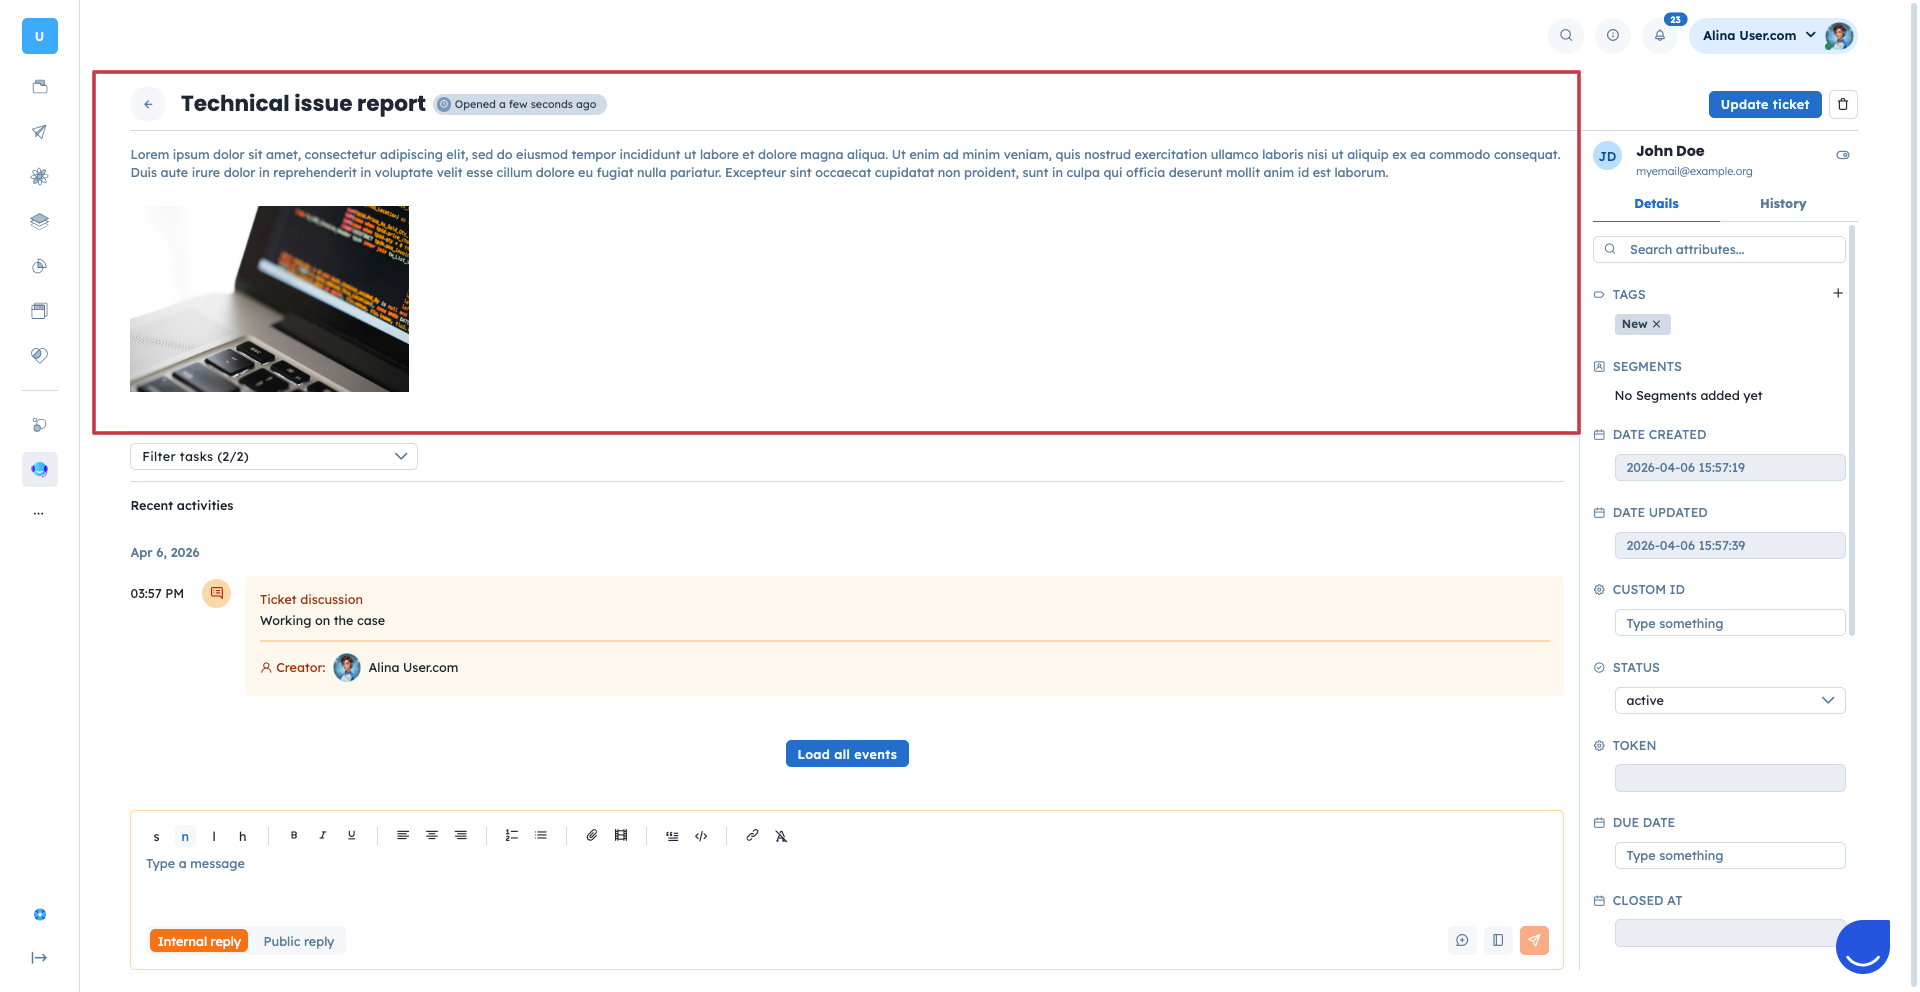
Central part of the ticket profile includes most important pieces of information:
Name of the ticket
Description: detailed explanation of the ticket, that can include text, images an attached files.
Below you can find the “Reply” section.
It consists of two options: internal reply vs public reply.
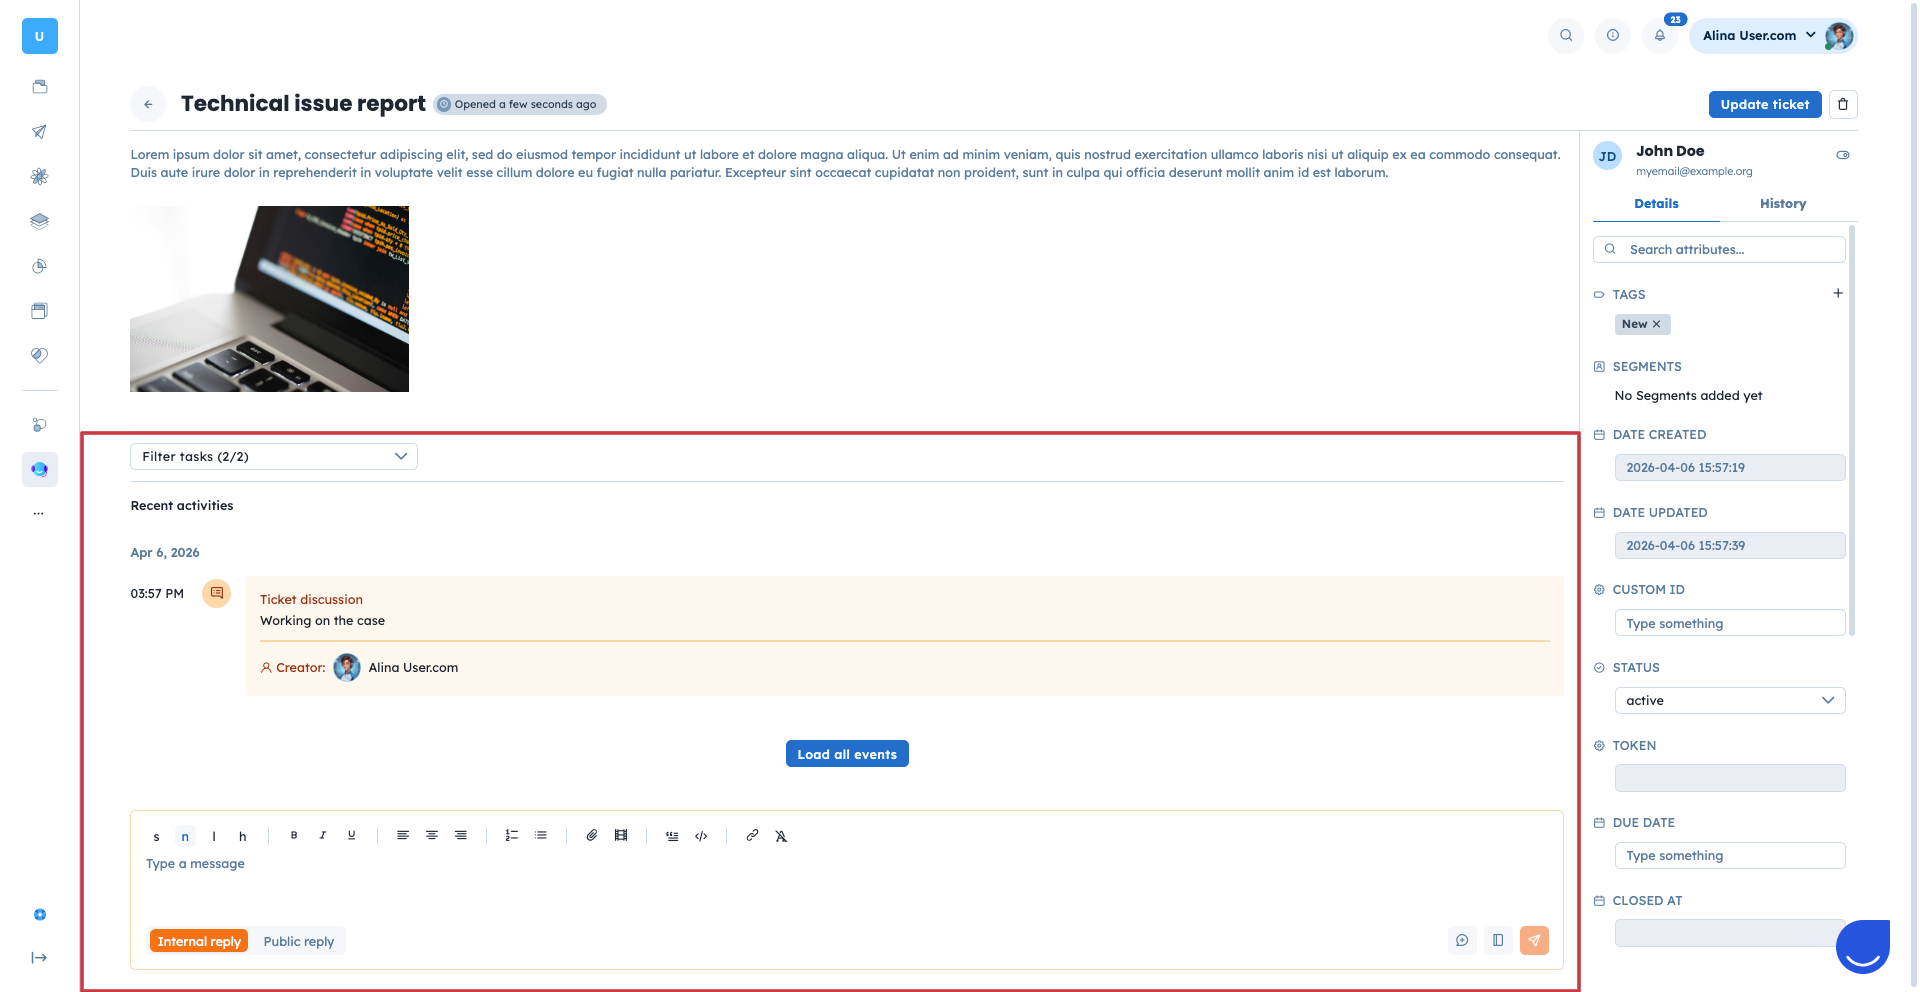
Each support ticket includes a communication section where you can add replies and comments.
Internal reply - private comment visible only to app users (your team). It is used for internal notes, collaboration, and context sharing.
Public reply - message visible to the contact. It is used to communicate updates, request information, or provide solutions.
This structure allows you to separate internal messages from external communication while keeping everything within the same ticket.
Public replies are sent to the primary contact via the email to notify a person about the update related to the topic of discussion. Contact can reply to this email. Responses will also be visible in the ticket profile.
Support tickets are tightly connected with ober elements of the system, as it’s a contact’s request to the team member. Here is how it works:
Contacts: Most of the tickets are contacts’ reports or requests. When you create a new ticket you can connect it with a specific contact from your database. Then the ticket will be available from the contact profile.
Companies: Similar to contacts you can connect a ticket to the company. It accumulates all the tickets reported by the employees of a company under its profile.
Team member: When you create a ticket you become its “creator”. Additionally you can assign another specialist to the ticket to solve it.
There are three main ways to create a new ticket in Positive User:
Manually in the application. You ca do it either in “Customer service” → “Support tickets” section or right during the conversation with a contact in “Customer service” → “Conversations” section in specific conversation view.
Automatically using the “Create a ticket” module in the automation flow.
From the email sent to a dedicated ticket email address. You can find this address in “Settings” → “Workspace settings” → “Support tickets” → “Ticket emails”.
Import tickets from a CSV file.
Using a REST API endpoint.
Check all the details in a dedicated “How to Create a Support Ticket” article.
Structuring the Support Processes: When a contact reaches out with a complex issue in a busy chat, your team can create a ticket directly from the "Conversations" view. This moves the problem out of the fast-paced inbox and into a structured workflow. You can assign it a priority and a due date, ensuring the request gets the dedicated attention it needs without getting lost among routine messages.
Organizing Support by Type and Priority: As your support volume grows, you can use priority levels and statuses to structure incoming requests. For instance, a manager can filter the support tickets list by "High" priority to quickly spot urgent cases and immediately assign them to the right team member.
Automating Ticket Creation From Forms: Instead of manually logging every website form submission, you can set up an automation to create a ticket the moment a contact submits a support request.
